You're looking for ways to get your kids into the holiday spirit, and what better way than through Christmas crafts? With so many fun and creative projects out there, you're spoiled for choice. From ornaments that sparkle like snowflakes to cards that showcase their artistic flair, the possibilities are endless. But which ones will your kids love most? Will they be drawn to making their own mini Christmas trees or creating reindeer friends from popsicle sticks?
Sparkly Ornament Craft Ideas

Add a touch of glamour to your Christmas tree with these sparkly ornament craft ideas.
You can create Glittery Balls by gluing glitter onto Styrofoam balls or even old CDs. Paint them with metallic paint for an extra touch of shine.
Another idea is to add some sparkle to plain ornaments by gluing on Shiny Surfaces like glittery paper, sequins, or even small pieces of mirrored glass.
You can also make your own ornaments from scratch using air-dry clay and adding some sparkly decorations on top. With a little creativity, you can create unique and eye-catching ornaments that will make your Christmas tree stand out.
Paper Snowflake Fun Designs
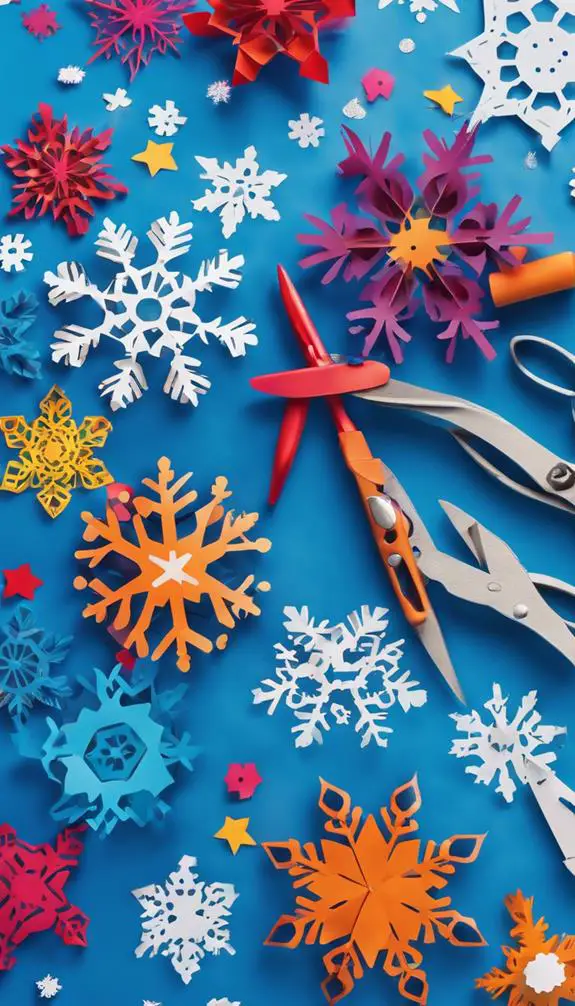
You're about to create a winter wonderland on paper with your own snowy creations!
Start by folding paper into intricate designs, using magic tricks like tucks and creases to bring your snowflakes to life.
As you cut out delicate patterns, you'll uncover a world of possibilities for unique and beautiful snowflakes.
Snowy Winter Wonderland Creations
How magical is it to create a Snowy Winter Wonderland in your home with just a few simple folds and cuts of paper?
You can transform your windows, walls, or even your mantel into a winter wonderland with intricate snowflake designs.
Start by folding a square piece of paper into a triangle, then fold it in half again to create a smaller triangle.
Cut out small shapes and patterns along the folded edge to create a unique snowflake design.
Unfold your paper to reveal your one-of-a-kind snowflake.
Hang them up to create a Winter landscape that will mesmerize everyone who sees it.
You can also experiment with different paper sizes, colors, and cutting techniques to create a truly personalized Snowy Winter Wonderland.
Folding Paper Magic Tricks
Take your Snowy Winter Wonderland creations to the next level by mastering the art of folding paper magic tricks!
You'll be amazed at how simple folds can transform a plain sheet of paper into a stunning Magic Creation.
Start by folding a square paper into a triangle, then fold it in half again to create a smaller triangle.
Next, fold the top layer back, creating a small flap.
Continue folding and unfolding to create a series of flaps.
As you fold, your paper will start to take shape, eventually forming a beautiful snowflake design.
Experiment with different folds and angles to create unique Paper Folding Magic Creations that will wow your friends and family.
Delicate Design Patterns
Create intricate designs on your paper snowflakes by incorporating delicate design patterns.
To begin, fold your paper into a triangle or a square, depending on the design you want to create.
Then, use a pencil to draw fine details, such as lines, swirls, or shapes, onto the paper. These intricate patterns will add depth and interest to your snowflake.
Next, use scissors to cut out the design, being careful not to cut through the folded edges.
Unfold your paper to reveal your unique snowflake.
You can also experiment with different folds and cuts to create more complex designs.
With a little patience and creativity, you'll be creating stunning paper snowflakes with delicate design patterns in no time!
Popsicle Stick Reindeer Friends

You'll start by creating the reindeer body basics, using popsicle sticks and glue to form the foundation of your festive friend.
Next, you'll add antlers, which can be made from pipe cleaners, felt, or even construction paper.
Then, it's time to bring your reindeer to life by adding eyes, which can be created using paint, markers, or even small pom-poms.
Reindeer Body Basics
Crafting reindeer friends from popsicle sticks is a fun and easy holiday project that can be customized to fit your unique style.
To start, you'll need to create the reindeer's body. Cut four popsicle sticks to the same length, roughly 3-4 inches, to form the body proportions. These will be the reindeer's Reindeer Anatomy, making up the torso, legs, and neck.
Glue the sticks together, forming a rectangular shape with two sticks parallel to each other and the other two sticks perpendicular, creating the body's framework. Make sure the sticks are evenly spaced to maintain the correct body proportions.
This base will provide a solid foundation for your reindeer friend, ready for customization with antlers, eyes, and a nose.
Add Antlers and Eyes
With your reindeer's body framework in place, it's time to give it some personality.
Add the reindeer details that'll make it stand out. Start by creating the antler design. Cut out small triangles from brown construction paper and glue them to the top of the reindeer's head, arranging them in a V-shape.
You can also add some wiggly eyes to give your reindeer some charm. Use glue to attach them to the head, making sure they're evenly spaced.
Colorful Christmas Card Creations
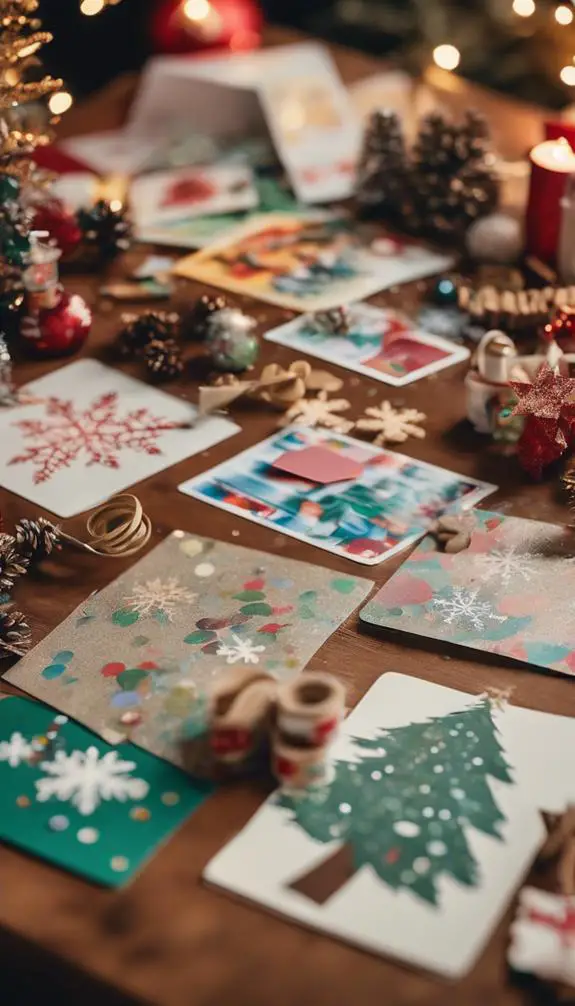
During the holiday season, creating personalized Christmas cards is a great way to add a special touch to your gift-giving.
You can draw inspiration from Christmas card inspiration websites, social media, or even your own photos.
Start by gathering materials like construction paper, glue, scissors, and any other craft supplies you like.
Use card making techniques like layering, stamping, or quilling to add texture and dimension to your design.
You can also add a personal message or the recipient's name to make it extra special.
Get creative with shapes, colors, and patterns to make your card truly unique.
With a little imagination, you'll be making beautiful, one-of-a-kind Christmas cards in no time!
Mini Christmas Tree Decorations

Bring out the mini trees and get ready to deck them out!
First, wrap a mini tree skirt around the base of your tree to add a pop of color and texture.
Next, grab your mini ornaments and start decorating!
You can use traditional ball ornaments or get creative with pom-poms, pipe cleaners, or even candy.
Experiment with different patterns and colors to make your tree truly unique.
Don't be afraid to add some glitter or sparkles to make it shine.
Finally, top your tree off with a tiny star or angel to complete the look.
With a little creativity, your mini Christmas tree will be the star of the show!
Handprint Reindeer Artwork

Get your little ones involved in the festive fun with Handprint Reindeer Artwork, a creative project that's sure to delight both kids and adults alike.
This reindeer art is a great way to capture their tiny handprints and turn them into adorable Christmas decorations.
Start by painting their hands brown and stamping them onto a piece of paper to create the reindeer's body.
Add antlers, eyes, and a red nose using markers or paint.
You can also add a festive background with holly, snowflakes, or a winter wonderland scene.
This handprint fun is a unique way to preserve their tiny hands and create a special keepsake for years to come.
Display their artwork proudly on the fridge or in a frame, and enjoy the joy it brings to your holiday season.
Yarn Pom-Pom Christmas Trees

Transform your home into a winter wonderland with Yarn Pom-Pom Christmas Trees, a delightful and easy DIY project that's perfect for the holiday season.
You'll need different yarn types, such as fluffy, chunky, or soft pastel colors, to create a unique tree.
Start by wrapping yarn around a fork to create pom poms in various sizes. You can make small, medium, or large pom poms to create a layered effect.
Once you have a bunch of pom poms, simply glue them onto a cardboard cone or a Styrofoam tree shape. You can arrange the pom poms randomly or create a pattern.
Add some glitter, beads, or a star on top to give your tree a festive touch.
Recycled Bottle Snowman Craft
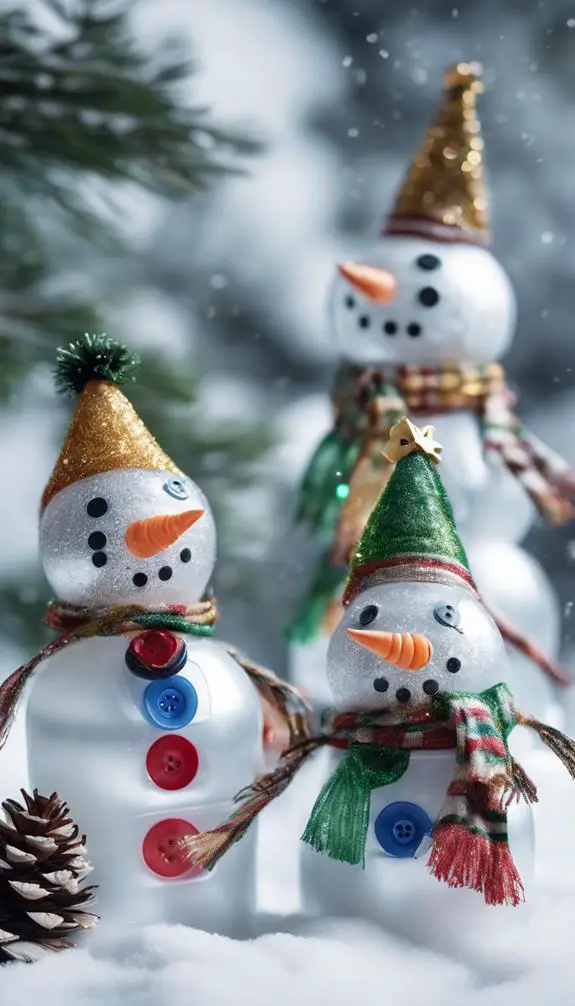
You're about to transform an old bottle into a charming snowman decoration.
First, you'll need to prepare your bottle by cleaning and cutting it to the right size, which we'll cover in a minute.
Then, you'll get creative with designing your snowman's face and exploring the benefits of using recycled materials in your craft.
Bottle Preparation Tips
With your recycled bottle in hand, prepare to give it a winter makeover by following these essential preparation tips.
Start by thoroughly cleaning the bottle with soap and water to remove any residue or labels. This will guarantee a smooth surface for your craft.
Next, let the bottle dry completely to prevent any water spots.
If your bottle has a label, soak it in warm water and then scrape it off with a spoon or credit card.
Snowman Face Design
Now that your bottle is clean and dry, it's time to bring your snowman to life with a charming face design.
You'll need some paint, markers, or stickers to create a cheerful face. Start with a bright smile – a classic snowman smile is a must!
Add some rosy cheeks to give your Frosty friend a healthy glow. Use markers or stickers to draw on some eyebrows and eyes that twinkle with winter wonder.
You can even add a carrot nose or a top hat to give your snowman some personality. Get creative and have fun with it!
Your snowman's face is the first thing people will notice, so make it count. With a little imagination, you'll have a snowman that's sure to spread holiday cheer.
Recycled Materials Benefits
Get crafty and go green by repurposing an old bottle into a snowman craft, reducing waste and promoting sustainability in the process.
By using recycled materials, you're teaching kids the importance of eco-friendly practices and creative reuses.
This project not only reduces waste but also encourages kids to think outside the box and explore new ways to reuse everyday items.
You'll be amazed at how a simple bottle can be transformed into a festive snowman decoration.
By involving kids in this process, you're instilling a sense of responsibility and creativity, while promoting a sustainable future.
Felt Christmas Tree Ornaments

As the holiday season approaches, you'll want to add a personal touch to your Christmas tree with handmade ornaments that exude warmth and character.
Felt Christmas tree ornaments are a great way to do just that. Start by cutting out shapes from felt sheets, such as stars, trees, or animals.
You can also create a felt design by layering different colors and textures. Once you have your shapes, use a hot glue gun to attach a loop of string or yarn to the top of each ornament.
This will allow you to hang them on the tree. You can also add embellishments like glitter, beads, or sequins to give your ornaments some extra sparkle.
With these simple steps, you'll have a set of unique and personalized ornaments to adorn your tree.
Glittery Pinecone Wreaths

You're ready to create a stunning Glittery Pinecone Wreath for your holiday decor.
First, prepare your pinecones by gently cleaning them with a soft brush and letting them dry completely.
Next, gather your glittery supplies, including spray adhesive, sparkling glitter, and a wire wreath frame, to get started on your festive project.
Pinecone Preparation Tips
Pinecones, gathered from your backyard or a nearby forest, are the foundation of a beautiful Glittery Pinecone Wreath.
Now it's time to prepare them for their sparkly makeover. Start by sorting through the pinecones, selecting ones that are similar in size and shape.
Remove any debris, like leaves or twigs, and gently dust off dirt and dirt particles.
Next, clean the pinecones by soaking them in a mixture of water and white vinegar for about 30 minutes.
This will help remove any sap or resin.
After soaking, let the pinecones air dry completely, either by leaving them out or by placing them in a low-temperature oven (150°F) for a few hours.
Once dry, your pinecones are ready for their glittery transformation!
Gather Glittery Supplies Now
Gather your creative arsenal: twinkle-tipped brushes, sparkly glue, and a medley of glittering treasures await!
You'll need an assortment of glitters in various colors and textures to create a unique, eye-catching wreath.
Set aside a special spot for glitter storage to keep your workspace organized and mess-free.
When selecting supplies, consider your craft budget and prioritize the essentials: a hot glue gun, wire wreath frame, and, of course, pinecones.
Don't forget to grab some festive ribbon or twine for hanging.
With your supplies in hand, you're ready to set free your creativity and bring your glittery pinecone wreath to life!
Wreath Assembly Made Easy
Your workspace is now a winter wonderland, filled with glittering treasures and essential tools.
It's time to create a stunning Glittery Pinecone Wreath. Start with the wreath basics: a wire or foam ring, pinecones, and floral wire.
Wrap the wire around the ring to secure the pinecones, leaving space for a decorative bow.
For a wreath variation, add some sparkle with glittering ornaments or beads. Simply thread them onto the wire or hot glue them onto the pinecones.
Now, get creative! Experiment with different patterns, shapes, and sizes to make your wreath truly unique.
With these easy steps, you'll have a beautiful, one-of-a-kind wreath to adorn your door or wall.
Easy Christmas Garland Ideas

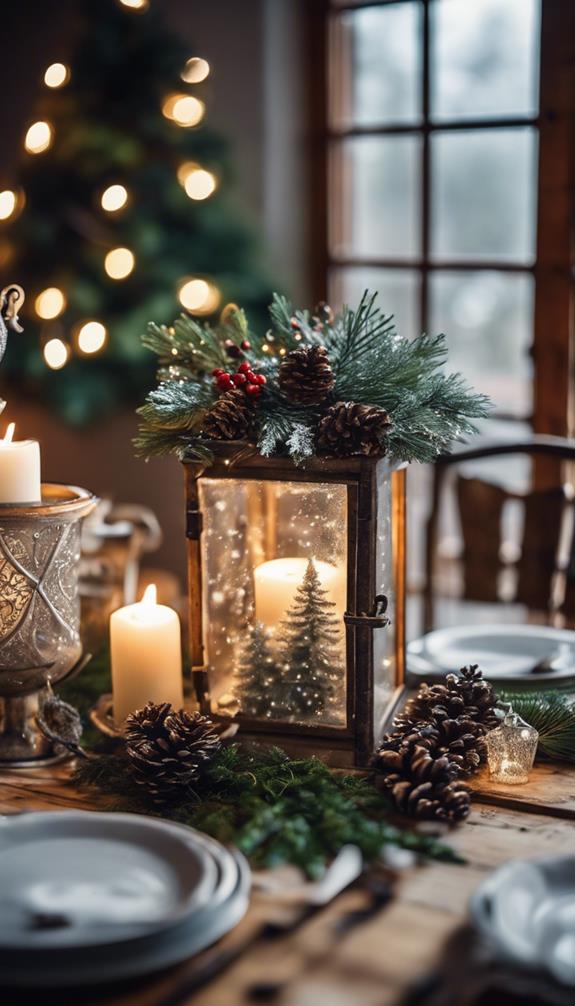
Around the holiday season, you'll find yourself surrounded by twinkling lights, festive decorations, and of course, beautiful garlands adorning mantels and staircases.
Create your own festive decor with easy Christmas garland ideas that spread holiday cheer.
Start by gathering materials like evergreen branches, pinecones, and ribbons.
Simply thread the branches and pinecones onto a string, then tie the ribbon around the ends to create a rustic garland.
For a pop of color, use felt or construction paper to create festive shapes like snowflakes, bells, or trees, and string them together.
Hang your garland on the staircase or mantel to add a personal touch to your holiday decor.
With these easy steps, you'll be spreading holiday cheer in no time!
Santa's Little Helper Crafts
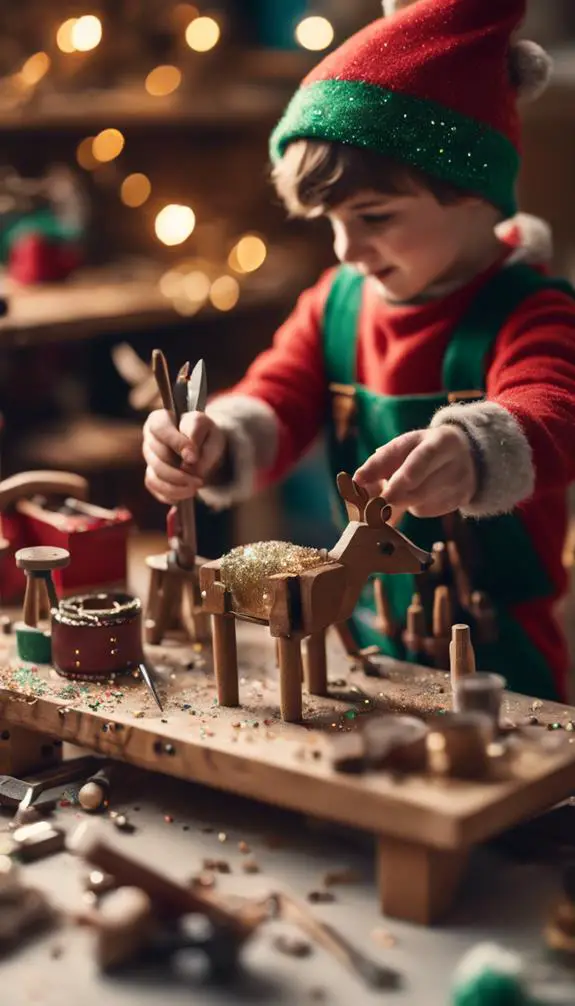
Three tiny hands can make a big impact on your holiday decor with Santa's Little Helper Crafts.
You can create a merry band of Jolly Elves to help Santa in his Toy Workshop.
Start by cutting out elf bodies and hats from green construction paper. Add some cotton balls for beards and glue on small pom-poms for noses. Use markers to draw on eyes and mouths.
Create a Toy Workshop backdrop using a cardboard box or paper roll. Decorate it with glitter, stickers, or paint.
Christmas Tree Collage Art

Imagination sparks as you envision a festive holiday scene, and a Christmas Tree Collage Art project is the perfect way to bring it to life.
Start by gathering various tree shapes and sizes from construction paper or foam sheets. You can choose traditional triangle shapes or get creative with unique forms.
Next, decide on a color scheme that fits your festive vision – bright red and green, icy blues and whites, or a monochromatic scheme.
Cut out the tree shapes and arrange them on a large piece of paper or cardboard to create a collage.
Add some festive embellishments like glitter, stickers, or small ornaments to give your tree some sparkle.
Gingerbread House Decorations

Your festive holiday scene isn't complete without a sweet and charming gingerbread house, adorned with decorations that showcase your creativity.
When it comes to gingerbread architecture, the possibilities are endless!
Start by creating a foundation with royal icing and candy canes.
Then, add some edible landscaping with shredded coconut "snow" and gumdrop "trees."
Use licorice whips to create a festive holiday pathway.
To add some sparkle, sprinkle edible glitter on the roof and around the doors.
Finally, get creative with icing flowers, festive holly, and candy cane fences.
With these decorations, your gingerbread house will be the star of your holiday display!
Footprint Reindeer Antlers
Get ready to create an adorable holiday decoration that's sure to delight both kids and adults alike: footprint reindeer antlers!
You'll need paint, paper, glue, scissors, and a willing participant with tiny feet.
Paint the child's foot brown and stamp it onto the paper to create the reindeer's face.
Add antlers made from construction paper or felt, and attach them to the top of the footprint using glue.
Use markers or paint to add eyes, a nose, and a mouth.
Finally, attach a ribbon or string to hang your reindeer antlers on the wall or door.
This fun footprint art project makes a unique reindeer accessory that's perfect for the holiday season.
Frequently Asked Questions
Can I Customize Crafts to Fit My Child's Learning Abilities?
You can definitely customize crafts to fit your child's learning abilities! Identify their learning styles and skill levels, then adapt projects to cater to their strengths, accommodating different needs and promoting a fun, inclusive creative experience.
How Do I Store and Display Finished Christmas Crafts?
You'll want to store your kid's finished masterpieces in labeled craft boxes, then showcase them on display shelves. This way, you'll keep their creations organized and proudly display their artistic growth, encouraging them to keep creating!
Are Christmas Crafts Suitable for Children With Special Needs?
You'll find that many crafts can be adapted for kids with special needs by incorporating sensory adaptations and designing inclusive projects that cater to their unique abilities, making creativity accessible to everyone!
Can I Use Recycled Materials for Christmas Crafts?
You can get creative with eco-friendly materials by repurposing items like cardboard tubes, egg cartons, and newspaper. Try a creative reuse approach, where you transform trash into unique pieces, and watch your kids' imagination soar!
How Long Do Christmas Crafts Typically Take to Complete?
You'll find that craft timing varies, but you can typically complete a project in 15-60 minutes, depending on the complexity and your child's age. You'll want to pace your project to keep them engaged, so break it down into manageable steps!
Conclusion
You've got a bunch of festive crafts under your belt now! From sparkly ornaments to mini Christmas trees, you've tapped your kid's creativity and brought the holiday spirit to life. These activities have not only developed their fine motor skills but also encouraged imagination and self-expression. Now, get ready to display their masterpieces proudly and make this Christmas one to remember!