You’re probably tired of living in a space that looks like it was copied straight from a catalog. You want a room that truly reflects your personality, but you don’t have to break the bank to get it.
With a little creativity, you can turn your space into a one-of-a-kind oasis.
Start by thinking outside the box – or in this case, the furniture store.
What if you could take old, discarded items and turn them into stunning works of art?
The possibilities are endless, and we’re about to explore some innovative ways to do just that.
DIY Wall Art on a Budget
Transform your bare walls into a visual masterpiece without breaking the bank by creating your own DIY wall art on a budget, using materials you likely already have at home.
You’ll be surprised at how easily you can turn ordinary items into stunning pieces of art.
Start by repurposing old Wall Canvases or creating new ones using inexpensive canvas boards. Print out your favorite quotes, lyrics, or photographs to create unique Art Prints.
Add a personal touch by incorporating personal mementos, like ticket stubs, postcards, or fabric scraps, to create a mixed-media masterpiece.
Arrange your art pieces in a collage or create a gallery wall to add visual interest.
With a little creativity, you can transform your space into a one-of-a-kind oasis.
Don’t be afraid to experiment and try out new techniques – the beauty of DIY wall art lies in its imperfections.
Upcycled Lighting Fixtures
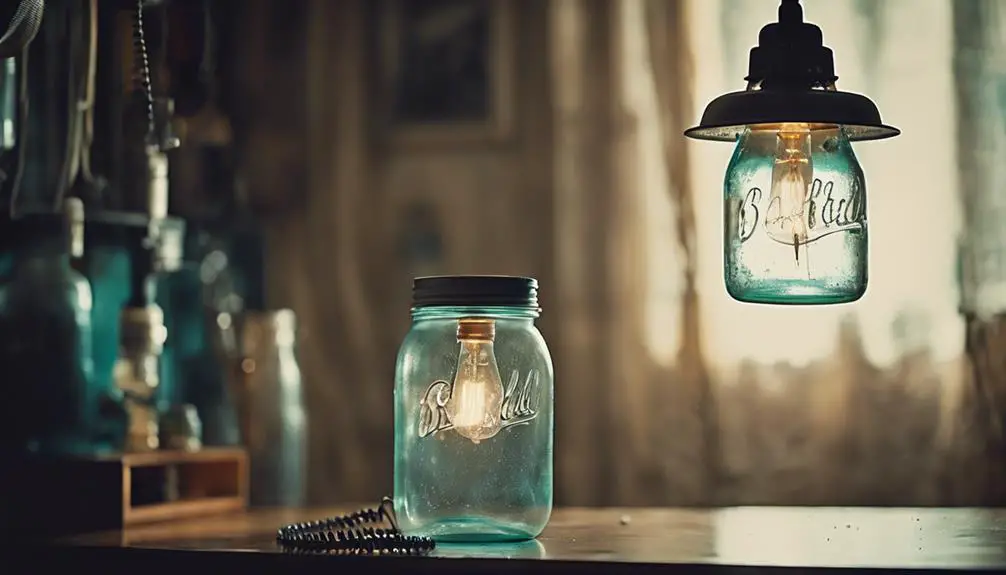
With a flicker of creativity, you can breathe new life into discarded items and turn them into one-of-a-kind upcycled lighting fixtures that add a touch of personality to your space.
Imagine transforming an old mason jar into a rustic lantern that casts a warm, cozy glow. Or, picture a vintage chandelier reborn with new crystals and a fresh coat of paint, now a stunning centerpiece in your dining room.
Upcycled lighting fixtures not only reduce waste but also offer a unique opportunity to express your personal style. You can repurpose old metal drums as industrial-chic pendant lights or convert vintage bottles into elegant table lamps.
The possibilities are endless, and the result is a space that’s truly one-of-a-kind. By thinking outside the box (or lamp shade), you can create lighting fixtures that are both functional and visually striking.
Repurposed Furniture Ideas
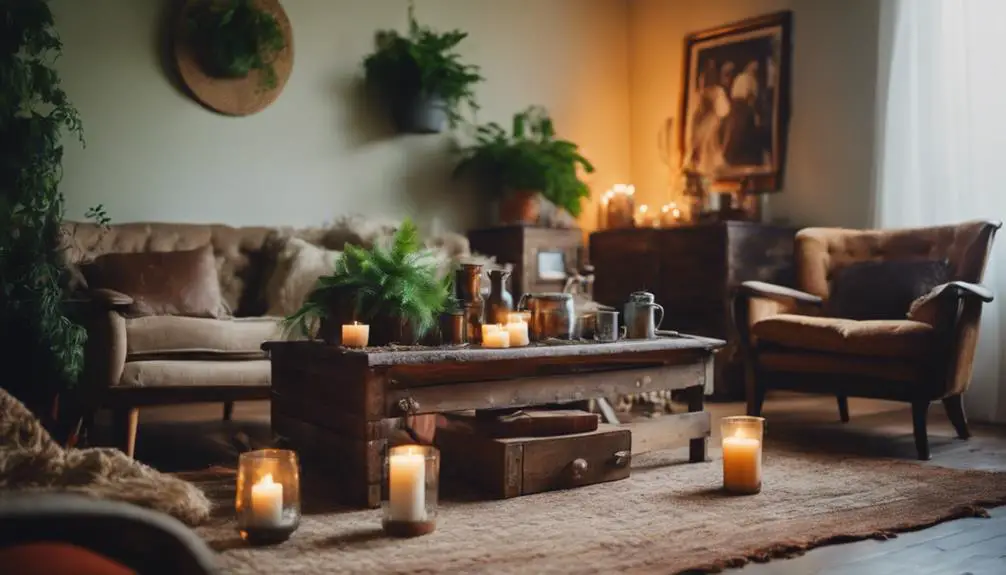
By rescuing vintage or discarded furniture pieces from oblivion, you can reimagine them into functional, one-of-a-kind masterpieces that showcase your personal style and add character to your space.
A well-executed furniture flip can elevate your room’s aesthetic and create a unique conversation piece. Consider transforming an old door into a one-of-a-kind coffee table or repurposing a vintage window into a stunning room divider.
You can also upcycle an old bench into a stylish storage ottoman or a comfortable window seat. When it comes to repurposed benches, the possibilities are endless. You can refinish, reupholster, or even add new legs to give it a fresh look.
To take your furniture flip to the next level, experiment with bold colors, textures, and patterns. Don’t be afraid to mix and match different styles and eras to create a truly eclectic look.
With a little creativity and some TLC, you can turn discarded furniture into a work of art that reflects your personality and adds a touch of sophistication to your space.
Handmade Throw Pillow Covers
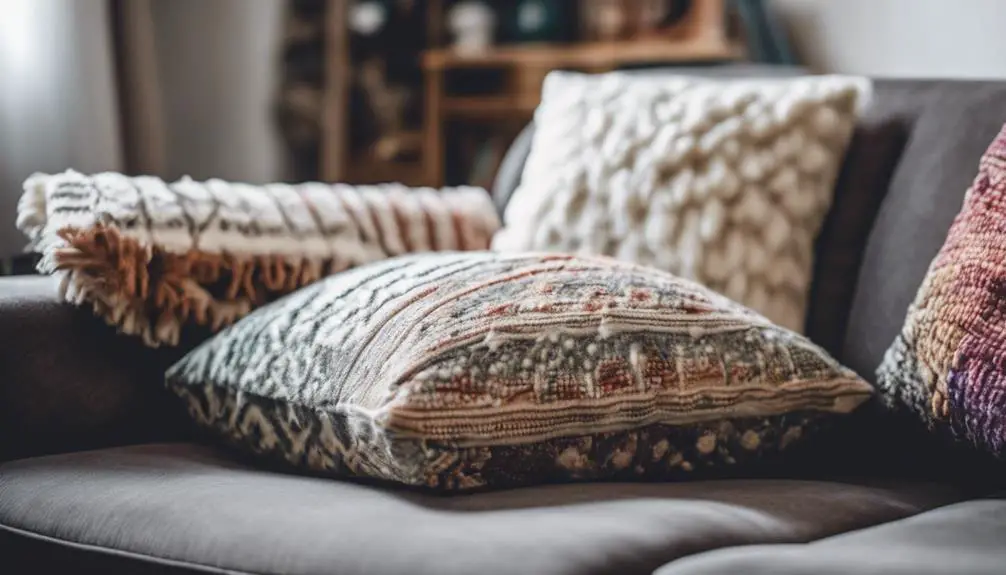
As you begin creating your handmade throw pillow covers, you’ll quickly realize that every detail counts.
You’ll need to choose fabrics that complement your room’s color palette and style, guarantee a precise fit by measuring your pillow inserts, and add embellishments that reflect your personal taste.
Fabric Choices Matter
You’ll access a world of design possibilities when you choose fabrics that resonate with your personal style and complement your room’s aesthetic.
Fabric selection is a vital aspect of creating handmade throw pillow covers that reflect your unique taste.
As you set out on this textile exploration, consider the color palette, pattern, and texture that will elevate your space.
Will you opt for bold and vibrant hues or soft, muted tones? Do you prefer geometric patterns or whimsical designs?
The possibilities are endless, and the right fabric can make all the difference.
When selecting fabrics, think about the mood you want to create in your room.
Do you want to evoke a sense of calmness or energy?
Do you prefer natural fibers like cotton or linen, or synthetic materials like velvet or faux suede?
Consider the durability and maintenance requirements of each fabric as well.
Measuring for Fit
To guarantee a flawless fit, take precise measurements of your throw pillows, considering the insert’s dimensions, any existing covers, and the desired thickness of your handmade cover.
Measuring mistakes can lead to a sloppy, ill-fitting cover that detracts from your room’s aesthetic. So, grab your tape measure and take note of the pillow’s length, width, and thickness.
Make precise calculations to confirm your handmade cover fits snugly.
Consider adding a 1-2 inch allowance around the pillow’s dimensions to accommodate the thickness of the fabric and any potential shrinkage. Don’t forget to account for the seam allowance, typically 1/4 inch, to verify a professional finish.
Embellishing With Style
With your perfectly measured handmade throw pillow cover taking shape, now it’s time to infuse it with personality through thoughtful embellishments that elevate your room’s decor.
You’ll want to select design elements that harmonize with your room’s existing style, whether it’s modern, bohemian, or traditional.
Consider adding stylish accents like intricate embroidery, bold appliques, or delicate lace trim to give your pillow cover a unique touch.
To create a cohesive look, choose a dominant fabric pattern and complement it with accent fabrics in contrasting hues.
You can also add texture by incorporating different materials, such as velvet, linen, or cotton.
Don’t be afraid to experiment with unexpected combinations – the result can be a truly show-stopping piece.
As you embellish, remember to balance your design elements to avoid visual overload.
A well-curated mix of patterns, textures, and colors will result in a stunning handmade throw pillow cover that adds depth and visual interest to your room.
Creative Use of Textiles

As you explore the world of creative textiles, you’ll discover a multitude of ways to transform your space.
You can turn a vibrant piece of fabric into a stunning wall hanging, adding a pop of color and texture to your room.
Alternatively, you can repurpose a vintage scarf as a unique throw, infusing your space with a touch of elegance and history.
Fabric Wall Hanging
By repurposing vintage scarves, colorful linens, or leftover fabric scraps, you can create a stunning fabric wall hanging that adds texture, pattern, and depth to any room’s décor.
When it comes to fabric selection, choose materials that resonate with your personal style and complement the room’s color palette. Consider mixing and matching different patterns, textures, and hues to create a unique visual interest.
To begin, decide on the size and shape of your fabric wall hanging. You can opt for a simple rectangular shape or get creative with a circular or geometric design.
Next, choose your hanging technique. You can use a rod or dowel to create a more structured look or opt for a macramé-inspired design using knots and cord. For a more rustic feel, try using twine or burlap to hang your fabric pieces.
Experiment with different hanging techniques to add movement and visual interest to your fabric wall hanging. With a little creativity, you can transform ordinary fabrics into an extraordinary piece of art that elevates your room’s décor.
Vintage Scarf Throw
You can repurpose vintage scarves into a vibrant throw that adds a pop of color and texture to your room’s decor, perfect for snuggling up on a chilly evening or as a stylish accent for your furniture.
To create this unique piece, gather a collection of vintage scarves in varying colors, patterns, and textures. Then, arrange them in a collage-like pattern, overlapping the edges to create a seamless design. Use a hot glue gun to secure the scarves to a piece of fabric or a throw blanket, working your way from the center outwards.
The result is a one-of-a-kind vintage scarf throw that exudes vintage charm. The mix of scarf styling, from floral patterns to geometric shapes, will add depth and visual interest to your room.
You can also add some decorative stitching or embroidery to give it a more personalized touch. This DIY project is a great way to upcycle old scarves and give your room a touch of personality. So, get creative and turn those old scarves into a stunning piece of home decor that’s sure to be a conversation starter!
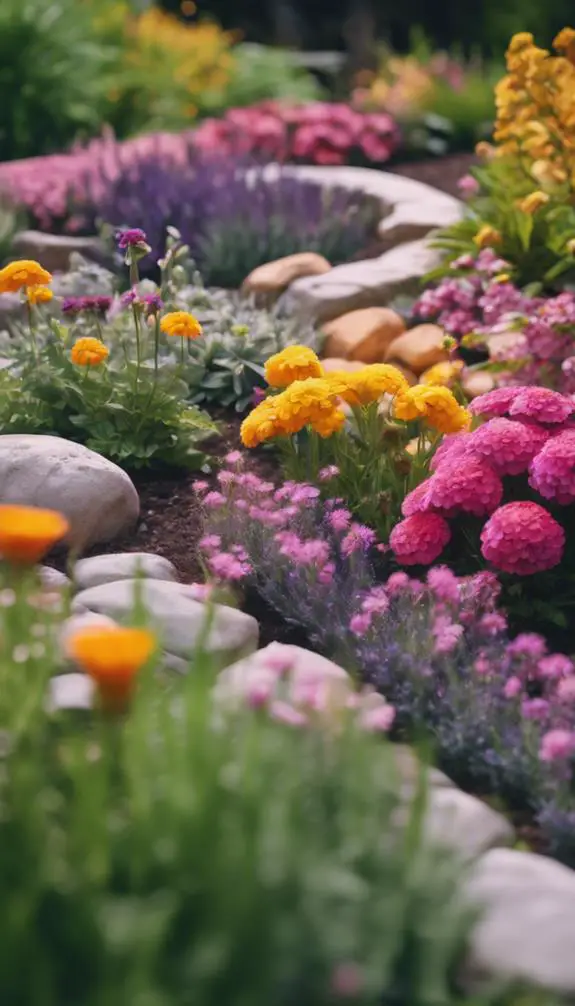
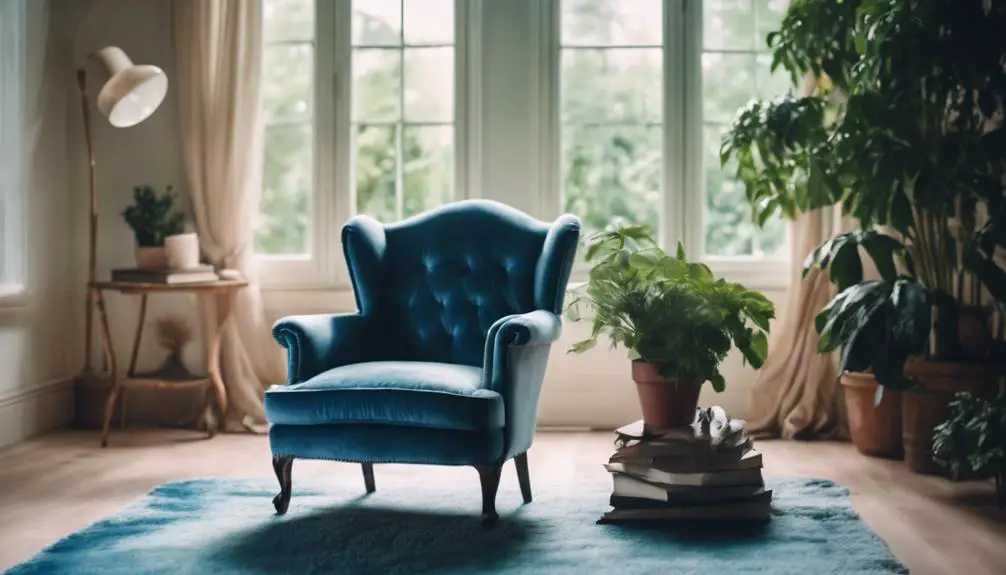
Nature-Inspired Room Decor
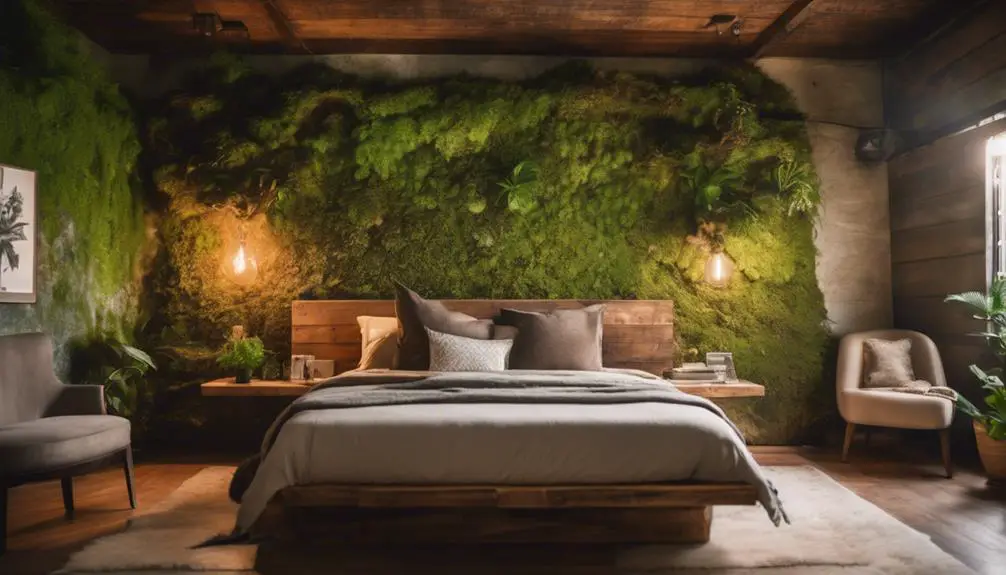
Bring the outdoors in by incorporating nature-inspired elements, such as vibrant botanical prints, woven rattan furniture, and organic textiles, to create a harmonious and calming atmosphere in your space.
You can start by adding forest accents, like reclaimed wood shelves or a wooden headboard, to bring warmth and coziness to your room.
Botanical prints are another great way to infuse your space with nature’s beauty. Choose prints with bold, vibrant colors to create a statement piece or go for softer, more muted tones for a calming effect.
Consider adding some greenery to your space, like potted plants or a living wall, to purify the air and create a sense of serenity.
You can also incorporate natural materials, like wicker or jute, into your decor to add texture and depth.
For a unique touch, try using natural elements, like shells or pebbles, to create a one-of-a-kind decorative piece.
Photo Display Ideas
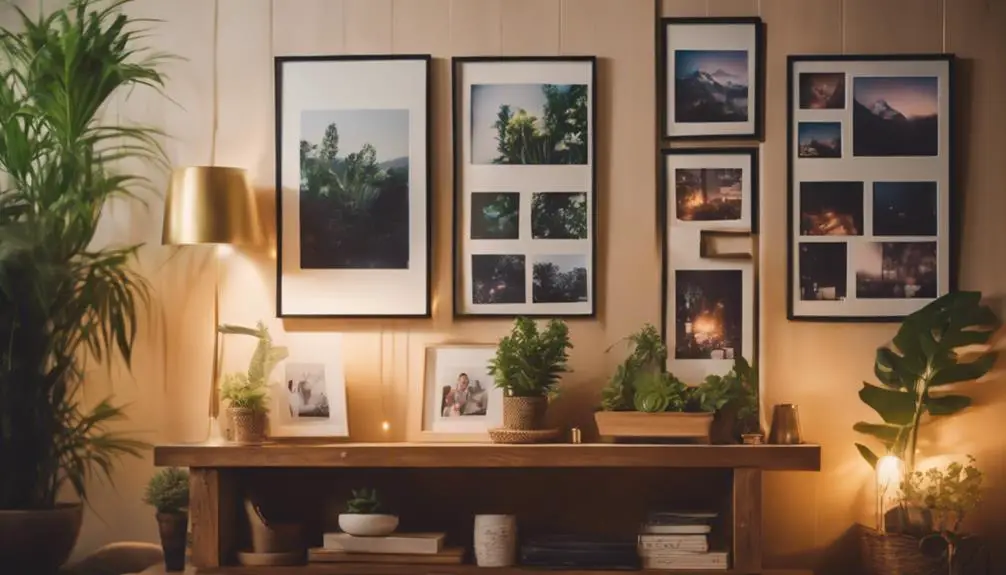
As you start creating your photo display, you’ll want to think beyond the standard grid layout.
Consider mixing and matching frame shapes, sizes, and styles to create a visually striking arrangement that draws the eye.
From unique frame arrangements to personalized photo collages and creative shelf displays, the possibilities are endless, and it’s time to get creative!
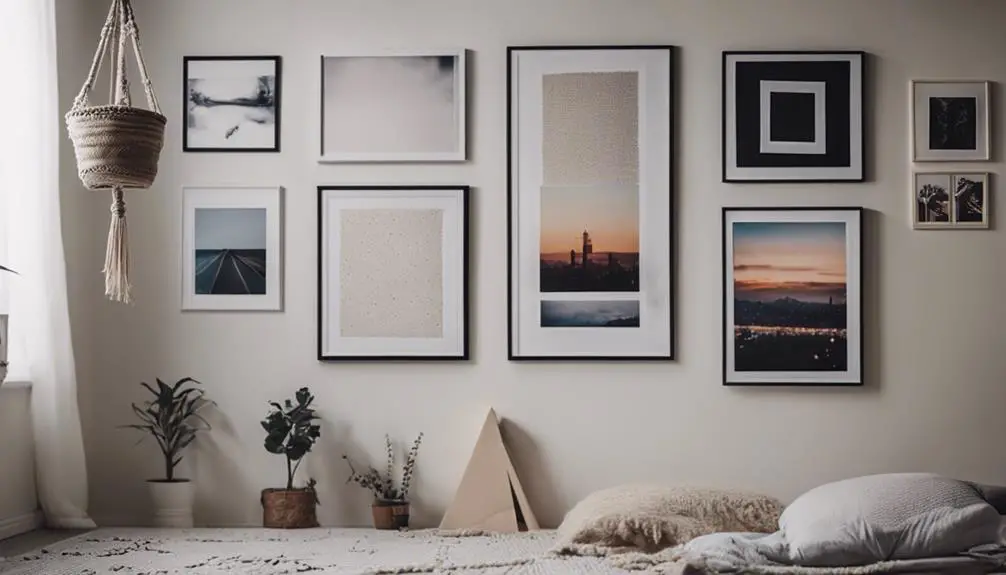
Unique Frame Arrangements
Unique Frame Arrangements
Hanging a mix of frame shapes, sizes, and styles creates a visually striking gallery wall that showcases your favorite memories.
To take it to the next level, experiment with unique frame arrangements that add an extra layer of visual interest.
Try frame clustering, where you group frames of varying sizes together to create a focal point.
This arrangement adds depth and dimension to your wall, drawing the viewer’s eye to the center of the cluster.
Another approach is to use asymmetrical layouts, where frames are placed in a seemingly random pattern.
This design element adds a touch of whimsy and playfulness to your space.
To create a cohesive look, choose frames that share a common style or color palette.
You can also mix and match frame materials, such as wood, metal, and glass, to add texture and visual interest.
Personalized Photo Collage
By grouping photos together in a thoughtfully designed collage, you can craft a visually stunning display that tells a story, captures a mood, or conveys a sense of personality.
To create a cohesive look, choose a unifying theme, such as a travel collage featuring maps, landmarks, and scenic views, or a sentimental collage showcasing milestones and memories.
Digital printing allows you to print your photos in various sizes and shapes, making it easy to experiment with different layouts and arrangements. Consider using a mix of black and white and color photos to add visual interest.
You can also incorporate other design elements, such as quotes, lyrics, or patterns, to add depth and personality to your collage.
When selecting your photos, think about the emotions and memories you want to evoke, and choose images that resonate with your personal style.
With a little creativity, you can create a unique and mesmerizing photo collage that becomes a focal point in your room.
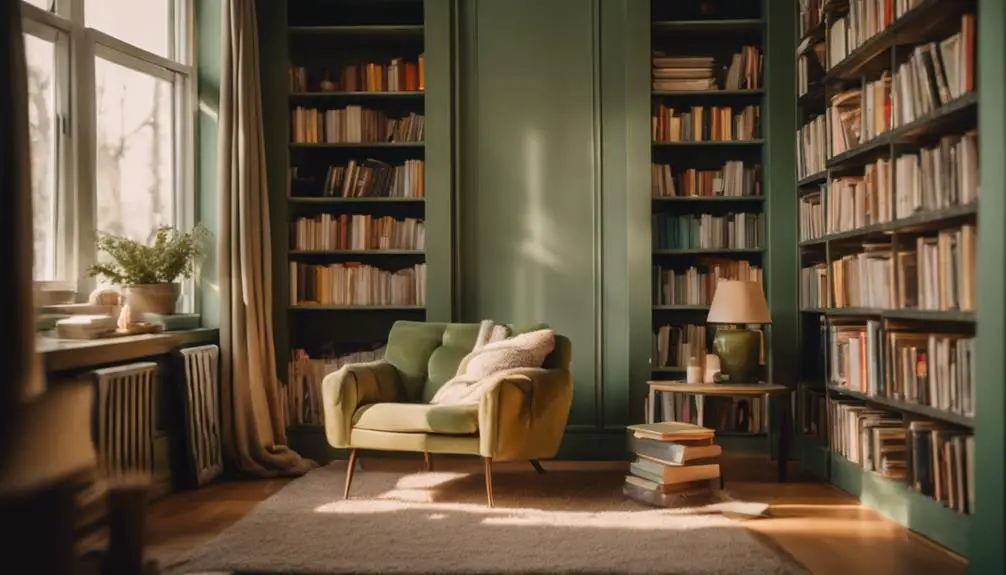
Creative Shelf Display
Five floating shelves, arranged in a staggered formation, create a visually striking display area for your favorite photos, decorative objects, and personal treasures.
This creative shelf display is a great way to add depth and visual interest to any room.
To style your shelves, start by grouping similar items together, such as frames of similar sizes or colors.
Then, balance them with decorative objects, like vases or sculptures, to create a sense of harmony.
For a unique touch, try incorporating book arrangements, like stacking vintage books horizontally or vertically, to add texture and dimension.
Don’t be afraid to experiment with different shelf styling techniques, like layering or asymmetry, to create a look that’s truly yours.
As you arrange your treasures, remember to leave some negative space to avoid clutter and guarantee each piece stands out.
With a little creativity, your shelves will become a stunning focal point in your room.
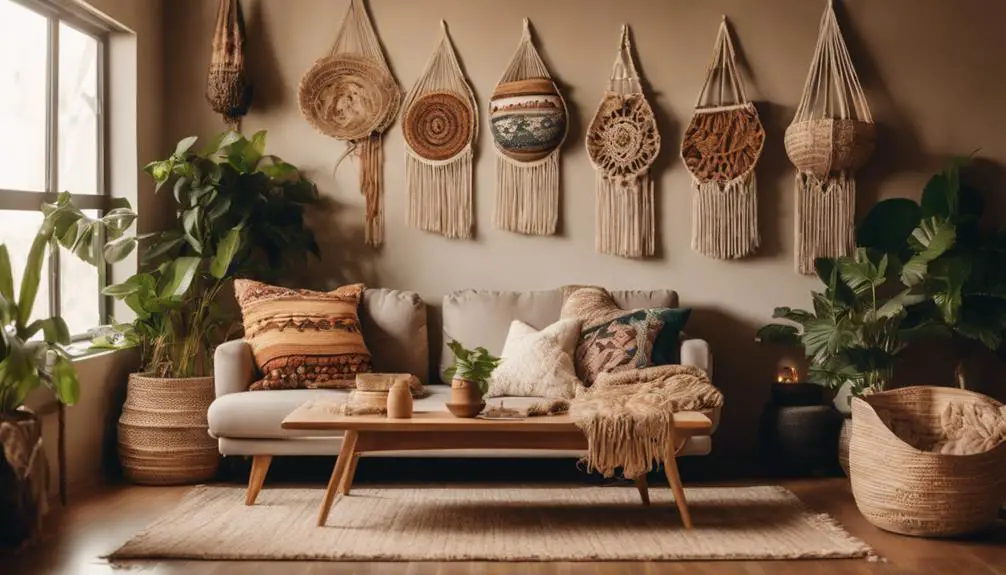
Macrame Plant Hangers
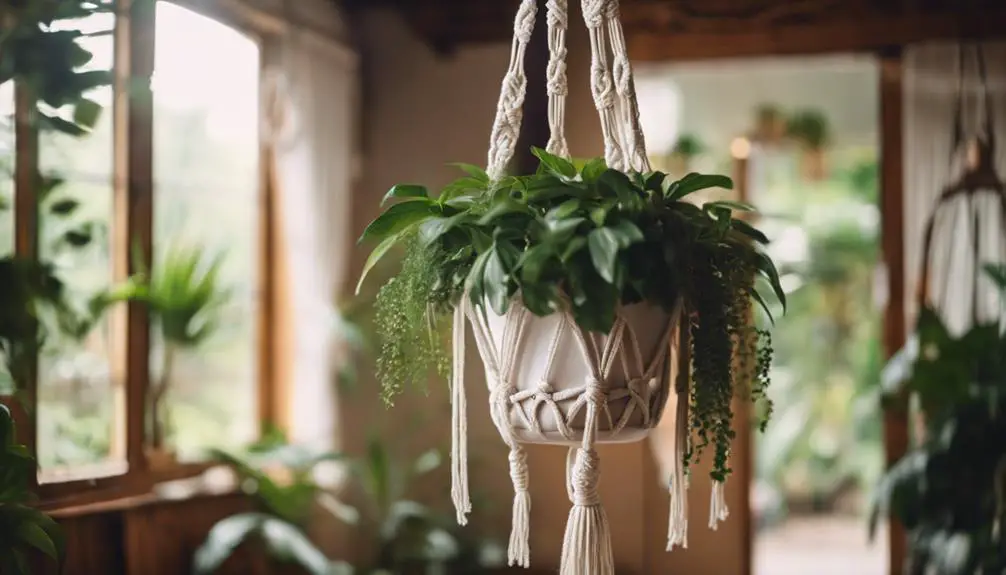
You’ll add a touch of bohemian chic to your space with a macrame plant hanger, expertly woven from cotton rope and wooden dowels to create a stunning display for your favorite greenery.
As you master macrame techniques, you’ll be able to craft intricate patterns and knots that elevate your plants to a work of art.
When selecting plants for your hanger, choose varieties with trailing vines or delicate leaves that will cascade beautifully from the woven design. Ferns, ivy, and air plants are great options to start with.
Consider the natural texture and color of the rope and dowels when selecting your plants, ensuring a harmonious blend of earthy tones.
With patience and practice, you’ll create a unique piece that not only showcases your green thumb but also adds a touch of handmade elegance to your room.
Experiment with different macrame patterns and plant combinations to create a truly one-of-a-kind display that reflects your personal style.
Painting Furniture Like Pro
With a few simple techniques and the right materials, transforming an old piece of furniture into a stunning, one-of-a-kind masterpiece is well within your grasp.
To get started, you’ll need to focus on furniture prep. This means sanding down the surface to create a smooth canvas for painting. Remove any hardware, and fill in any holes or cracks with a wood filler.
Once you’ve prepped your piece, it’s time to choose a paint finish that fits your style. Do you want a distressed look, or a sleek, modern sheen? Consider using a primer to guarantee your paint adheres evenly and lasts longer.
When it comes to application, use a high-quality brush or roller to achieve a smooth, even coat. Don’t be afraid to experiment with different techniques, like layering or stenciling, to add visual interest to your piece.
With a little patience and practice, you’ll be painting like a pro in no time, and your one-of-a-kind furniture masterpiece will be the envy of all your friends.
Decoupage Room Decor Ideas

As you put the finishing touches on your freshly painted furniture, consider taking your room’s decorative flair to the next level by incorporating decoupage elements that add a unique layer of visual interest and personality to your space.
Decoupage is an art form that involves applying cut-out images or paper patterns to create a collage effect. You can use magazine cutouts, scrapbook paper, or even vintage book pages to create a one-of-a-kind design.
To get started, gather your materials and choose a theme or color scheme that resonates with your personal style.
Cut out your desired shapes and patterns, and arrange them on your furniture or walls to create a cohesive look.
Apply a decoupage medium, such as varnish or glue, to seal and protect your design.
You can decoupage anything from dressers and nightstands to lampshades and mirrors. The possibilities are endless, and the result is a room that’s truly reflective of your creativity and individuality.
With decoupage, you can add a touch of whimsy, elegance, or playfulness to your space, making it a true reflection of your unique style.
DIY Shelf Decor Inspiration
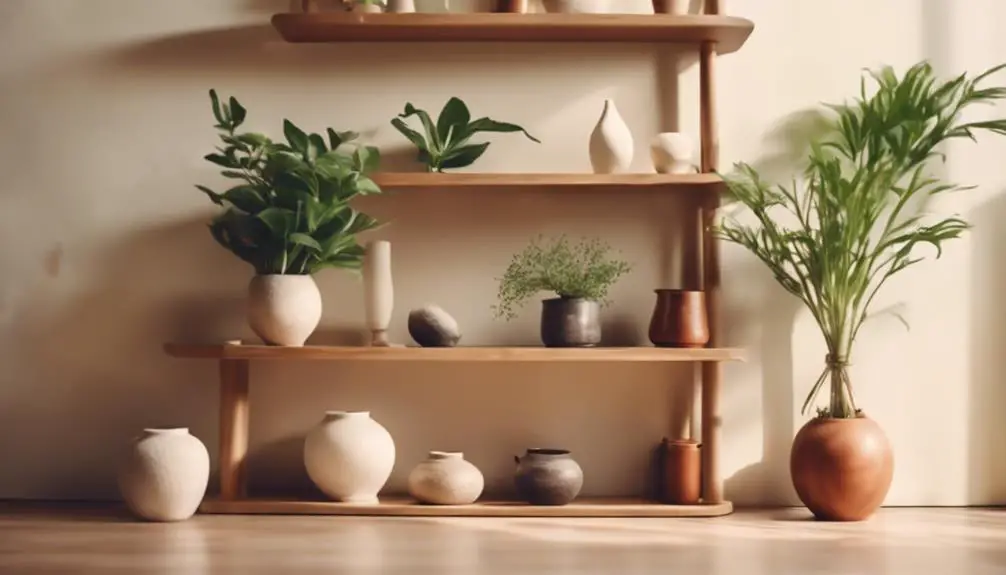
Five beautifully styled shelves can elevate your room’s aesthetic, doubling as a functional storage space and a visual focal point.
To achieve this, you’ll need some shelf styling tips. Start by choosing a unifying theme or color scheme to tie your decorative pieces together. Next, select a mix of textures, shapes, and sizes to add depth and visual interest.
Don’t be afraid to experiment with unique decorative brackets that add a touch of personality to your shelves.
Consider creating a vignette by grouping similar items together, such as vintage cameras or antique books. Balance these clusters with negative space to avoid visual clutter.
You can also add some greenery, like potted plants or a vase with fresh flowers, to bring in a natural element.
Finally, don’t forget to leave some breathing room between each shelf to create a sense of airiness.
Mosaic Art for Walls
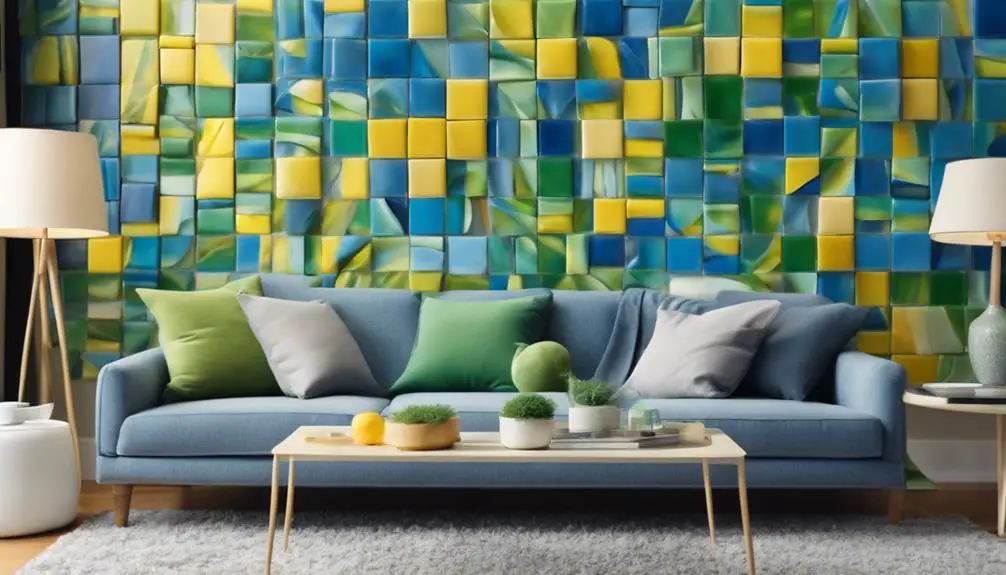
You can add another dimension to your room’s decor by creating a stunning mosaic art piece that becomes a focal point on your wall, its intricate patterns and colors drawing the eye upwards and creating a sense of visual harmony.
This artistic expression allows you to tap into your creativity and bring a unique touch to your space.
With mosaic art, you can experiment with colorful patterns, textures, and shapes to create a one-of-a-kind piece that reflects your personality.
To get started, gather materials like tiles, glass, or ceramic pieces, and a hot glue gun.
You can create a simple design or go for a more intricate pattern, depending on your skill level and desired outcome.
Consider using a mix of matte and glossy finishes to add depth and visual interest to your artwork.
Once you’ve completed your masterpiece, attach it to a wooden board or canvas, and hang it proudly on your wall.
With mosaic art, the possibilities are endless, and the result is a beautiful, eye-catching piece that adds a touch of sophistication to your room.
Fabric Wall Hanging Tutorials

Transform your walls with a vibrant fabric wall hanging, carefully crafted to add texture, color, and visual interest to your room’s decor.
When it comes to fabric selection, you’ll want to choose materials that resonate with your personal style and complement your room’s color palette. Consider bold patterns, rich textures, and eye-catching hues to create a statement piece.
For a cohesive look, select fabrics that share a common thread, such as a similar color family or texture.
Once you’ve selected your fabrics, it’s time to decide on a hanging technique. You can opt for a simple rod pocket or a more intricate macrame design.
If you’re feeling adventurous, try a combination of both. To add an extra layer of depth, experiment with layering fabrics or incorporating other materials, like ribbons or beads.
With a little creativity and patience, you’ll be able to create a one-of-a-kind fabric wall hanging that elevates your room’s decor and showcases your unique style.
Frequently Asked Questions
How Do I Choose a Color Scheme for My Room Decor?
When selecting a color scheme, you’ll want to ponder color psychology, as certain hues can evoke emotions and energies, aligning with your personal style to create a harmonious space that reflects your unique vibe.
Can I Use Homemade Decor in a Rented Apartment?
As a renter, you’re free to get creative without making permanent changes. Opt for temporary fixtures that can be easily removed, giving you renter’s freedom to switch up your space without violating your lease.
Are Homemade Decor Ideas Suitable for Small Rooms?
When designing a small room, you’ll want to prioritize space optimization and a minimalist aesthetic. By doing so, you’ll create a sense of breathability, making the space feel larger, and allowing your homemade decor to shine as intentional, thoughtful touches.
Can I Involve My Kids in Making Homemade Room Decor?
You can definitely involve your kids in making homemade room decor, encouraging kid-friendly crafts that foster creative expressions, like painting, collaging, or DIY accessories, allowing them to infuse their unique style into the space.
How Do I Protect My Walls From Homemade Decor Damage?
When hanging DIY decor, you’ll want to safeguard your walls from damage. Start by using wall anchors for heavy pieces, and conduct adhesive tests on discrete areas to verify the chosen adhesive won’t strip paint or leave residue.
Conclusion
Your space is a blank canvas, ready for your personal touch.
With these homemade room decor ideas, you’ve transformed it into a masterpiece that screams ‘you.’
Every upcycled light fixture, repurposed furniture piece, and handmade accent tells a story of your creativity and style.
Stand back, admire your handiwork, and bask in the glow of a space that’s truly one-of-a-kind.
Your unique haven awaits – get creative and make it shine!