If you’ve ever considered cultivating kale in pots, you’re on the right track to a rewarding gardening experience.
From selecting the ideal pot size to providing proper sunlight and nutrients, there are essential steps to master for a thriving kale crop.
By following these guidelines diligently, you can discover the secrets to successful pot-growing kale.

Key Takeaways
- Select a pot with proper drainage for kale growth.
- Use nutrient-rich soil for planting kale seeds.
- Ensure kale plants receive 6-8 hours of sunlight daily.
- Water kale plants regularly to maintain soil moisture.
- Fertilize kale plants with organic or synthetic options for optimal growth.
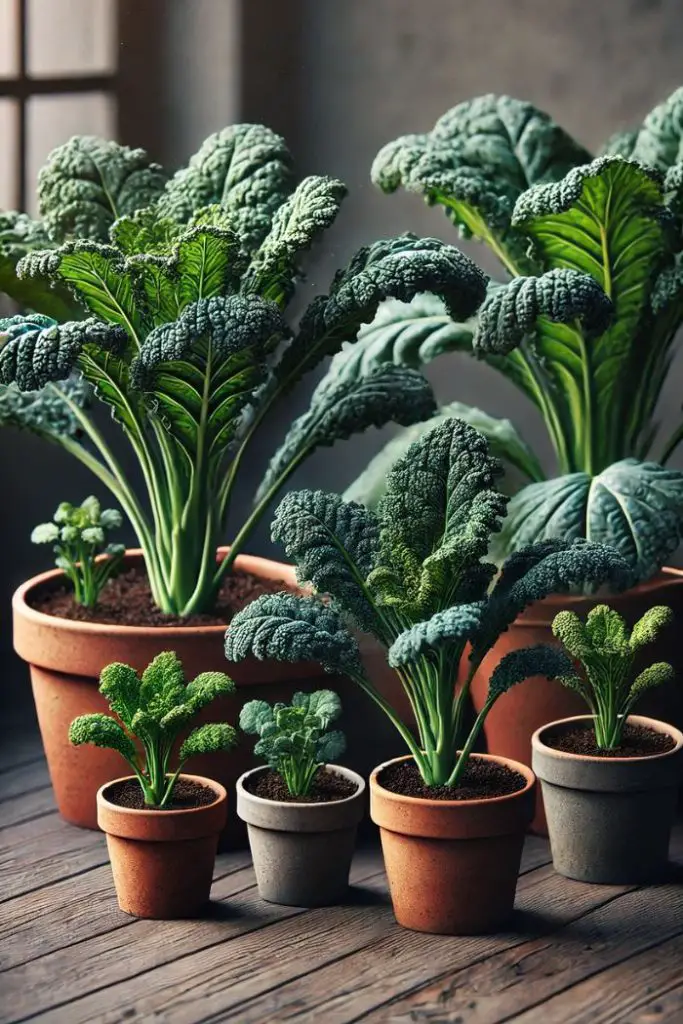
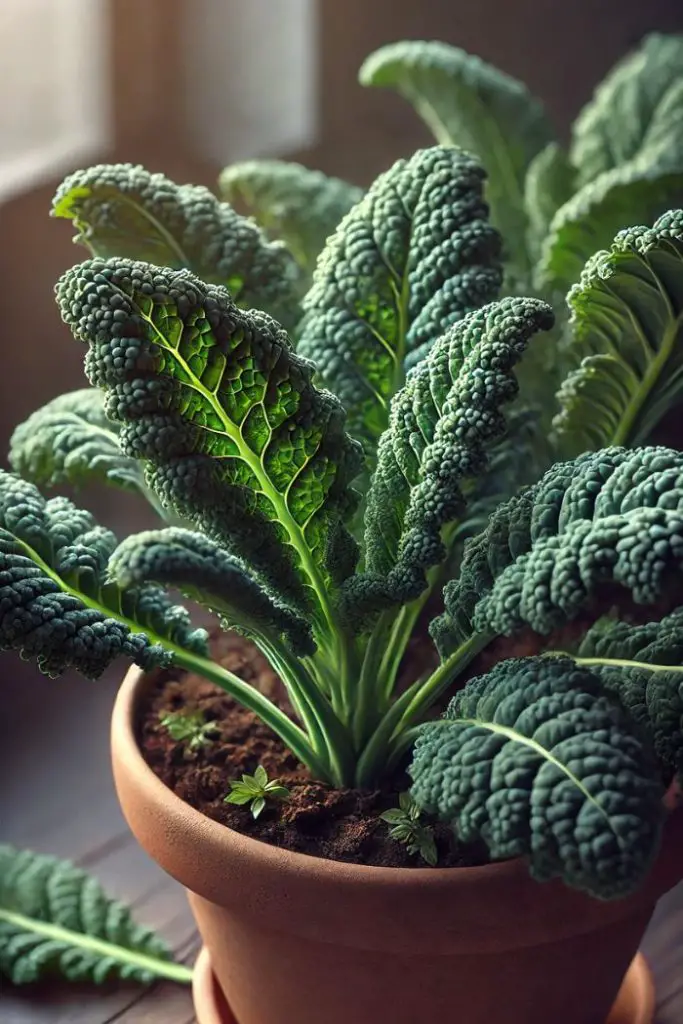
Choosing the Right Pot Size
When growing kale in pots, you should choose a pot size that provides ample root space and proper drainage to guarantee healthy growth. The potting depth is important for kale plants as they develop deep root systems.
Select a pot that’s at least 12 inches deep to accommodate the roots effectively. Additionally, make sure that the pot has drainage holes at the bottom to prevent waterlogging, which can lead to root rot.
Proper drainage is essential for the overall health of your kale plant, allowing excess water to escape and oxygen to reach the roots.
Choosing the right pot size is crucial for the successful cultivation of kale in containers. Opt for a container that’s large enough to support the plant’s growth, with adequate room for the roots to spread out. By providing sufficient potting depth and ensuring proper drainage, you’re creating an ideal environment for your kale to thrive and flourish.
Selecting the Perfect Location
To guarantee optimal growth for your kale plants in pots, the next step is selecting the perfect location that meets their sunlight and space requirements. When choosing a spot for your kale containers, make sure they receive at least 6-8 hours of sunlight daily.
Place the pots in a location where they can soak up the morning sun but also have some shade in the hotter parts of the day to prevent wilting. Consider the temperature requirements of kale; they thrive in cooler temperatures between 60-65°F (15-18°C). Avoid extreme heat or cold drafts that could stress the plants.
Container placement is essential for the health of your kale. Look for a location with good air circulation to prevent diseases caused by moisture buildup.
Balconies, patios, or near a sunny window are great options. Ensure there’s enough space around each pot for air to flow freely and for the plants to grow without crowding.
By selecting an ideal location that provides the right sunlight exposure and temperature conditions, you set your kale plants up for success.
Preparing the Potting Mix
When preparing the potting mix for your kale, remember that selecting the right soil is essential for its growth. Make sure to choose a well-draining potting mix rich in nutrients to support the kale plants.
Additionally, consider the size of the container, ensuring it’s spacious enough for the kale roots to spread and grow effectively.

Soil Selection
For essential growth of kale in pots, guaranteeing the right soil mix is key to provide the necessary nutrients and drainage for the plants to thrive. When preparing the potting mix, opt for a well-draining soil that’s rich in organic matter. A good mix can consist of equal parts of peat moss, perlite, and compost. Peat moss helps with moisture retention, perlite aids in drainage, and compost provides essential nutrients. Confirm the soil is loose and airy to allow the kale’s roots to penetrate easily.
To enhance the soil’s fertility, consider incorporating organic fertilizers like compost tea or aged manure. These will supply the kale with the nutrients it requires for robust growth. Additionally, mulching around the plants can help retain moisture, suppress weeds, and regulate soil temperature. This not only benefits the kale but also reduces the need for frequent watering.
When it comes to pest control, keeping the soil healthy and using natural remedies like neem oil can deter common pests. Knowing the right soil mix sets the foundation for successful kale cultivation in pots.
Container Size
To properly accommodate the kale’s growth needs in pots, selecting the right container size is crucial as it directly impacts the potting mix preparation. For kale to thrive, choose a pot that’s at least 12 inches deep and 14-16 inches wide. This size provides ample space for root development and allows the plant to access essential nutrients.
Opt for containers made of breathable materials like terracotta or fabric, as they promote better airflow to the roots. When preparing the potting mix, guarantee proper drainage by adding a layer of gravel or small rocks at the bottom of the container. This prevents waterlogging, which can lead to root rot.
Additionally, consider incorporating nutrient supplements like compost or slow-release fertilizers to support kale’s growth. These supplements enrich the soil, providing the necessary nutrients for your kale plants to flourish. By selecting the right container size and following these drainage tips and nutrient supplement suggestions, you set the stage for successful kale cultivation in pots.
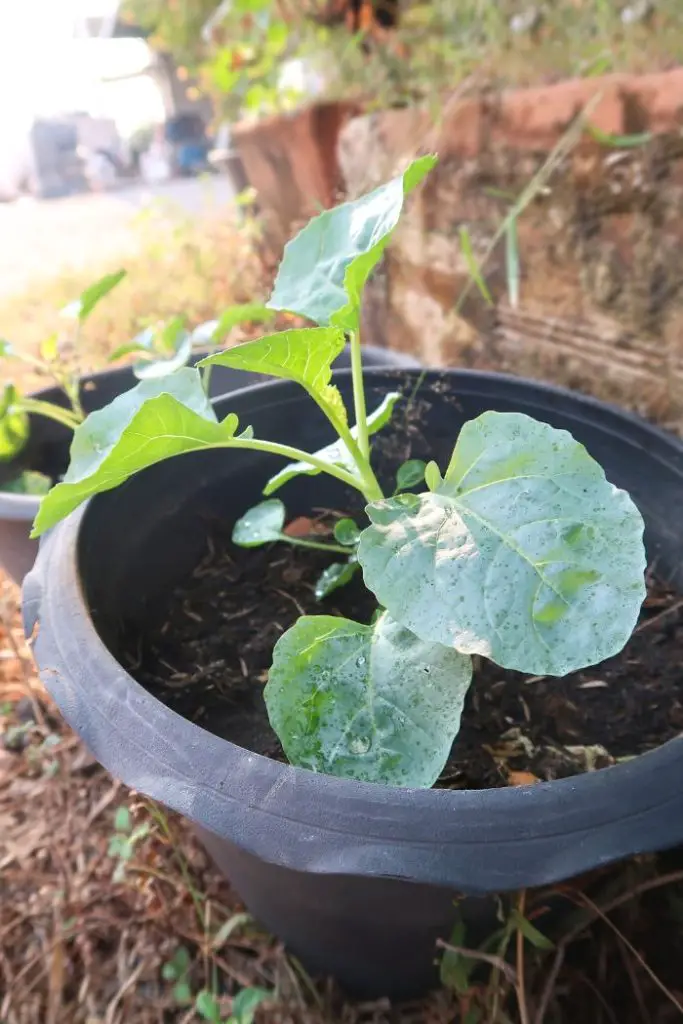
Planting Kale Seeds
When planting kale seeds in your pots, make sure you choose high-quality seeds that are suitable for container gardening.
The soil and potting mix you use should be well-draining and rich in nutrients to support kale growth.
Remember to water your kale seeds regularly and provide them with adequate care for best development.
Seed Selection Tips
Selecting the right seeds is essential for successfully growing kale in pots. When choosing seeds for your kale plants, it’s important to take into account their storage. Opt for seeds that have been stored properly in a cool, dry place to guarantee their viability and germination success. Check the packaging date and choose fresh seeds for the best results.
Understanding the germination process is key to selecting the right kale seeds. Look for seeds that have a high germination rate to maximize your chances of a successful harvest. Additionally, consider choosing organic or heirloom varieties if you prefer chemical-free or unique kale options.
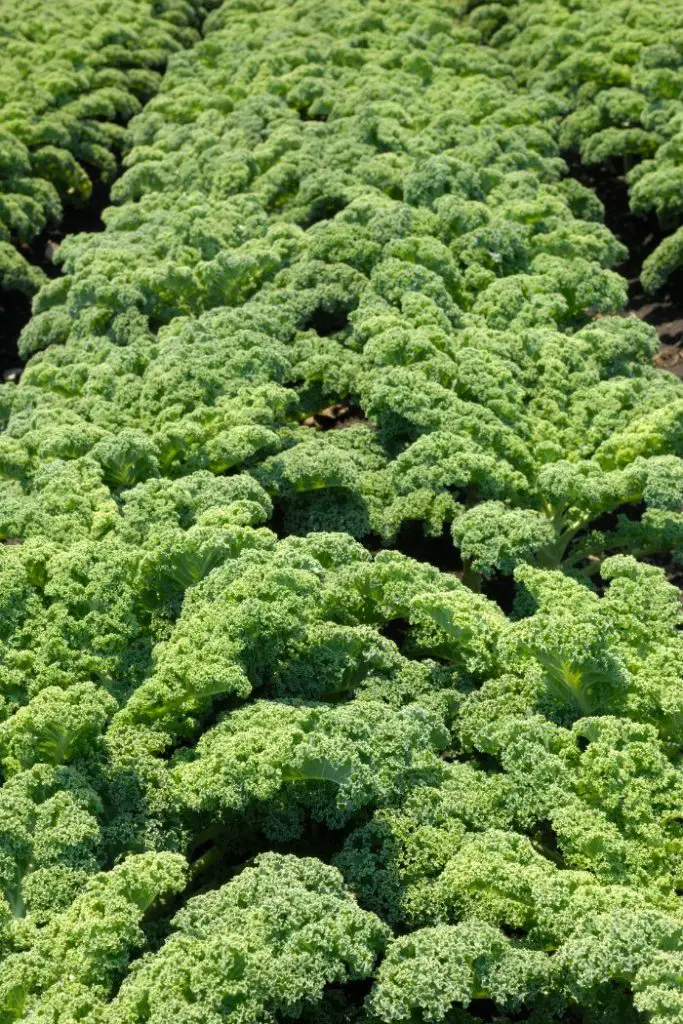
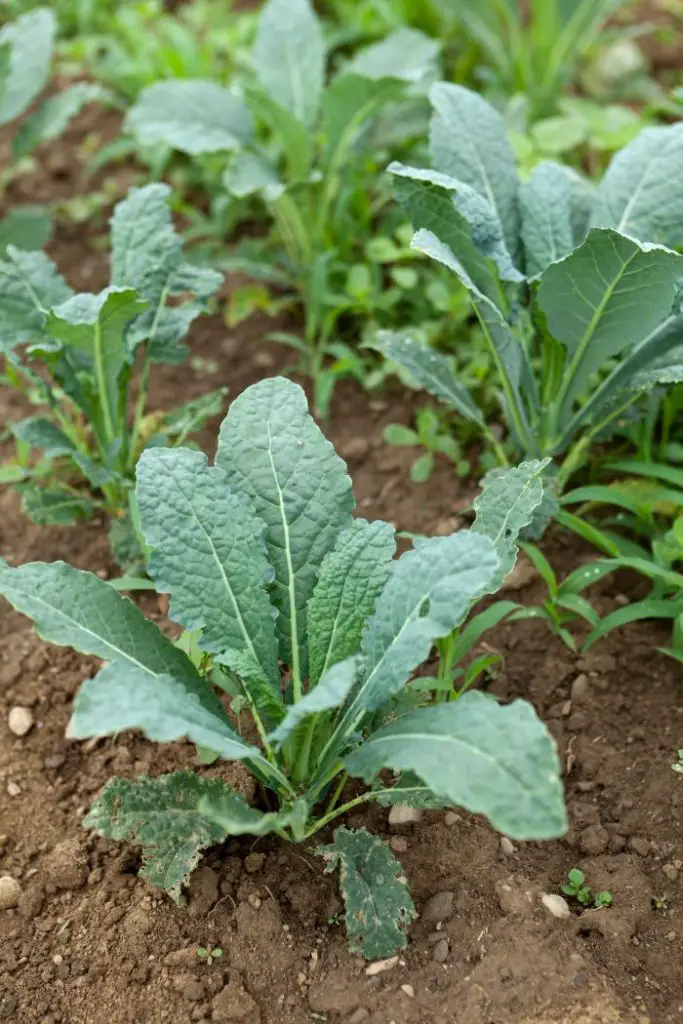
Before purchasing your kale seeds, research the specific variety that best suits your preferences and the growing conditions in your area. Whether you prefer curly kale, Lacinato kale, or Red Russian kale, make sure to select seeds that align with your gardening goals.
Soil and Potting Mix
For successfully planting kale seeds in pots, the quality of your soil and potting mix plays an important role in the growth and health of your kale plants. When preparing your potting mix, make sure it’s well-draining to prevent waterlogged roots, which can lead to disease. A mix of peat moss, perlite, and compost can create an ideal environment for kale seedlings to thrive. This blend provides good airflow and retains moisture without becoming too soggy.
Kale plants require nutrient-rich soil to support their growth. Mix in a slow-release organic fertilizer to provide a steady supply of nutrients as the plants develop. Additionally, consider adding some worm castings or compost to enhance soil fertility and promote healthy growth.
To prevent pests like aphids and caterpillars, regularly inspect your plants and remove any unwanted visitors. Implementing companion planting with marigolds or garlic can help deter pests naturally. Disease management is important; make sure proper air circulation around your plants to prevent fungal infections.
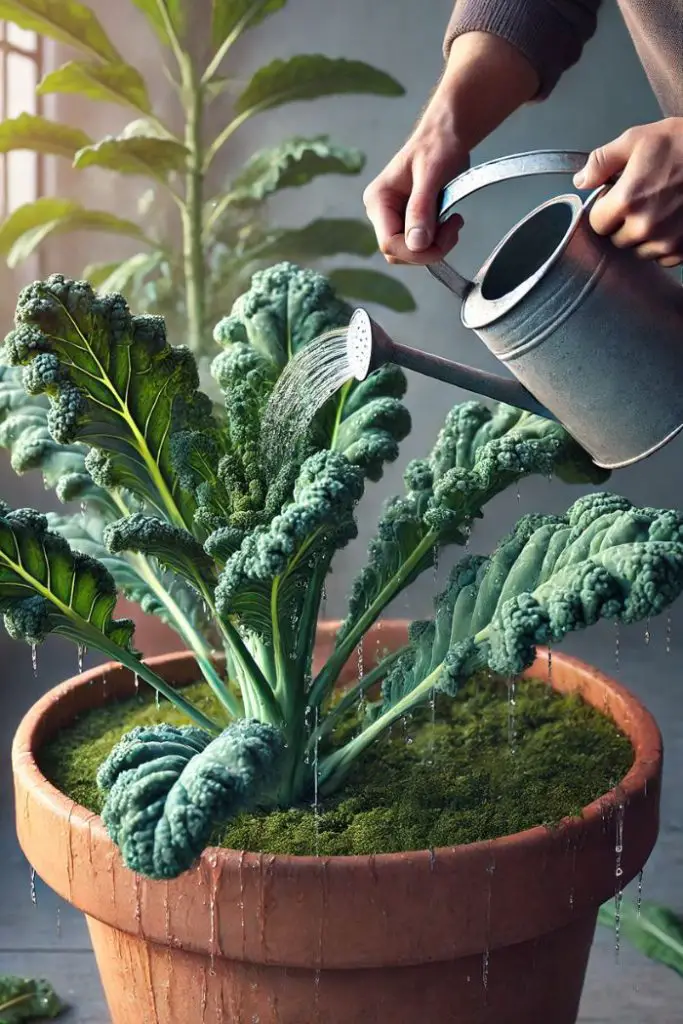
Watering and Care
To guarantee successful growth of kale seeds in pots, maintain a vital watering schedule and provide proper care to support their development.
Water your kale plants regularly, making sure the soil is moist but not waterlogged.
Kale is susceptible to pests such as aphids and caterpillars, so inspect the leaves regularly and remove any unwanted visitors by hand or use an organic insecticidal soap for pest prevention.
Additionally, disease management is essential for kale plants; avoid overhead watering to prevent fungal diseases, and if you notice any signs of disease, promptly remove the affected leaves to prevent the spread.

To promote healthy growth, provide adequate sunlight, ideally 6-8 hours per day, and rotate the pots occasionally for even sun exposure.
Fertilize your kale plants every 2-4 weeks with a balanced liquid fertilizer to ensure they receive essential nutrients for maximum growth.
Watering Requirements
Achieving ideal moisture levels is crucial for the successful growth of kale in pots. To guarantee your kale thrives, start with proper drainage. Select pots with drainage holes to prevent waterlogging, which can lead to root rot. Use a well-draining potting mix to facilitate excess water escape and avoid water stagnation.
When it comes to watering your kale, consistency is key. Establish a watering schedule based on the plant’s needs and environmental conditions. Kale generally requires about 1 to 1.5 inches of water per week, but this can vary depending on factors like temperature and humidity. Check the soil moisture regularly by inserting your finger about an inch deep; if it feels dry, it’s time to water.
Providing Adequate Sunlight
Ensuring your kale plants receive adequate sunlight is vital for their growth and development in pots. Kale thrives in full sunlight, so it’s essential to place your pots in a location where they can get at least 6-8 hours of direct sunlight daily. Sunlight exposure impacts the growth patterns of kale; insufficient light can lead to leggy plants with small leaves.
Light intensity plays a significant role in the development of kale leaves. When grown in pots, make sure to place them in a spot with consistent sunlight throughout the day. Rotate the pots occasionally to ensure all sides of the plant receive equal light exposure, promoting even leaf growth.
To maximize sunlight absorption, avoid placing pots in areas with shade from buildings or trees. Remember, the quality of light directly affects the health and yield of your kale plants. By providing adequate sunlight, you’ll support robust growth and vibrant, nutritious kale leaves in your container garden.
Fertilizing Your Kale Plants
When fertilizing your kale plants, consider the timing to promote maximum growth.
Choose between organic and synthetic fertilizers based on your preference and the needs of your plants.
Remember to fertilize your kale plants regularly to keep them healthy and thriving.
Timing for Fertilizing
In order for your kale plants to receive the necessary nutrients for healthy growth, it’s essential to fertilize them at the right timing. Understanding the fertilizing schedule and nutrient requirements of kale is vital for a thriving container garden.
Before starting, consider conducting a soil test to identify any nutrient deficiencies. This will guide you in selecting the appropriate fertilizer and ensuring your kale gets what it needs.
Typically, kale benefits from a balanced fertilizer with equal parts nitrogen, phosphorus, and potassium. During the growing season, aim to fertilize your kale plants every 4-6 weeks. However, avoid over-fertilizing as this can lead to nutrient imbalances and harm the plant.
A good practice is to apply the fertilizer around the base of the plant, making sure not to sprinkle it directly on the leaves to prevent burning.
Types of Fertilizers
Consider selecting a balanced fertilizer with equal parts nitrogen, phosphorus, and potassium to nourish your kale plants effectively. For organic options, you might choose compost, well-rotted manure, or seaweed extract.
These natural fertilizers provide essential nutrients while enhancing soil structure. If you prefer synthetic alternatives, look for a general-purpose fertilizer with an N-P-K ratio of 10-10-10 or similar. This will guarantee your kale receives the necessary nutrients for healthy growth.
Organic options are great for those wanting to avoid synthetic chemicals and promote soil health. Compost, for example, not only nourishes your plants but also improves soil structure and retains moisture.
Well-rotted manure is another excellent choice as it releases nutrients slowly, preventing the risk of burning your kale plants. Seaweed extract, rich in micronutrients and growth stimulants, can boost the overall health and resilience of your kale.
Synthetic alternatives offer a quick nutrient boost and are convenient to use. They’re formulated to provide specific ratios of nutrients tailored to your kale’s needs. Whichever option you choose, remember to follow the manufacturer’s instructions for application to avoid over-fertilizing.
Frequency of Fertilizing
To maintain the health and vigor of your kale plants, it’s important to establish a consistent schedule for fertilizing them. Kale plants have specific nutrient requirements that need to be met for best growth. A good fertilizing schedule for kale in pots is to fertilize every 2-4 weeks during the growing season. However, it’s essential to monitor your plants’ growth and health to adjust the frequency if needed.
When considering fertilizers for your kale, there are various organic options available. You can choose to use commercially available organic fertilizers or opt for homemade fertilizers. Homemade fertilizers, such as compost tea or a mix of organic materials like eggshells and coffee grounds, can be effective in providing the necessary nutrients for your kale plants. These organic options not only nourish your plants but also contribute to the overall health of the soil in your pots.
Mulching for Moisture Retention
For better moisture retention in your potted kale plants, spread a layer of organic mulch around the base of each plant. Organic mulching is one of the most effective moisture retention techniques for container gardening. Mulch helps to prevent evaporation of water from the soil, keeping the roots of your kale plants consistently moist and healthy.
When choosing mulch for your potted kale, opt for organic materials such as straw, shredded leaves, or compost. These materials not only help retain moisture but also provide nutrients to the soil as they break down over time. Make sure the mulch layer is about 2-3 inches thick but not directly touching the plant stem to prevent rotting.
Incorporating mulching into your container gardening routine is especially beneficial if you’re utilizing hydroponic growing methods or vertical gardening techniques. Mulch acts as a natural barrier against moisture loss, reducing the frequency of watering needed for your kale plants. By mulching your potted kale, you’re fostering a more sustainable and thriving growing environment.
Pruning for Optimal Growth
To optimize the growth of your potted kale, regularly prune any yellowing or damaged leaves using clean garden shears to promote healthy and robust foliage development. Pruning is essential for maintaining the vitality of your kale plant. When pruning, focus on removing any leaves that show signs of yellowing or damage. This not only enhances the appearance of your plant but also redirects the plant’s energy towards producing new, healthy leaves.
Understanding the growth patterns of kale is important for effective pruning. Kale tends to grow from the center outward, producing leaves that mature from the bottom up. By removing older leaves that are yellowing or damaged, you encourage the plant to focus its energy on new growth. This practice not only helps in yield optimization but also prevents the plant from wasting resources on maintaining unhealthy foliage.
Regular pruning also aids in leaf maintenance. It allows for better air circulation and light penetration, reducing the risk of diseases caused by moisture build-up. Remember to prune selectively and avoid excessive cutting, as this could hinder the plant’s growth. By following proper pruning techniques, you can make sure your potted kale thrives and yields bountiful, vibrant leaves.
Dealing With Pests Naturally
When combating pests on your potted kale naturally, start by inspecting the leaves and stems for any signs of infestation. Natural pest control methods are effective in keeping your kale healthy. One way to deter pests is through companion planting. Consider planting herbs like mint, dill, or cilantro near your kale, as these can help repel common pests such as aphids or cabbage worms.
Another natural pest control method is to use a mixture of water and mild soap to spray on your kale plants. This solution can help get rid of soft-bodied insects like spider mites or whiteflies. Neem oil is also a popular choice for controlling pests on kale; dilute it with water and apply it to the leaves following the instructions on the product label.
Regularly checking your plants for any early signs of pest infestation and promptly addressing them will help keep your potted kale thriving. By being proactive and using natural pest control methods like companion planting and homemade sprays, you can enjoy a bountiful harvest of healthy kale.
Recognizing Common Diseases
Inspecting your potted kale regularly for signs of common diseases is essential to maintaining the health and productivity of your plants. Disease prevention is vital in ensuring a thriving kale crop.
One common issue to watch out for is fungal infections, such as powdery mildew or downy mildew. These can appear as white powdery spots or yellow lesions on the leaves. To tackle these fungal infections, try spraying a mixture of baking soda and water on the affected plants, as it can help prevent the spread of the disease. Additionally, pruning infected leaves and ensuring proper air circulation around your kale plants can aid in treatment.
Remember to remove any fallen leaves from the pot and avoid overhead watering to minimize the risk of fungal diseases. By being proactive in recognizing these common diseases and implementing appropriate remedies, you can help your potted kale thrive and produce bountiful harvests.
Harvesting Kale Leaves
Regularly monitoring the size and color of your kale leaves is essential as you prepare for the harvesting process. When harvesting kale, remember that the younger leaves at the top of the plant are the most tender and flavorful.
Pick these leaves first, starting from the outermost part of the plant and working your way inwards. Use sharp scissors or garden shears to cut the leaves about an inch above the stem. This method allows the plant to continue producing more leaves, ensuring a bountiful harvest throughout the growing season.
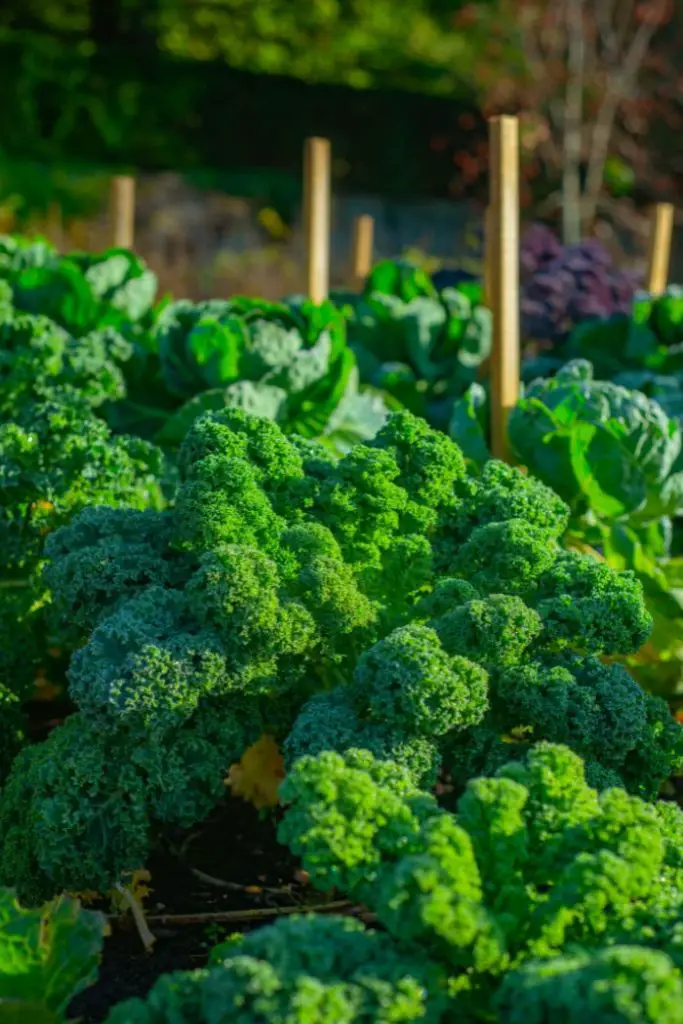
Kale is a nutrient-rich leafy green that thrives on frequent harvesting. As you gather the leaves, inspect them for any signs of damage or disease. Discard any damaged leaves to promote the health of the plant and prevent the spread of potential issues.
Remember, the more you harvest, the more the plant will grow, providing you with a continuous supply of fresh, nutrient-packed kale for your culinary creations.
Extending the Growing Season
To maximize your kale yield and enjoy fresh greens for an extended period, consider applying strategies that help prolong the growing season. When it comes to winter protection for your potted kale, one effective method is utilizing cold frame techniques.
Cold frames are like mini greenhouses that provide insulation and shelter from harsh weather conditions. By placing your potted kale inside a cold frame, you can create a microclimate that shields the plants from frost and cold winds, allowing them to thrive even as temperatures drop.
To set up a cold frame, choose a sturdy, transparent material such as glass or clear plastic to construct a simple structure that fits over your pots. Make sure to place the cold frame in a sunny spot to maximize sunlight exposure during the shorter winter days.
Opening the cold frame during sunny days and closing it at night helps regulate the temperature inside, providing a stable environment for your kale plants to continue growing during the colder months.
By implementing winter protection techniques like cold frames, you can extend your kale growing season and enjoy fresh greens well into the winter.
Frequently Asked Questions
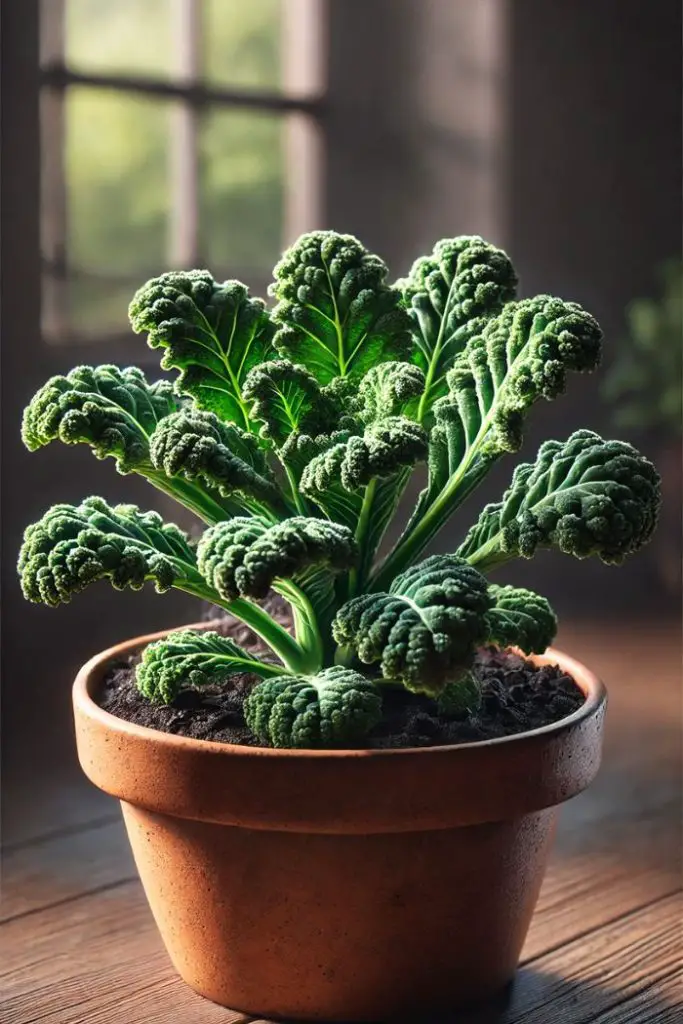
Can I Grow Kale in a Pot Indoors?
You can totally grow kale in a pot indoors! Make sure you place it where it gets enough indoor lighting. Use a container that is big enough for the kale to thrive. Enjoy your indoor garden!
How Often Should I Rotate My Kale Pots?
To guarantee even growth, rotate your kale pots every 2-3 days. This practice helps all sides receive sunlight evenly, preventing leggy growth. Ideal conditions for kale include full sun, well-draining soil, and regular watering.
Can I Use Tap Water to Water My Kale Plants?
Yes, you can use tap water for your kale plants. However, consider the water quality in your area. Chlorine can affect nutrient absorption and plant health. Let the water sit for a day before watering to allow chlorine to evaporate.
Should I Remove Yellowing Leaves From Kale Plants?
When dealing with leaf discoloration like yellowing on kale plants, it’s essential to remove the affected leaves promptly. This not only enhances the plant’s appearance but also promotes better nutrition absorption and aids in pest management.
Can I Grow Different Kale Varieties in the Same Pot?
Yes, you can grow different kale varieties in the same pot. Companion planting kale varieties can enhance growth. Guarantee proper spacing between plants for adequate airflow. Use nutrient-rich soil to support their growth. Enjoy experimenting with various kale types in one pot!
Conclusion
To sum up, growing kale in pots is a rewarding and convenient way to enjoy fresh, nutritious greens at home.
By choosing the right pot size, providing adequate sunlight, using a good potting mix, and properly caring for your plants, you can successfully cultivate kale in a container garden.
Remember to water regularly, fertilize as needed, and monitor for pests and diseases to guarantee a bountiful harvest of delicious kale leaves.