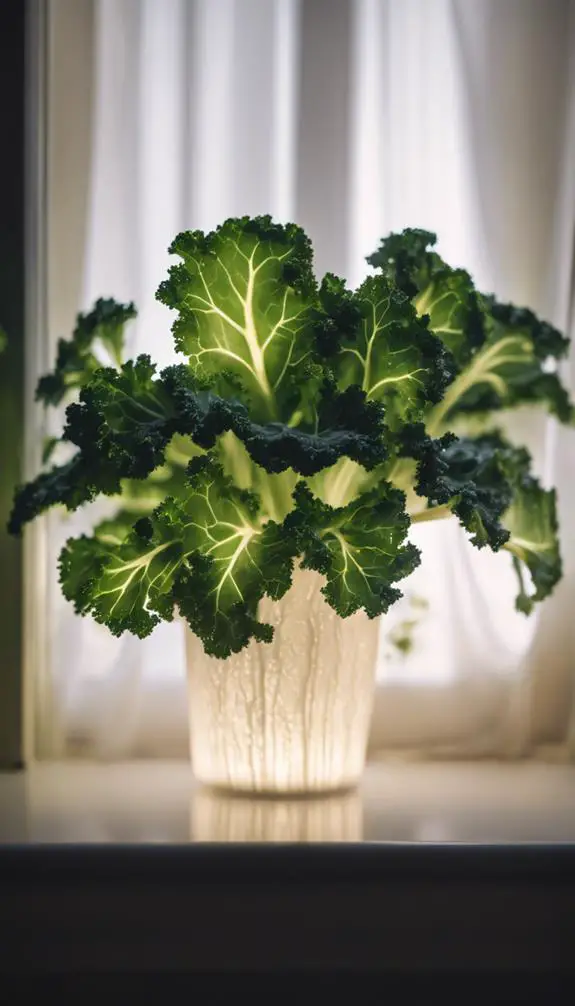
You're enthusiastic to grow kale indoors, but where do you start? First, you'll need to choose the right kale variety – some are better suited for indoor growth than others. Once you've selected your kale, it's time to think about the container and soil. You'll want a pot with drainage holes and a well-draining mix specifically designed for indoor gardening. But that's just the beginning – you'll also need to provide the ideal lighting conditions, maintain a consistent temperature range, and develop a watering and fertilization schedule.
Summary
- Select a kale variety suitable for indoor growing, such as 'Red Russian', 'Lacinato', or 'Dwarf Blue Curled', considering factors like flavor and growth habit.
- Use a container with drainage holes and a well-draining mix specifically designed for indoor gardening to prevent waterlogged soil.
- Provide kale with at least 6 hours of direct sunlight or use Light Therapy lamps to mimic natural sunlight, and maintain a consistent temperature between 65°F to 75°F (18°C to 24°C).
- Water kale consistently, checking the soil daily to ensure it's moist but not waterlogged, and maintain a relative humidity of 40-60% to prevent fungal diseases.
- Fertilize kale with a balanced, water-soluble fertilizer at half the recommended strength to promote healthy growth and maximize yields.
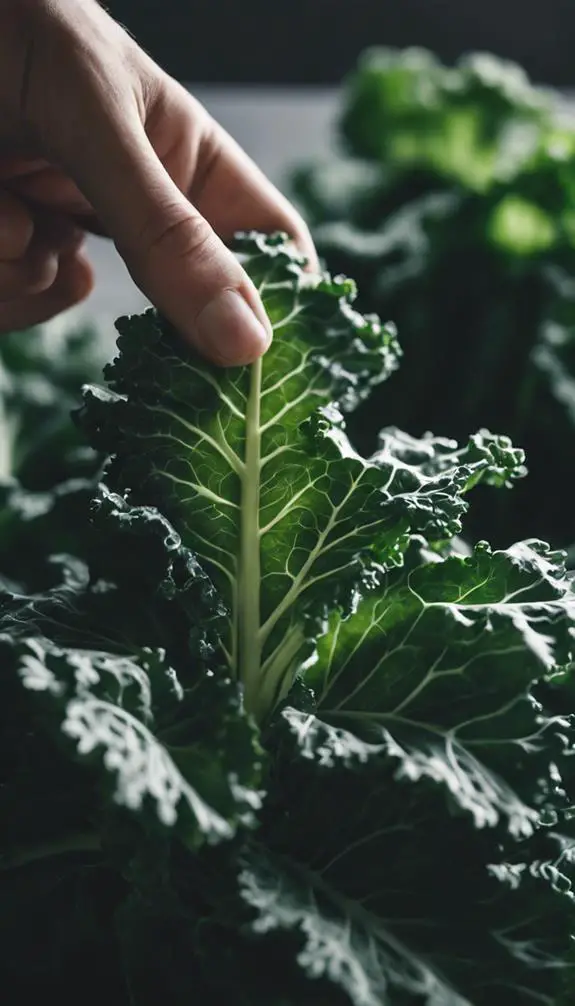
Choosing the Right Kale Variety
When it comes to growing kale indoors, selecting the right variety is crucial, as different types excel in various conditions and spaces.
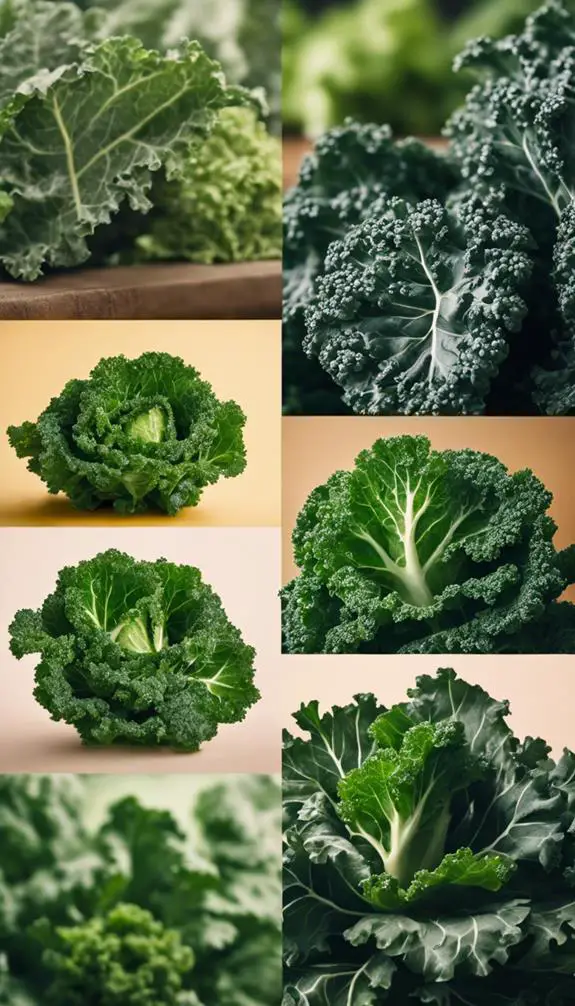
You'll want to ponder factors like kale color, which can range from deep green to vibrant purple, and kale flavor, which can vary from mild and sweet to peppery and bold.
Some popular varieties for indoor growing include 'Red Russian', with its delicate flavor and frilly leaves, and 'Lacinato', known for its dark green color and earthy flavor.
'Dwarf Blue Curled' is another great option, with its compact growth habit and sweet, nutty flavor.
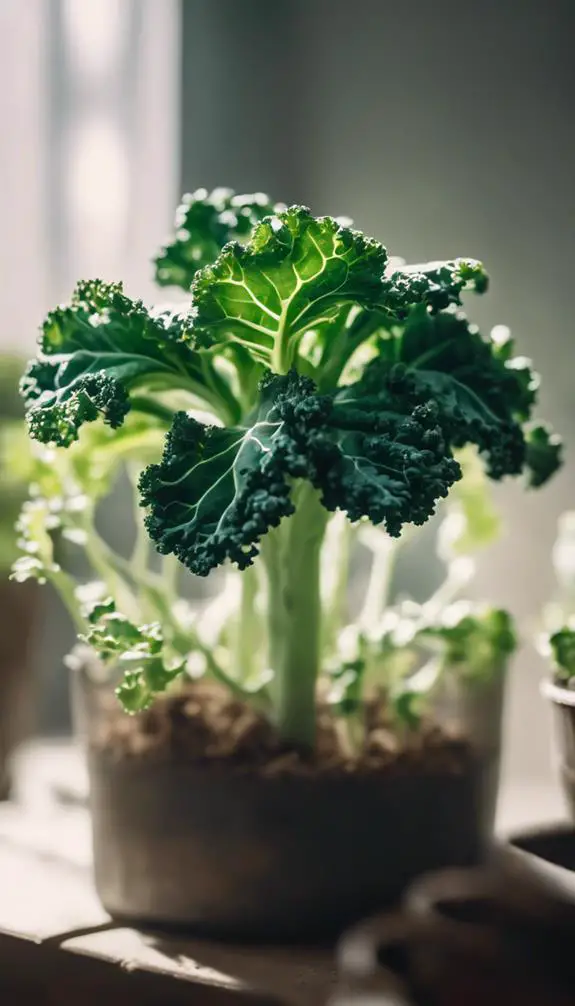
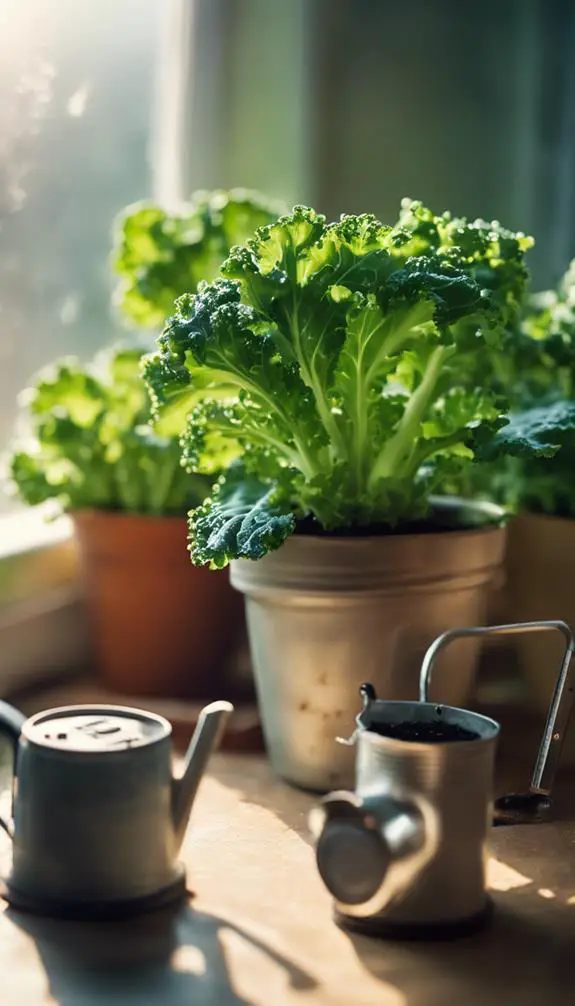
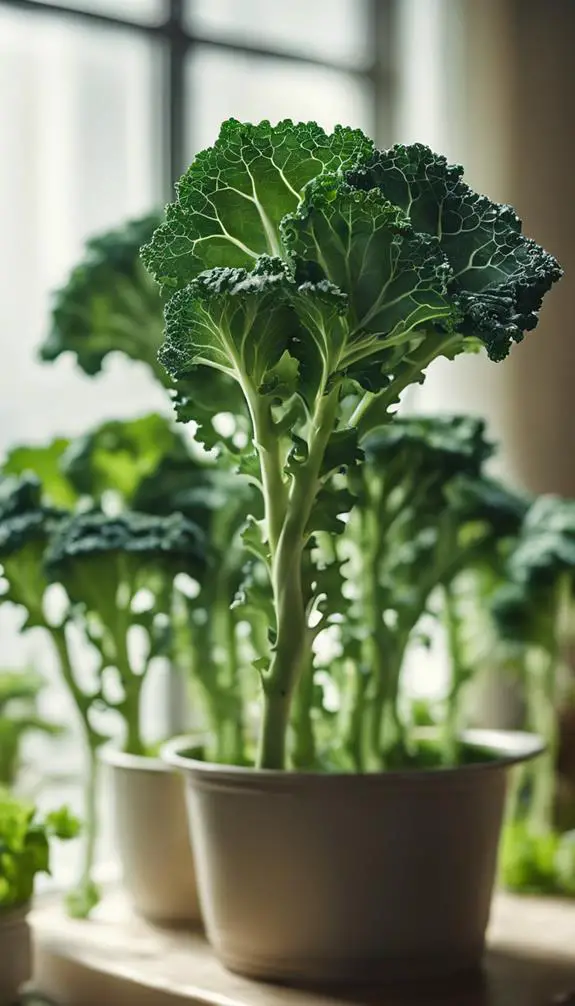
Selecting a Container and Soil
Now that you've chosen a kale variety, it's time to prepare the foundation for its growth.
Select a container that's at least 6-8 inches deep and has drainage holes to prevent waterlogged soil. Container materials like ceramic, plastic, or wood are suitable options.
When it comes to soil, look for a well-draining mix specifically designed for indoor gardening.
The ideal soil composition should consist of peat moss, vermiculite, and perlite to retain moisture, regulate temperature, and promote healthy root development.
Avoid using soil from your outdoor garden, as it can compact and prevent proper drainage.
A high-quality potting mix will provide the necessary support for your kale to thrive indoors.
Providing Optimal Lighting Conditions
Six hours of direct sunlight per day is the minimum requirement for kale to photosynthesize and grow indoors.
If you don't have a window that receives direct sunlight for that long, consider investing in Light Therapy lamps specifically designed for indoor gardening. These lamps mimic natural sunlight, providing the necessary spectrum and intensity for kale growth.
When placing your kale container, consider the Window Orientation. A south-facing window is ideal, as it receives the most direct sunlight throughout the day. If that's not possible, an east- or west-facing window will also work. Avoid north-facing windows, as they receive little to no direct sunlight.
Maintaining Ideal Temperature Ranges
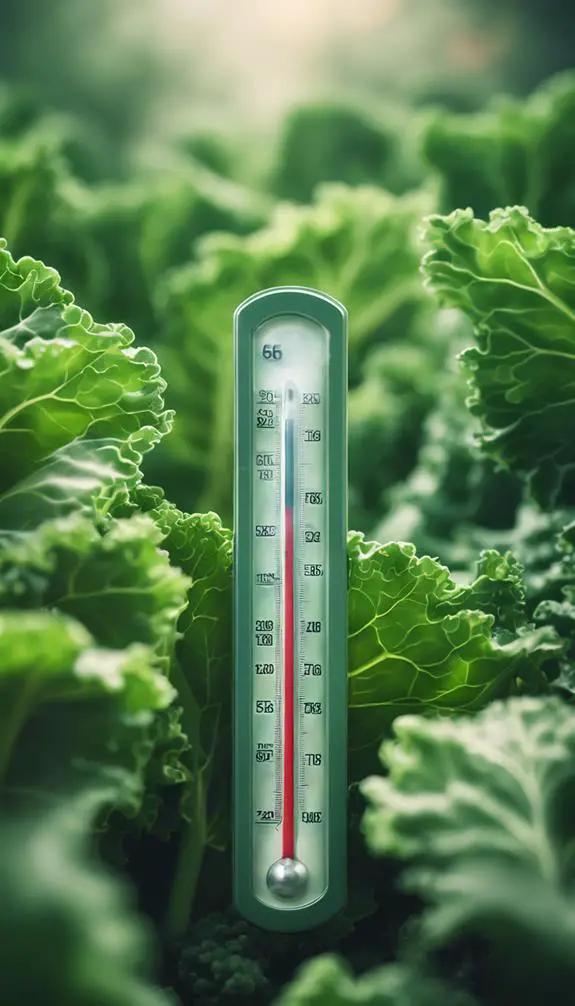
Your indoor kale garden requires a narrow temperature range to thrive.
Kale prefers daytime temperatures between 65°F to 75°F (18°C to 24°C) and slightly cooler nighttime temperatures around 55°F to 65°F (13°C to 18°C).
Temperature fluctuations can be detrimental, so it's vital to maintain a consistent range.
Cold snaps, in particular, can cause stress to the plants, leading to weakened growth and increased susceptibility to disease.
To avoid this, verify your growing space is well-insulated, and consider using a thermostat to regulate the temperature.
Watering and Humidity Control
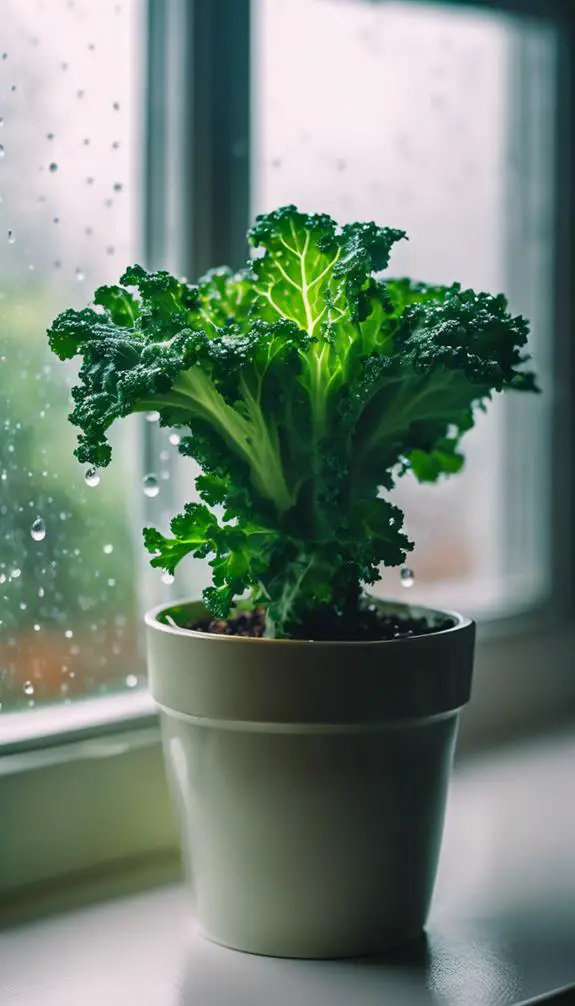
Precision is key when it comes to watering and humidity control, as kale demands a delicate balance to thrive.
You'll want to establish a consistent watering schedule, checking the soil daily to verify it's moist but not waterlogged. Aim to provide about 1-2 inches of water per week, either through rainfall or irrigation.
As for humidity levels, kale prefers a relative humidity of 40-60%. You can achieve this by placing the pot on a tray filled with water and pebbles or using a humidifier.
Monitor the humidity levels regularly, adjusting as needed to prevent fungal diseases. By maintaining ideal watering and humidity conditions, you'll be well on your way to growing healthy, thriving kale indoors.
Fertilizing Your Indoor Kale
Fertilizing your indoor kale is a crucial step in promoting healthy growth and maximizing yields.
You'll want to provide your kale with a balanced diet of nutrients to support peak kale nutrient absorption. Opt for organic fertilizers, which release nutrients slowly and promote beneficial microbial activity in the soil.
A water-soluble fertilizer with a balanced N-P-K ratio (e.g., 20-20-20) is a good starting point. Dilute the fertilizer to half the recommended strength to avoid burning your kale's roots.
Apply the fertilizer once a week, and adjust as needed based on your kale's response. With the right fertilizer, you'll be on your way to growing luscious, nutritious kale indoors.
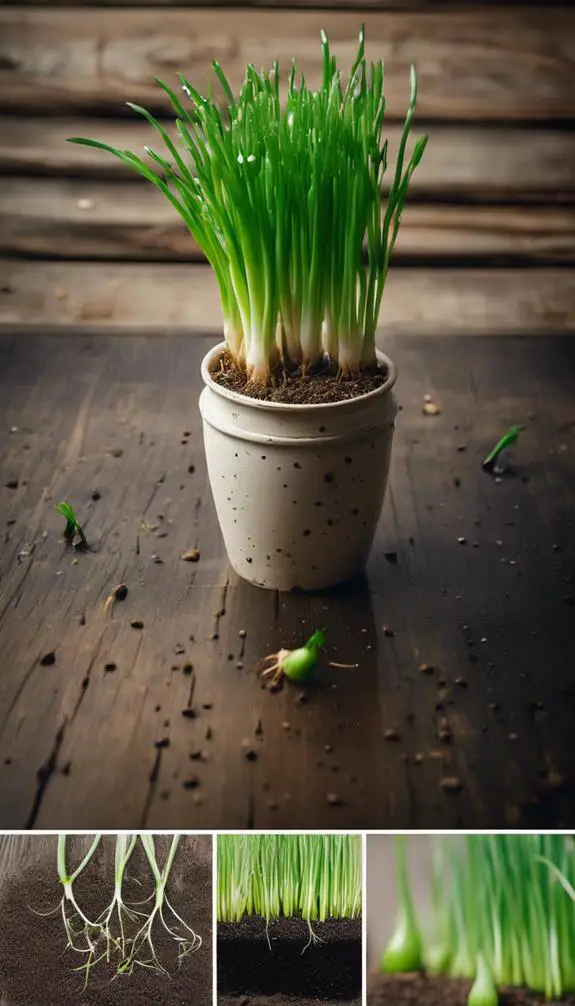
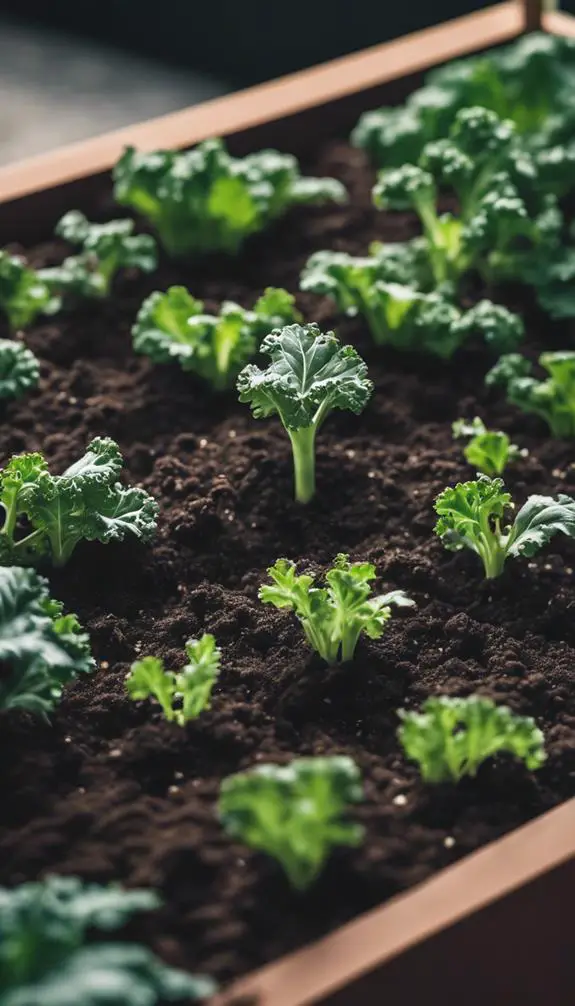
Sowing Kale Seeds Indoors
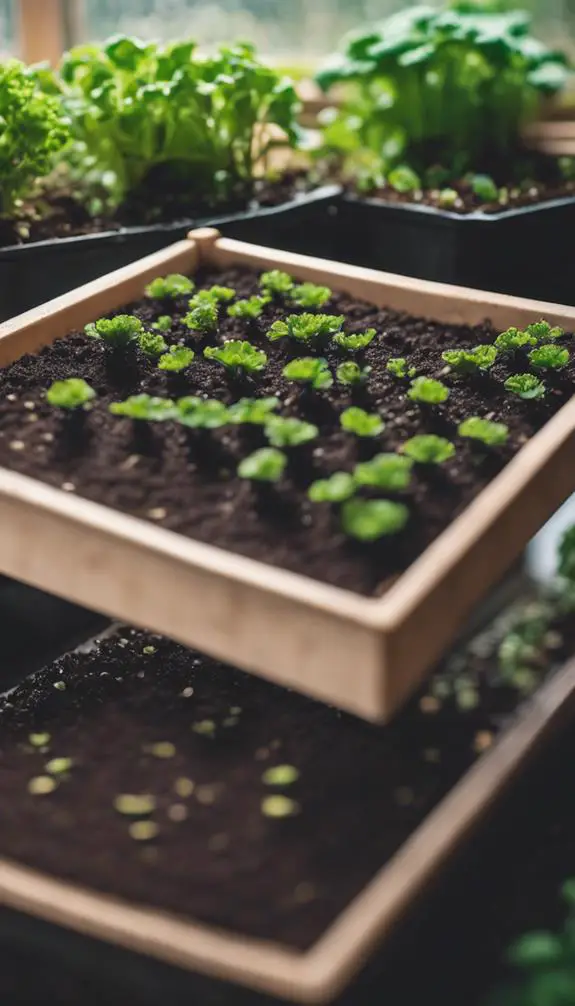
Sow kale seeds about ¼ inch deep and 2-3 inches apart in a seed starting mix. Certify the seeds are fresh, as old seeds may have lower germination rates.
Use a shallow container or cell tray with drainage holes to prevent waterlogged soil. Gently firm the mix around the seeds to secure them in place.
Water the soil gently but thoroughly, making sure the mix is consistently moist but not waterlogged. Kale seeds typically germinate within 5-7 days, depending on temperature and light conditions.
Maintain a consistent temperature of around 70-75°F (21-24°C) to promote healthy germination.
Caring for Kale Seedlings
You'll need to provide your kale seedlings with the right conditions to thrive.
This means ensuring they receive adequate lighting, as kale requires intense light to develop strong stems and leaves.
You'll also need to establish a daily watering routine and implement temperature control methods to maintain a prime environment for growth.
Lighting for Kale Seedlings
As kale seedlings emerge, they require adequate lighting to develop strong, healthy stems and leaves.
You'll want to provide them with a light source that mimics the kale spectrum, which falls between 400-700 nanometers. This range promotes photosynthesis and encourages leaf growth.
Use light timers to guarantee your kale seedlings receive 12-14 hours of light daily. Position the light source 6-8 inches above the seedlings, adjusting as they grow.
Aim for an intensity of 20-40 watts per square foot. By providing ideal lighting, you'll set your kale seedlings up for success, giving them a strong foundation to thrive indoors.
Watering Kale Seedlings Daily
The soil surrounding your kale seedlings must remain consistently moist, but not waterlogged, to foster healthy growth.
You'll need to water them daily, but the frequency may vary depending on the kale variety and pot size. Check the soil moisture by gently poking your finger into the soil up to the first knuckle. If the soil feels dry, it's time to water.
Water consistency is key, so aim to provide the same amount of water each day. For indoor kale, a good rule of thumb is to provide about 1-2 cups of water per day.
Adjust this amount based on the plant's response, and avoid overwatering, which can lead to root rot and other problems.
Temperature Control Methods
Kale seedlings thrive in a temperature range of 65-75°F (18-24°C), which is ideal for promoting healthy growth and development.
You can control the temperature using various methods. One way is to use heat mats, which can increase the soil temperature by 10-20°F (5-10°C) above the ambient air temperature. This is especially useful for indoor growing, where temperatures can drop markedly at night.
Another method is cold framing, which involves using a structure to extend the growing season. By trapping heat from the sun during the day and retaining it at night, you can create a microclimate that's perfect for kale seedlings.
Pruning and Training Kale Plants
Your kale plants' productive life depends on regular pruning and training, which encourages bushy growth, prevents legginess, and maximizes leaf yield.
To achieve ideal kale architecture, you'll need to prune your plants regularly, promoting a strong, compact structure.
Start by removing any weak or spindly growth, making way for stronger stems to develop. Pinch off the terminal bud to encourage branching, and trim back lower leaves to promote healthy leaf formation.
As your plants grow, continue to prune and train the stems, shaping your kale into a dense, productive bush. This careful attention will reward you with a bountiful harvest of crisp, nutritious leaves.
Managing Pests and Diseases
As you grow kale indoors, you'll need to monitor your plants closely for signs of pests or disease, which can quickly spread and devastate your crop.
You'll want to be prepared to implement effective pest control methods to eliminate any unwanted visitors, such as aphids or whiteflies, that can weaken your kale plants.
Additionally, you should be aware of common kale diseases, like powdery mildew or leaf spot, and know how to treat them promptly to prevent their spread.
Pest Control Methods
Several common pests can infest indoor kale plants, including spider mites, mealybugs, and aphids, which can spread disease and weaken the plants.
To control these pests, you'll need to act quickly and decisively. One effective method is to use fly traps, which can capture and eliminate adult pests.
You can also spray Neem oil on the plants, which will help to repel and kill pests. Additionally, make sure to inspect your plants regularly, checking for signs of infestation such as white powdery residue or tiny eggs on the leaves.
Common Kale Diseases
While maintaining a healthy indoor kale garden, you must also be vigilant about common diseases that can affect your plants.
Fungal infections, such as powdery mildew and leaf spots, are prevalent in indoor kale gardens due to high humidity and poor air circulation.
Bacterial blights, like bacterial leaf spot and soft rot, can also infect your kale plants, causing lesions and decay.
To prevent these diseases, guarantee good air circulation around your plants, water them carefully to avoid moisture buildup, and remove infected leaves promptly.
Regularly inspect your plants for signs of disease, and treat fungal infections with fungicides and bacterial blights with bactericides.
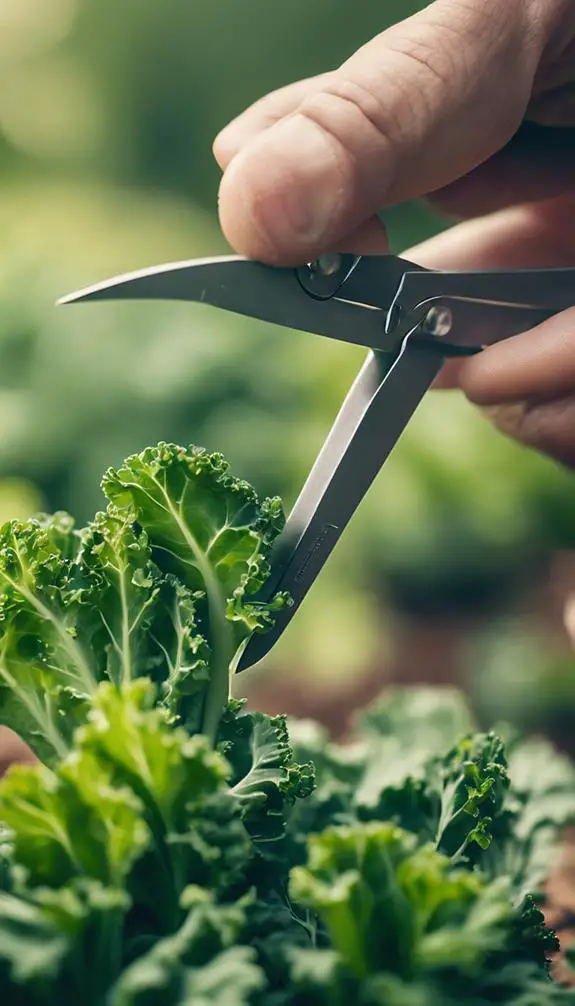
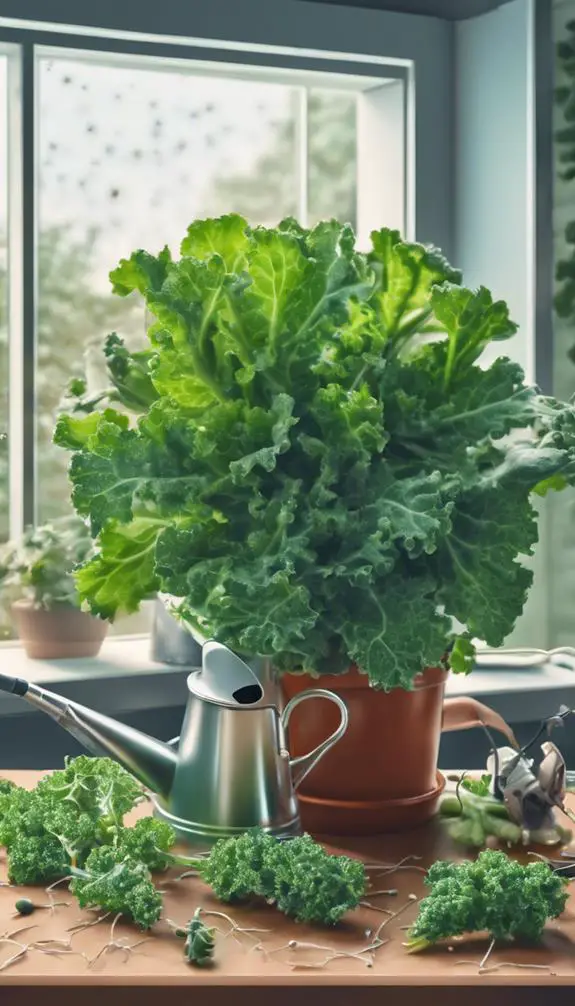
Harvesting Kale Leaves Correctly
You've nurtured your kale plants indoors, and now it's time to reap the rewards.
When harvesting kale leaves, timing is vital. Check for kale maturity by inspecting the leaves for a deep green color and a slightly tender texture.
For peak flavor and texture, pluck individual leaves when they reach 2-3 inches in length. Leaf plucking encourages the plant to produce new growth, ensuring a continuous supply of fresh kale.
Pinch or cut the leaves at the base of the stem, just above a leaf node, using clean scissors or fingers. Avoid tearing or ripping the leaves, as this can damage the plant.
Harvesting correctly will promote healthy growth and maximize your indoor kale yield.
Promoting Continuous Growth
To keep your indoor kale crop thriving, provide it with the right conditions to promote continuous growth.
You'll need to create a microclimate that mimics the ideal outdoor environment. This can be achieved by maintaining a consistent temperature between 60-70°F (15-21°C), relative humidity above 50%, and perfect air circulation.
Employ growth stimulators like LED grow lights, which emit specific spectrums to enhance photosynthesis. Additionally, guarantee your kale plants receive 12-14 hours of light daily.
Regular pruning and fertilization will also encourage bushy growth and prevent flowering. By carefully controlling these factors, you'll be able to promote continuous growth and enjoy a bountiful harvest of nutritious kale leaves.
Troubleshooting Common Issues
As you monitor your indoor kale's progress, you'll likely encounter some common issues that can hinder its growth.
You might notice pests like aphids, whiteflies, or spider mites attacking your plants, or diseases like powdery mildew or leaf spot taking hold.
Pests and Diseases
Kale plants grown indoors are susceptible to pests and diseases, which can quickly spread and decimate your crop if left unchecked.
You must monitor your plants regularly to catch any issues early on. Fungal infections, such as powdery mildew, can be identified by white, powdery patches on leaves.
Treat fungal infections by removing affected leaves, increasing air circulation, and using organic fungicides. Root maggots, the larvae of flies, can also infest kale plants.
Check for maggots by gently removing the plant from its pot and inspecting the roots. If you find maggots, repot the plant in fresh soil and consider using row covers to prevent further infestation.
Catching these issues early will help prevent the spread of pests and diseases, ensuring a healthy kale crop.
Kale Not Thriving
You've invested time and effort into growing kale indoors, but despite your best efforts, the plants aren't thriving.
Don't be discouraged by kale disappointments – identify the underlying issues and take corrective action. Common kale stressors include inadequate light, inconsistent watering, and poor air circulation.
Inspect your setup and adjust as needed. Check for signs of nutrient deficiency, such as yellowing leaves or stunted growth, and consider supplementing with fertilizers.
Certify your kale is receiving sufficient CO2 and maintain a consistent temperature between 65-75°F (18-24°C). By addressing these potential stressors, you can help your kale plants recover and flourish indoors.
FAQs
Can I Grow Kale Indoors Without a Green Thumb?
You, a kale novice, can still thrive in indoor gardening; even without a green thumb, you can create an ideal indoor climate, controlling temperature, humidity, and light to coax kale growth, yielding a bountiful harvest.
Will Indoor Kale Attract Pests From My Outdoor Garden?
When growing plants indoors, you'll want to minimize pest migration pathways to prevent outdoor pests from infiltrating your indoor ecosystem. Seal entry points, use fine-mesh screens, and maintain a clean environment to reduce the risk of pests migrating from your outdoor garden to your indoor kale.
Can Kale Be Grown in a Windowless Room With LED Lights?
You can successfully grow kale in a windowless room with LED lights, but you'll need to guarantee the LED intensity is sufficient (around 200-400 μmol/s) and provide the right light duration (12-14 hours/day) for peak growth.
How Often Should I Rotate My Indoor Kale Plant?
You should rotate your indoor kale plant every 2-3 days to guarantee even light exposure and prevent leaning in one direction, promoting uniform growth and maximizing kale production by adjusting its direction towards the light source.
Can Kale Be Grown Hydroponically Indoors?
You can successfully grow kale hydroponically indoors, increasing kale yield by up to 30% compared to traditional soil-based methods, with a well-designed hydroponic setup that provides ideal nutrient delivery and precise pH control.
Conclusion
You've successfully navigated the indoor kale growing process. By selecting the right variety, providing prime lighting and temperature conditions, and maintaining a consistent watering and pruning schedule, you've created an ideal environment for your kale to thrive. With regular harvesting and troubleshooting, you'll enjoy a continuous supply of fresh, nutritious kale leaves. Remember to stay vigilant for pests and diseases, and make adjustments as needed to guarantee a bountiful harvest.