When you decide to grow okra in pots, you'll soon discover it's a bit more finicky than other container vegetables. To set yourself up for success, you'll need to get a few things right from the start. For instance, you'll want to choose a compact variety that's specifically bred for small spaces, and select a pot that's large enough to accommodate the mature plant's root system. But that's just the beginning – you'll also need to nail down the perfect soil mix, sowing depth, and temperature range for ideal germination.
Summary
- Select a pot that's at least 12-14 inches deep and 18-20 inches wide with good drainage holes to prevent waterlogged soil.
- Choose a compact or dwarf okra variety specifically bred for container growing, with a bush or semi-bush growth habit.
- Sow okra seeds about ¼ inch deep and 1-2 inches apart in a well-draining seed starting mix, and provide a warm indoor climate.
- Harden off seedlings through outdoor acclimation before direct transplanting, and monitor their response to adjust the process as needed.
- Provide okra plants with full sun to partial shade, at least 6 hours of direct sunlight, and maintain a relative humidity of 50-60%.
Choosing the Right Pot Size

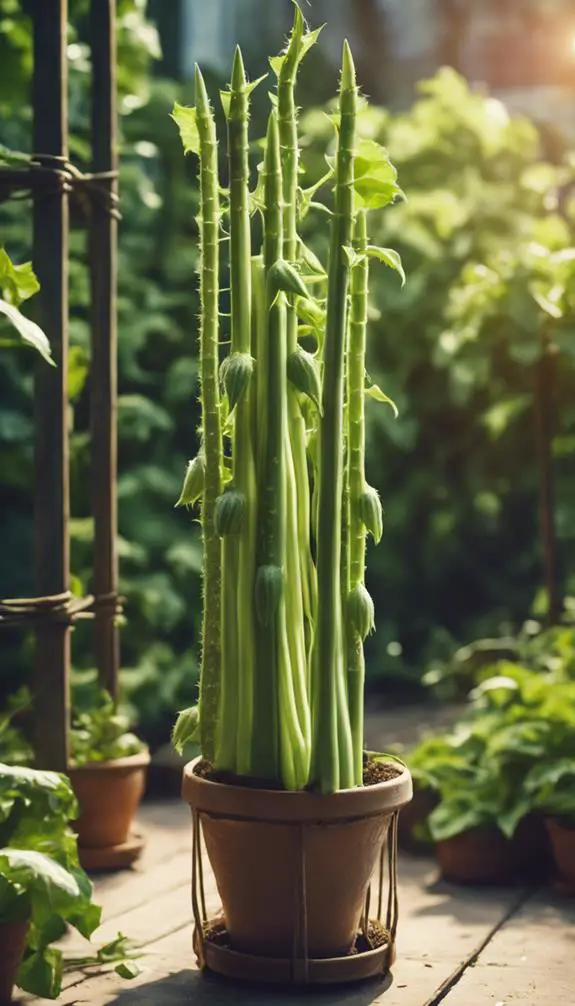
When selecting a pot for growing okra, consider the mature size of the okra plant, which can reach up to 6 feet tall and 3 feet wide.
You'll need a pot that provides enough room for the plant's roots to develop and its stalks to grow upright. Opt for a pot that's at least 12-14 inches deep and 18-20 inches wide.
Choose a pot material that's durable, such as plastic or ceramic, and has good drainage holes to prevent waterlogged soil. Verify the pot has multiple drainage holes, about 0.5-1 inch in diameter, spaced evenly around the bottom.
This will allow excess water to escape, reducing the risk of root rot and other problems.
Selecting a Well-Draining Soil Mix

In conjunction with a spacious pot, a well-draining soil mix is essential for growing healthy okra in containers.
You'll want to select a mix that's specifically designed for containers, as it'll retain the right amount of moisture without waterlogging. Look for a mix with a balanced soil composition, comprising 20-30% organic matter, 40-50% inorganic matter, and 30-40% air space.
This blend will guarantee superior drainage, preventing drainage issues that can lead to root rot. Avoid using regular garden soil, as it can compact and prevent proper drainage.
Instead, opt for a mix that incorporates materials like perlite, vermiculite, or sand to enhance drainage and aeration.
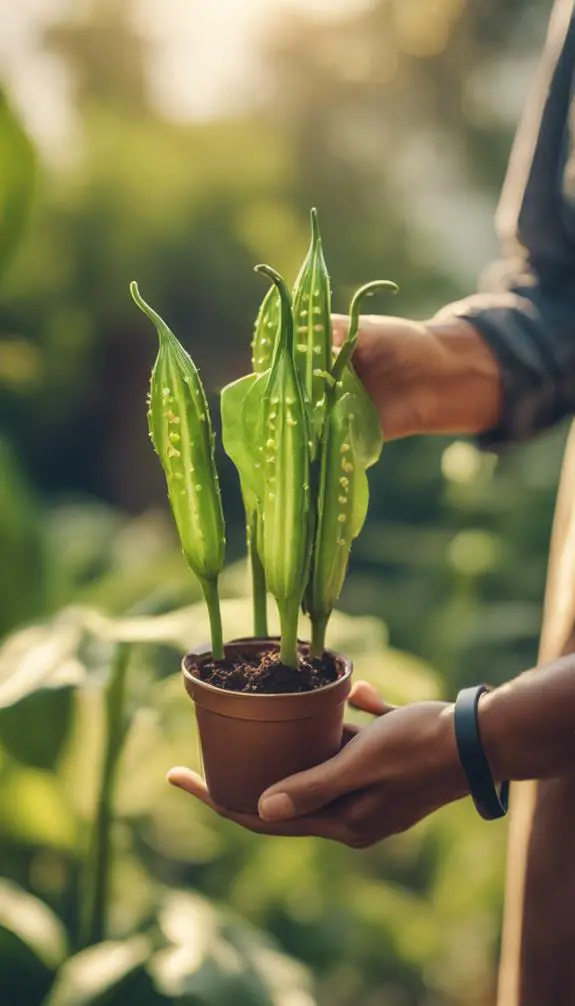
Picking a Variety for Containers

When choosing an okra variety for container growing, you'll want to focus on types that thrive in small spaces, such as compact or dwarf varieties.
Look for okra varieties with bush or semi-bush growth habits, which will naturally require less pruning and support.
Okra Types for Containers
Select an okra variety that's specifically bred for container growing, as these tend to be more compact and produce smaller pods.
You'll find okra breeds like 'Clemson Spineless' and 'Red Burgundy' that thrive in containers. These container varieties are designed to grow vertically, making the most of your pot's space.
Look for varieties that are labeled as "dwarf" or "bush" okra, as they'll naturally stay smaller and more compact.
Some popular okra breeds for containers include 'Patio', 'Baby Bubba', and 'Jing Orange'. These varieties are perfect for small-space growing and will produce plenty of delicious okra pods for you to enjoy.
Small Space Okra Varieties
Your okra variety choice substantially impacts the success of growing okra in pots.
When selecting a variety, consider the space constraints of container growing. Breeders have developed okra varieties specifically for small spaces, focusing on compact growth habits and high yields.
Look for varieties bred for container growing, such as 'Clemson Spineless' or 'Red Burgundy'. These varieties have been developed through okra breeding programs to thrive in restricted spaces.
They typically have smaller pods, fewer spines, and more compact plant structures, making them ideal for pots. By choosing a variety tailored to small spaces, you'll maximize your okra harvest while minimizing the space required.
Compact Growth Habits
Okra breeders have carefully crafted compact varieties, such as 'Cajun Delight' and 'Jing Orange', to thrive in container confines, where vertical space is at a premium.
You'll want to choose okra varieties that are bred for compact growth habits, as they'll naturally grow shorter and bushier.
Dwarf cultivars, like 'Red Burgundy' and 'Lady Finger', are ideal for pots, reaching maturity at around 2-3 feet tall.
These varieties produce smaller pods, but in greater quantities, making them perfect for small-space gardening.
When selecting an okra variety, look for keywords like "dwarf", "compact", or "bush" to confirm you're getting a variety that's well-suited for container growing.
Sowing Okra Seeds Indoors
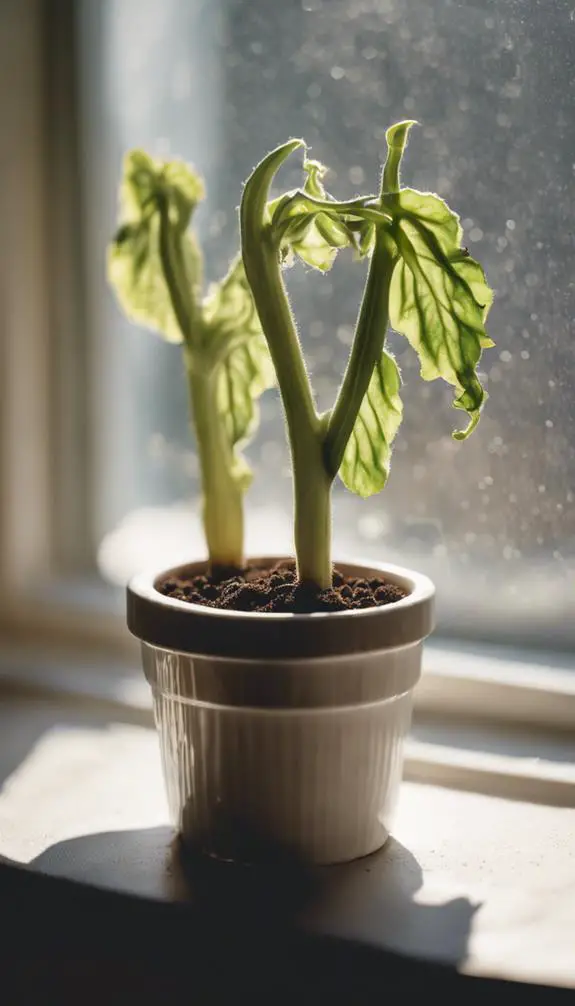
Sowing okra seeds indoors requires careful planning and attention to detail to certify successful germination.
You'll need to create an indoor climate that mimics the ideal conditions for okra seed germination.
Start by filling small pots or seed trays with a well-draining seed starting mix.
Sow okra seeds about ¼ inch deep and 1-2 inches apart.
Cover the seeds with a thin layer of the mix.
Water gently but thoroughly, and guarantee the soil remains consistently moist but not waterlogged.
Provide a warm indoor climate with temperatures between 75°F to 85°F (24°C to 30°C).
Keep the area humid by covering the pots with clear plastic bags or a cloche.
Transplanting Seedlings Outdoors
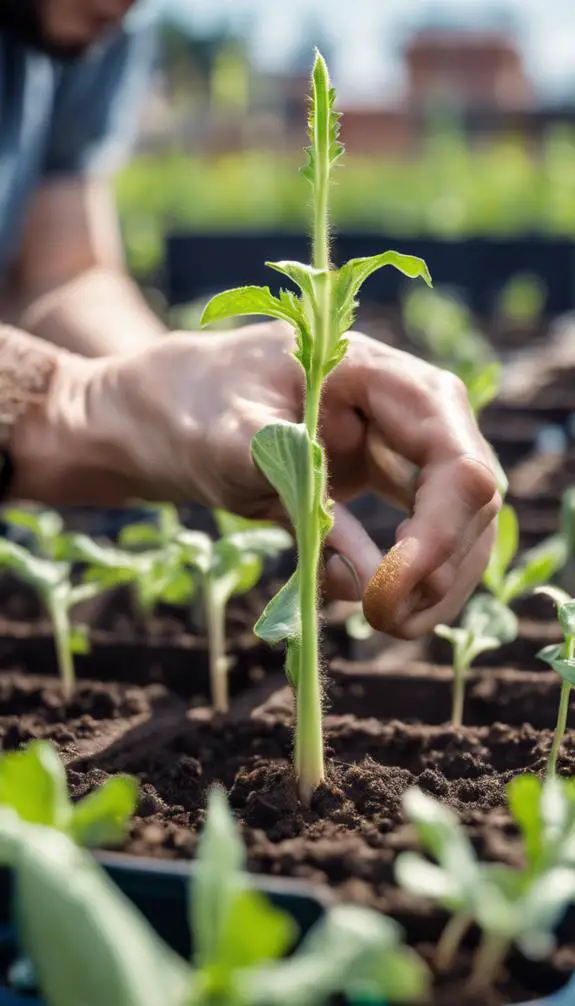
Once the seedlings have two sets of leaves, it's time to transplant them outdoors.
Before direct transplanting, you'll need to harden off your seedlings through a process called Outdoor Acclimation.
This involves gradually exposing them to outdoor conditions over the course of 7-10 days.
Start by moving the pots outdoors for 1-2 hours a day, then gradually increase the duration.
This helps seedlings adapt to direct sunlight, wind, and temperature fluctuations.
During this period, monitor their response and adjust the acclimation process as needed.
After hardening, your seedlings will be ready for direct transplanting into larger pots or directly into the ground.
Providing Optimal Sunlight Conditions

From a sunny location, choose a spot that receives full sun to partial shade, as okra plants require at least 6 hours of direct sunlight per day to thrive.
You'll want to guarantee your potted okra gets sufficient daily exposure, as inadequate sunlight hours can hinder growth and reduce yields. South-facing windows, balconies, or patios are ideal spots for your okra pots.
If you can't provide full sun, okra can still grow well in partial shade, but be prepared for slightly slower growth rates. To maximize sunlight absorption, rotate your pots periodically to maintain even growth.
Monitor the sunlight hours your okra receives daily, and adjust its position accordingly to provide the prime conditions for healthy growth.
Watering and Humidity Requirements

With okra plants thriving in warm and humid environments, it's vital to maintain a consistent moisture level in your pots.
You'll want to check the okra moisture levels daily, especially during hot weather, to guarantee the soil isn't drying out. Water your okra plants when the top 1-2 inches of soil feel dry to the touch. Avoid overwatering, which can lead to root rot and other problems.
Conduct regular humidity checks by placing a hygrometer near your pots. Okra prefers a relative humidity of 50-60%. You can increase humidity around your plants by placing the pot on a tray filled with water and pebbles or using a humidifier.
Fertilizing Okra in Pots
Feed your okra plants a balanced diet to promote healthy growth and maximize yields.
For pot feeding, use a water-soluble fertilizer that's high in phosphorus (around 10-15%) to encourage fruiting and flowering. Dilute the fertilizer to half the recommended strength to prevent burning the roots.
Apply it once a week, starting when the okra plants are about 6 inches tall. Additionally, provide your okra plants with essential micronutrients like calcium, magnesium, and sulfur. These okra nutrients play a vital role in plant development and fruit production.
You can also side-dress with a balanced fertilizer once a month to maintain ideal nutrient levels. By following this fertilizing regimen, you'll be rewarded with a bountiful okra harvest.
Pruning and Training Okra Plants
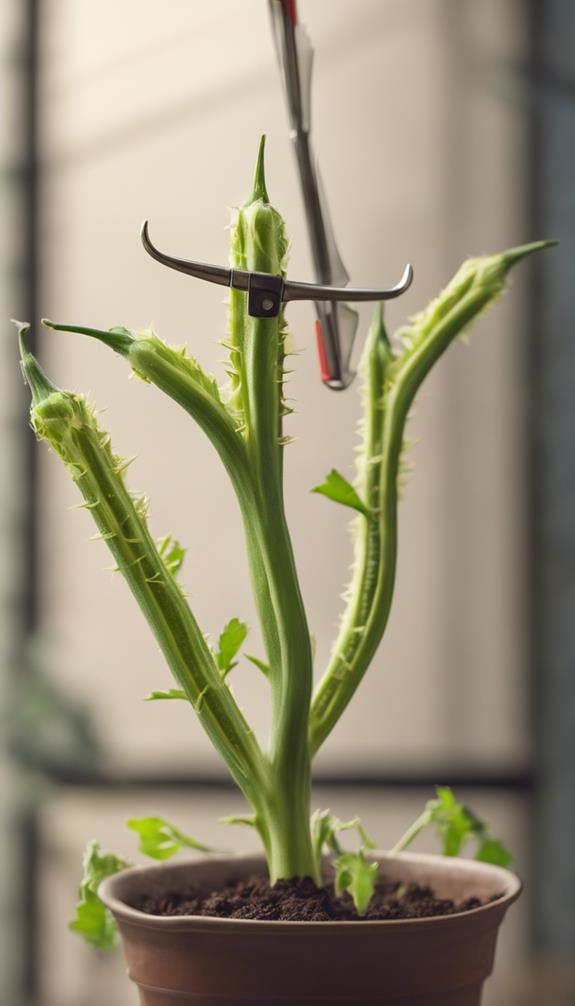
Three to four weeks after sowing, your okra plants will have two to three sets of leaves and a distinct stem.
It's time for okra pruning and shaping. Pinch off the lower leaves, leaving only two sets of leaves on the stem. This encourages the plant to focus energy on producing fruit-bearing branches.
Next, identify the strongest stem and gently twine it around a trellis or stake to promote vertical growth. Remove any weak or spindly growth, as this will improve air circulation and prevent disease.
Okra shaping is critical, as it allows for better fruit production and ease of harvesting. By pruning and training your okra plants, you'll be rewarded with a bountiful harvest of delicious, tender pods.
Supporting Okra Stems and Fruits
As you grow okra in pots, you'll need to provide support for the stems and fruits to prevent them from toppling over or breaking.
You'll have several stem support options to ponder, including okra cages that offer added benefits like improved air circulation and easier harvesting.
To guarantee sturdy stem anchors, you'll want to choose a support system that can accommodate the mature height of your okra variety.
Stem Support Options
About six weeks into the okra plant's growth, you'll notice its stems starting to get top-heavy with fruits and flowers.
To prevent them from breaking, you'll need to provide stem support options. Traditional trellises can be bulky, so consider trellis alternatives like obelisks or stakes that take up less space in your pot.
For a more discreet approach, use stem clips to attach the stems to the pot's rim or a nearby stick. These clips are adjustable and won't constrict the stem as it grows.
You can also use twine or soft ties to gently tie the stems to the support. Whatever method you choose, make sure it's sturdy enough to hold the weight of the okra fruits and flowers.
Okra Cage Benefits
You'll find that okra cages offer a unique advantage when it comes to supporting okra stems and fruits.
By providing okra confinement, cages keep the stems upright, preventing them from sprawling and tangling. This, in turn, promotes better air circulation, reducing the risk of fungal diseases.
Additionally, cages allow for easier harvesting, as the fruits are clearly visible and accessible.
From a design perspective, cage aesthetics can enhance the visual appeal of your okra plant. You can choose from various materials and shapes to create a stylish and functional support system.
Sturdy Stem Anchors
Okra cages provide a solid foundation for supporting okra stems and fruits, but they can be further reinforced with sturdy stem anchors.
You can use stem reinforcement methods like twine or clips to secure the stem to the cage or pot. This confirms stem stability techniques, preventing the stem from toppling over under the weight of the fruits.
For added support, you can also use tomato clips or soft plant ties to anchor the stem to the cage. Make sure to tie the stem loosely to allow for growth and movement.
Pest and Disease Management
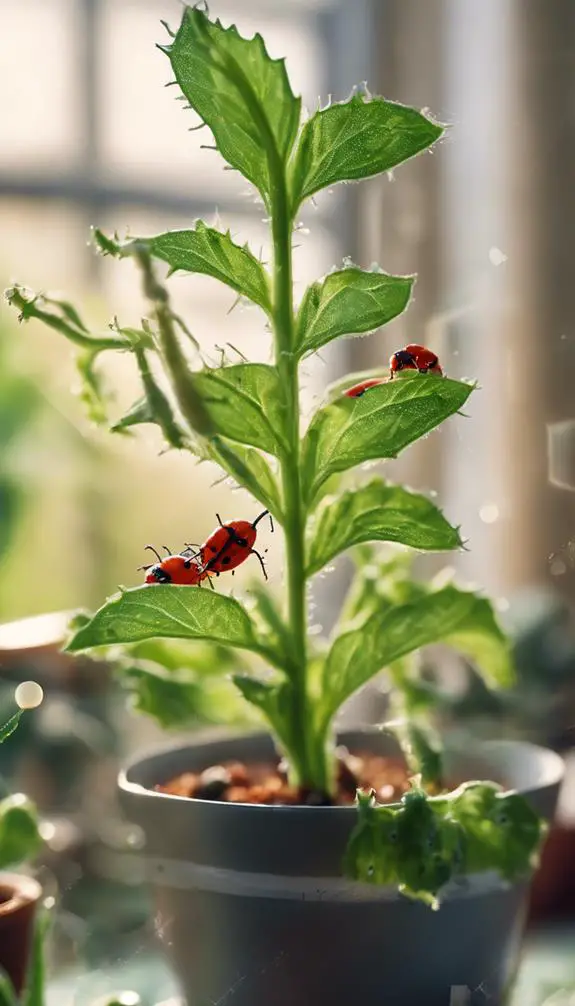
Inspect your okra plants regularly for signs of pests or diseases, as early detection is key to effective management.
Common okra pests include aphids, whiteflies, and spider mites. Encourage natural predators, such as ladybugs and lacewings, to visit your pots by planting a diverse range of flowers nearby.
Introduce beneficial insects, like parasitic wasps, to target specific okra pests.
For diseases, inspect for signs of fungal infections, like powdery mildew or leaf spot.
Use organic fungicides, like neem oil or copper-based products, to control outbreaks. Remove and dispose of infected leaves or stems to prevent the disease from spreading.
Okra Plant Spacing and Arrangement
When arranging okra plants in pots, consider the mature size of the plants and the space required for adequate air circulation and sunlight penetration.
You'll want to maintain a minimum of 12-18 inches between each plant to prevent overcrowding and promote healthy growth. For ideal row spacing, plant okra in rows that are 24-36 inches apart.
To maximize space, consider using plant triangles, where you plant three okra plants in a triangular formation, with each plant spaced 12-18 inches from the others. This arrangement allows for better air circulation and sunlight penetration, while also increasing overall yields.
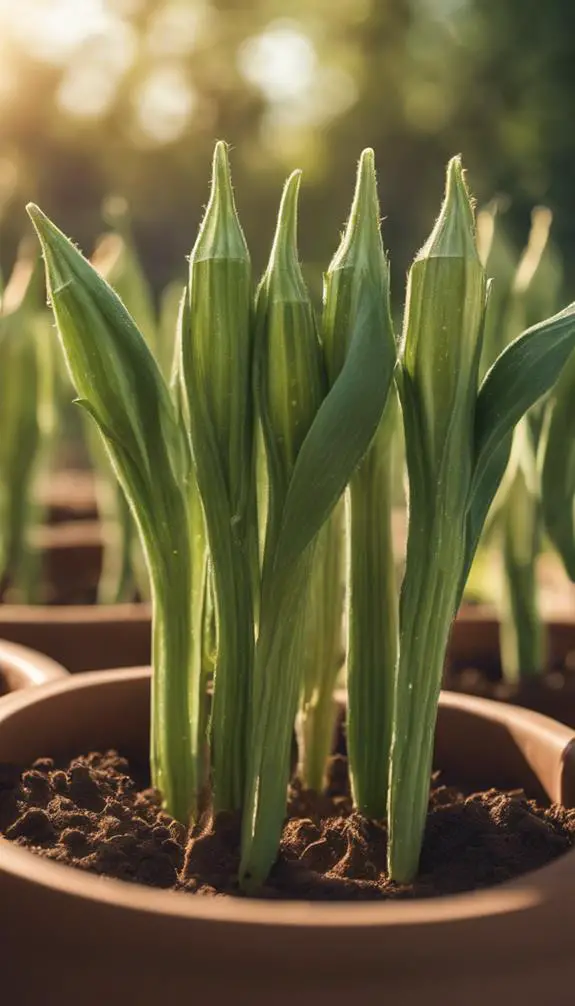
Harvesting Okra Pods at Peak

You'll want to harvest okra pods when they reach their peak size, typically between 3-5 inches long, as this guarantees prime flavor and texture.
Timing is vital, as pods left on the plant too long can become tough and fibrous.
Check your okra plants daily, as pods can grow rapidly and be ready to pick in as little as 3-4 days.
Peak Pod Size Matters
How precisely can you gauge the ideal okra pod size for harvesting?
Okra genetics play a significant role in determining the prime pod size, which typically ranges from 3-5 inches (7-13 cm) in length.
For most varieties, peak pod size is reached when the pods are bright green, tender, and slightly soft to the touch. You can also check for a slight give when pressed gently.
Over-maturity leads to fibrous, tough pods, so timely harvesting is crucial. When checking for peak size, inspect the pods regularly, as they can grow rapidly.
Timing Is Everything
As you've mastered the art of identifying peak pod size, it's now time to focus on the equally important aspect of timing.
When harvesting okra pods, timing is vital to guarantee prime flavor, texture, and yield. Create an okra calendar to track your plants' progress and schedule regular harvests.
Consider seasonal factors, such as temperature and humidity, which can impact pod development. In regions with short growing seasons, prioritize early harvests to maximize yields.
In areas with longer growing seasons, you can harvest okra pods at a more leisurely pace. By synchronizing your harvests with your plants' natural cycles, you'll enjoy a bountiful okra harvest in your pots.
FAQs
Can Okra Plants Be Grown in Hanging Baskets?
You can grow okra in hanging baskets, but you'll face hanging constraints like limited root depth and soil volume; consider basket options with built-in water reservoirs and aeration systems to optimize growth and minimize maintenance challenges.
Will Okra Plants Grow Well in Partial Shade?
You'll find that okra plants exhibit moderate shade tolerance, but they'll thrive in full sun for a bountiful summer harvest; however, if you provide at least 6 hours of direct sunlight, you'll still get a decent yield.
Can I Use Self-Watering Pots for Okra?
When using self-watering pots, you'll conserve water and reduce evaporation, ideal for okra's moderate watering needs. Opt for pots made from breathable materials like terracotta or ceramic to guarantee healthy root growth and efficient water distribution.
How Often Should I Rotate Okra Pots for Even Growth?
You'll need to rotate okra pots every 3-4 days to guarantee even growth, adjusting pot placement to maintain 6-8 hours of direct sunlight; concurrently, perform okra pruning to promote bushy growth and prevent lopsidedness.
Can Okra Be Grown in Indoor Containers Year-Round?
You can successfully cultivate okra in indoor containers year-round by leveraging indoor climate control and selecting seasonal varieties, ensuring ideal temperature, humidity, and light conditions, and adjusting these factors to mimic the plant's natural growth cycle.
Conclusion
You've successfully grown okra in pots by following these guidelines. Remember to monitor temperature, sunlight, and water requirements to guarantee ideal growth. Keep the soil consistently moist, but not waterlogged, and fertilize regularly. With proper care, your okra plants will thrive, providing you with a bountiful harvest of delicious pods. Regularly inspect your plants for signs of pests or disease, and take prompt action to address any issues that arise.


