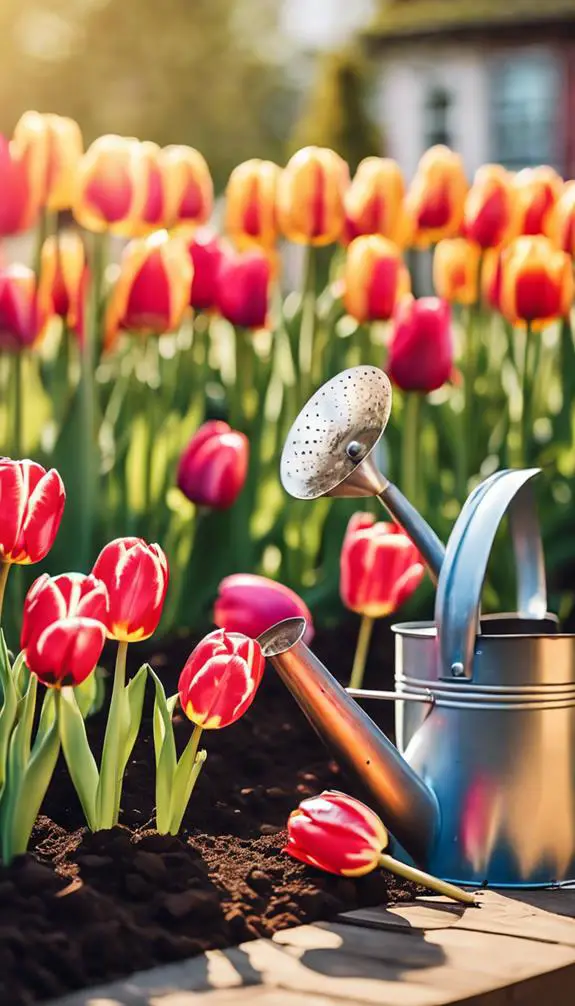
You're enthusiastic to bring a splash of color to your patio or balcony with vibrant tulips, but you're not sure where to start. Growing tulips in a pot is a great way to add a pop of color to small spaces, and with the right steps, you can enjoy their beauty for weeks to come. You've probably heard that tulips are finicky, but don't worry – with a few simple steps, you can coax these lovely flowers into bloom. To get started, you'll need to choose the right container and soil, and then it's time to plant those bulbs. But what's the best way to do it?
Summary
- Choose a pot that is at least 8-10 inches deep with drainage holes to accommodate the tulip bulbs and prevent waterlogged soil.
- Select a high-quality potting mix specifically designed for bulbs, with a well-balanced soil structure that drains excess water.
- Plant tulip bulbs in the pot, pointed end up, spaced 3-4 inches apart, and covered with at least 2-3 inches of soil.
- Provide at least 6 hours of direct sunlight and maintain consistent moisture levels, checking the soil daily and watering only when necessary.
- Fertilize with a balanced fertilizer in the fall and a high-phosphorus fertilizer in the spring to promote healthy growth and blooming.
Choosing the Right Tulip Variety
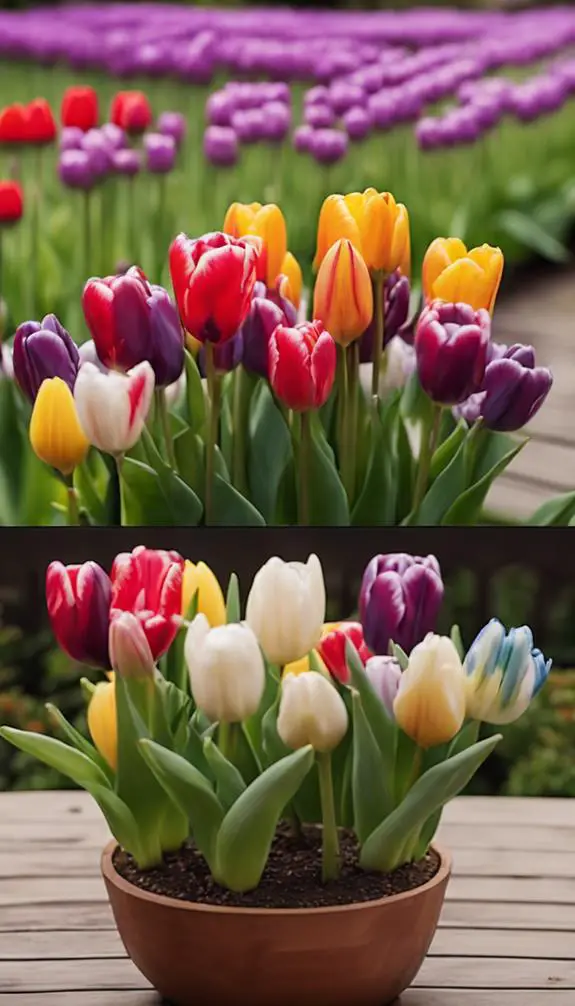
Several factors come into play when selecting the right tulip variety for pot growth.
You'll want to weigh the tulip colors you prefer, as different varieties offer a wide range of hues, from vibrant reds and yellows to soft pastels and whites.
Additionally, think about the timing of spring blooming, as some tulips bloom earlier than others. If you want a longer blooming period, choose a mix of early, mid-season, and late-blooming varieties.
You should also ponder the mature height of the tulips, as some can grow quite tall and may require staking.
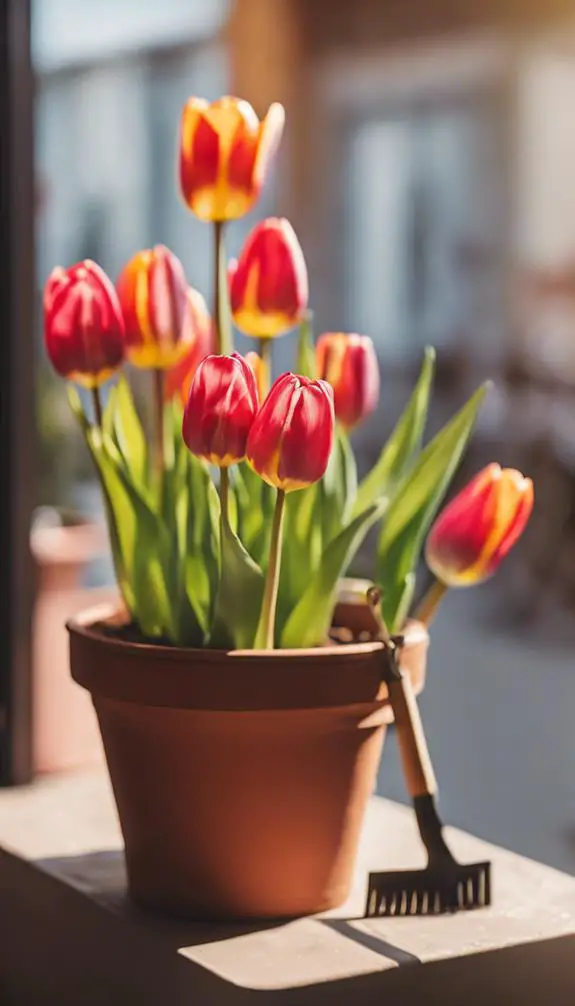
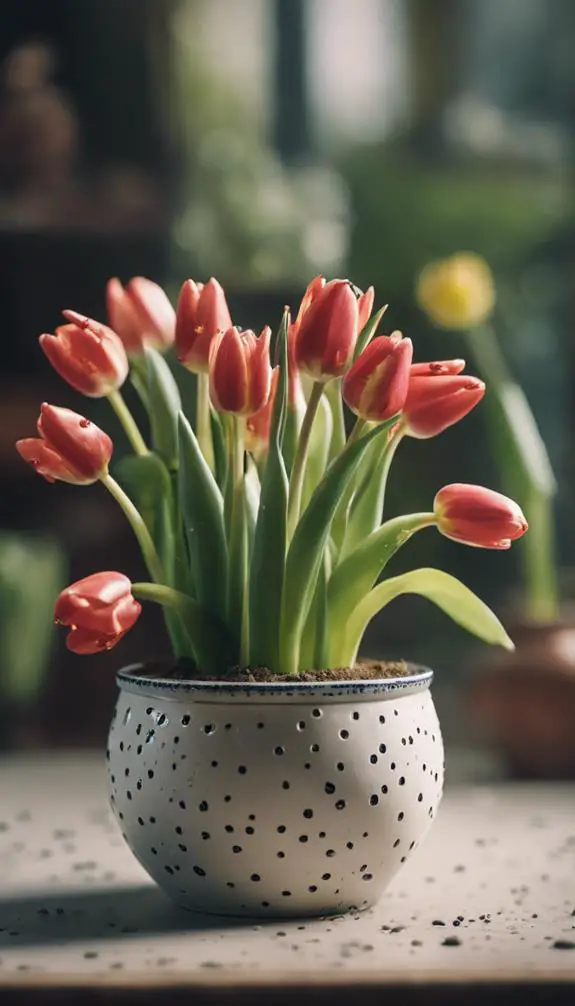
Selecting a Container for Tulips
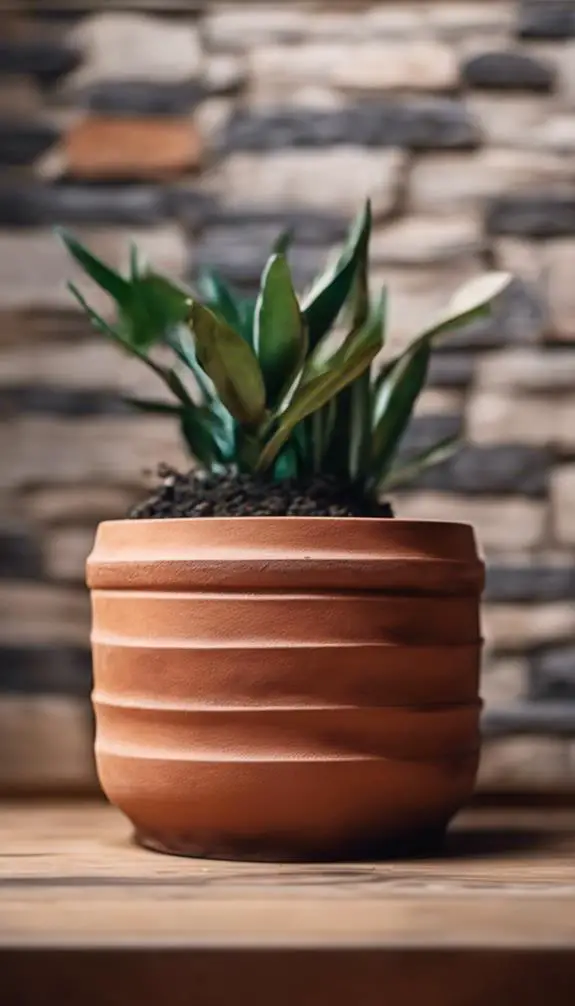
When it comes to selecting a container for your tulips, consider the mature height of the variety you've chosen, as this will impact the depth and width of the pot you'll need.
For example, if you've chosen a tall variety, you'll need a deeper container to accommodate the bulb and stem. A minimum container depth of 8-10 inches is recommended to provide enough room for root growth.
As for pot material, choose a breathable, well-draining material like terra cotta or ceramic to prevent waterlogged soil. Avoid using plastic or metal pots, as they can retain too much water and cause root rot.
Make sure the pot has drainage holes in the bottom to prevent water from collecting.
Preparing the Potting Soil
Dig in and prepare the potting soil for your tulips by selecting a high-quality potting mix specifically designed for bulbs.
This mix should have a well-balanced soil structure that drains excess water, yet retains enough moisture to support healthy root growth.
Check the soil condition by inspecting its texture, pH level, and nutrient content.
A good potting mix should have a pH between 6.0 and 7.0, which is ideal for tulips.
Additionally, look for a mix that contains organic matter like peat moss or compost, which will help improve soil condition and fertility.
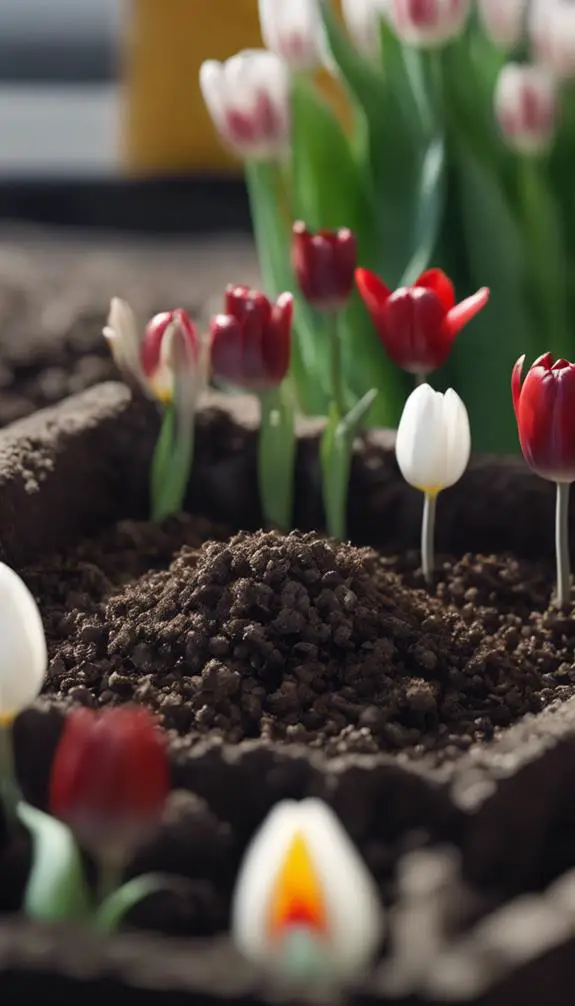
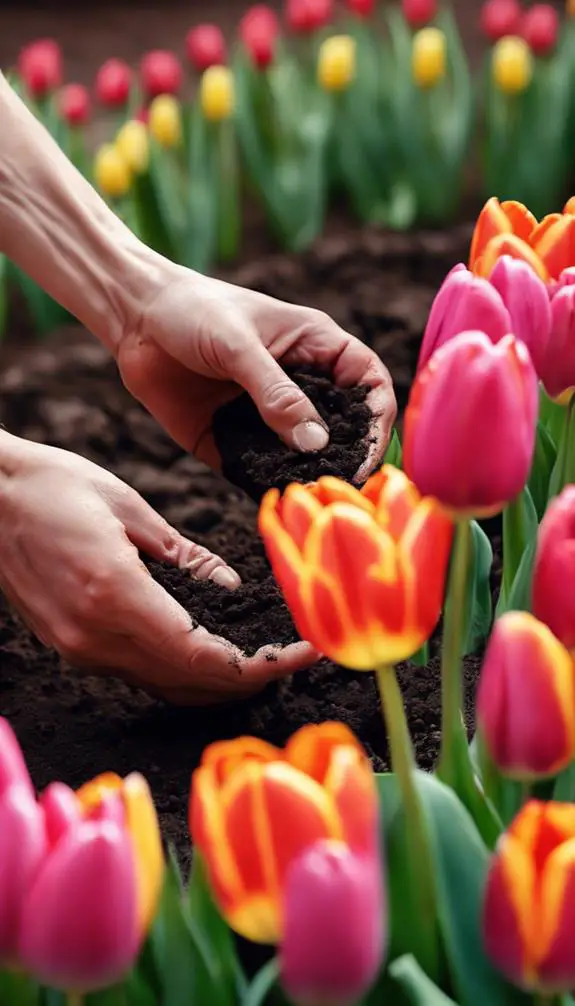
Planting Tulip Bulbs in Pots
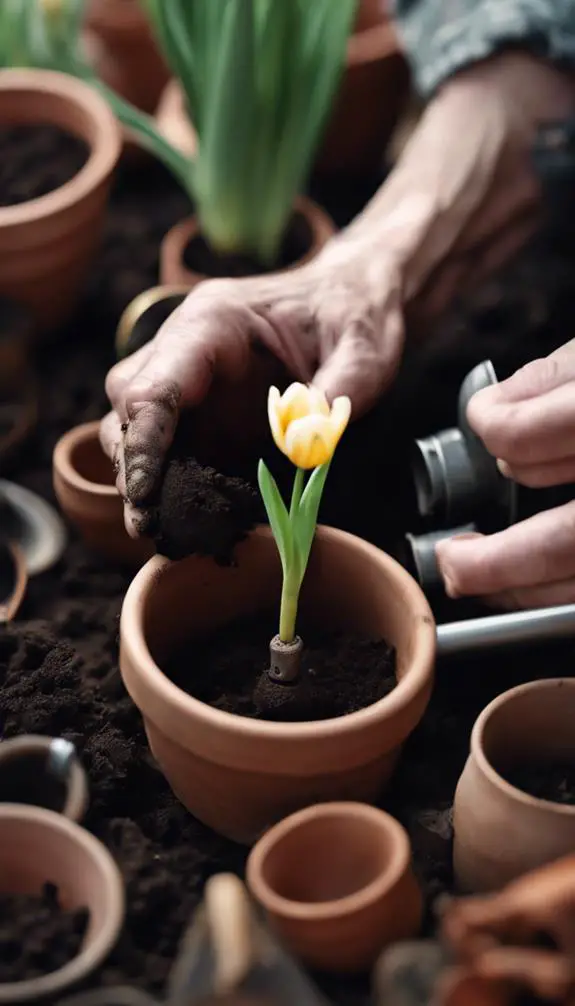
Planting tulip bulbs in pots requires careful attention to detail to guarantee peak growth.
You'll want to select tulip varieties specifically bred for container growing, as they'll produce shorter stems and more blooms.
Next, prepare your pot by adding a 2-3 inch layer of potting soil at the bottom.
This will provide adequate drainage and prevent waterlogged soil.
Then, place the tulip bulbs in the pot, pointed end up, and spaced 3-4 inches apart.
Fill in the remaining space with potting soil, gently firming it around the bulbs.
Make sure the bulbs are covered with at least 2-3 inches of soil to allow for proper growth.
Caring for Tulips After Planting
With your pots filled with tulip bulbs, it's time to focus on the post-planting care that will coax these beauties into bloom.
You'll want to provide them with the right environment to thrive. Tulip care tips include ensuring your pots receive adequate sunlight, ideally 6 hours of direct sunlight, and are placed in an area with good air circulation.
Keep the soil cool by mulching around the base of the plants. As your tulips grow, you'll need to stake them to prevent damage from wind or rain.
After blooming, allow the foliage to die back naturally, which can take several weeks. This will help the bulb store energy for next year's bloom.
Post-bloom strategies include deadheading, or removing the flower heads, to encourage the bulb to focus energy on re-growing and storing energy for next year's bloom.
Watering Tulips in Pots
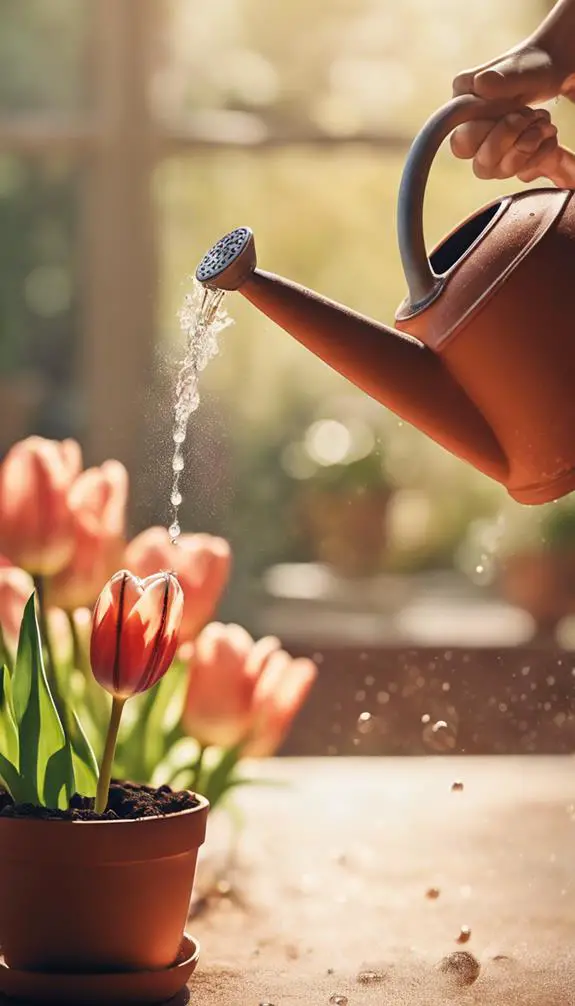
You'll need to establish a watering schedule that takes into account the tulips' growth stage and the pot's moisture levels.
When your tulips are in active growth, you'll want to keep the pot consistently moist, but not waterlogged. As you adjust your watering schedule, make sure to check the pot's moisture levels daily, especially during hot or dry weather.
Watering Schedule Essentials
Tulips in pots require consistent moisture, especially during the active growth phase.
You'll need to establish a watering routine that certifies soil hydration without overwatering. Check the soil daily, and water only when the top 1-2 inches of soil feel dry to the touch.
Water thoroughly, making sure the pot drains well to prevent waterlogged soil. During hot or dry spells, you may need to increase watering frequency.
Aim to provide about 1-2 inches of water per week, either through rainfall or irrigation. By sticking to this watering schedule, you'll promote healthy growth and prevent root rot.
Pot Moisture Levels
Monitoring pot moisture levels is vital to guarantee your tulips receive the right amount of water.
You can't simply rely on a fixed watering schedule, as soil moisture fluctuates depending on factors like temperature, humidity, and sunlight.
Invest in a soil sensor or a water gauge to accurately measure the moisture levels in your pot. These innovative tools will provide you with real-time data, enabling you to adjust your watering schedule accordingly.
By doing so, you'll avoid overwatering, which can lead to root rot, and underwatering, which can cause stunted growth.
With precise moisture control, you'll be able to create an ideal environment for your tulips to thrive.
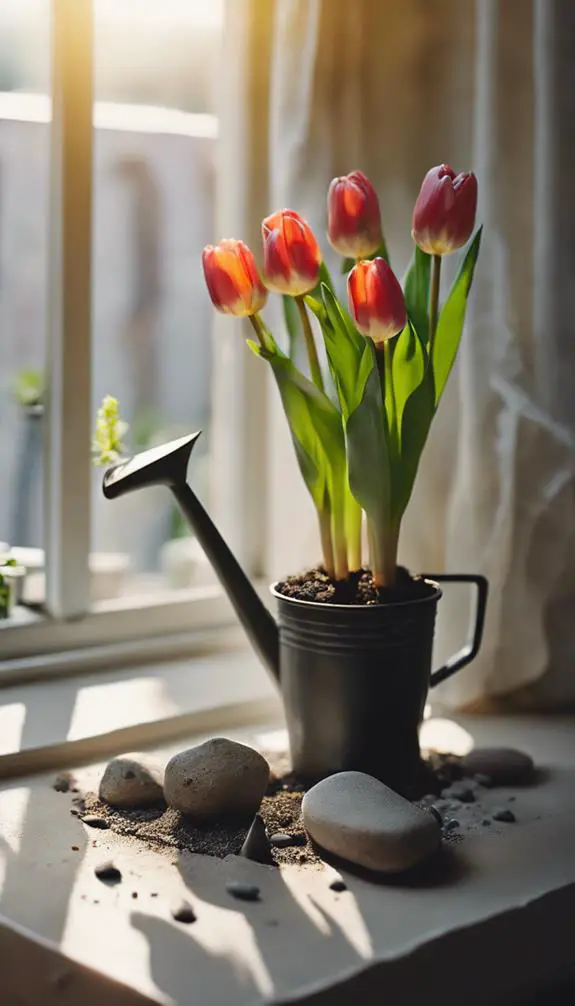
Providing Adequate Light
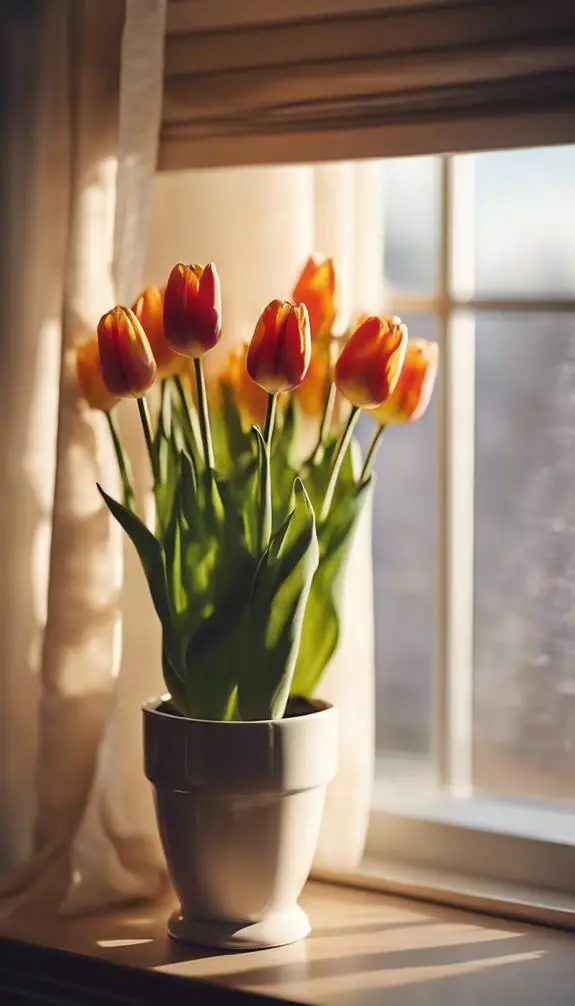
You'll want to guarantee your potted tulips receive sufficient light to thrive.
Aim to provide them with at least 6 hours of direct sunlight, or position them in an east-facing window spot that receives gentle, indirect light.
Avoid placing your pots in shady areas, as this can hinder healthy growth and flowering.
Direct Sunlight Hours
A sunny windowsill or balcony is ideal for growing tulips in a pot, as they require a substantial amount of direct sunlight to thrive.
You'll want to guarantee your pot receives direct sunlight for at least 6 hours a day, with morning sun being particularly beneficial. This sunlight duration is vital for promoting healthy growth and encouraging blooming.
Placing your pot in a spot that receives direct sunlight from 9 am to 3 pm would be perfect. If you can't provide 6 hours of direct sunlight, you can still grow tulips, but you may need to supplement with grow lights.
East-Facing Window Spots
East-facing windows receive gentle, indirect morning sunlight, making them an ideal alternative to direct sunlight spots.
If you're looking for a spot with softer light, consider placing your tulip pot on an east-facing window sill. This orientation provides a gentle morning sun that promotes healthy growth without scorching the leaves.
You'll find that tulips thrive in these conditions, producing vibrant blooms and sturdy stems. Just be sure to keep the pot at least 6-8 inches away from the window to prevent overheating.
With an east-facing window spot, you'll enjoy a beautiful display of tulips without the risk of burning or wilting.
Avoid Shady Areas
Your tulip pot's success hinges on its exposure to adequate light.
Avoid placing it in shady spots, as tulips require direct sunlight to thrive. Shady areas can lead to weak, leggy stems and sparse blooms.
When choosing a location, consider the sunlight competition from surrounding structures or plants. Guarantee your pot receives at least six hours of direct sunlight daily.
If that's not possible, consider using grow lights to supplement the natural light. Remember, tulips need intense light to photosynthesize and produce vibrant blooms.
Maintaining Optimal Temperatures
Temperature control is crucial for healthy tulip growth, as these bulbs thrive in specific temperature ranges.
You'll want to guarantee your potted tulips are placed in an area with consistent temperatures between 35°F and 55°F (2°C and 13°C) during the winter months.
In cold climates, protecting your tulips from extreme temperature fluctuations is necessary. If you live in an area with harsh winters, consider moving your pot to an unheated garage or basement to maintain a stable temperature.
During the growing season, keep your tulips away from direct sunlight, which can cause temperature fluctuations and stress the bulbs.
Fertilizing Tulips in Containers
When growing tulips in containers, you'll need to maintain a delicate soil nutrient balance to promote healthy growth.
Timing is everything when it comes to fertilizer application, as you'll want to provide essential nutrients at the right stages of development.
Soil Nutrient Balance
Fertilizing tulips in containers requires attention to soil nutrient balance, as these plants have specific needs that must be met to promote healthy growth and blooming.
You'll want to guarantee your potting mix has ideal soil pH levels, between 6.0 and 7.0, as tulips thrive in slightly acidic to neutral soils.
Nutrient deficiencies can severely impact growth, so it's vital to provide balanced fertilizers that contain nitrogen, phosphorus, and potassium.
A 10-10-10 or 20-20-20 formula is ideal for promoting healthy leaf growth, root development, and flower production.
Be cautious not to overfertilize, as this can lead to weak, leggy growth and reduced blooming.
Fertilizer Application Timing
Timing your fertilizer applications correctly is crucial for tulips in containers, as it directly impacts their growth and blooming cycles.
You'll want to apply a balanced fertilizer (10-10-10) in the fall, about 4-6 weeks before the first frost. This fall application will promote root growth and help your tulips establish themselves in the pot.
Come spring, you'll want to give your tulips a boost by applying a high-phosphorus fertilizer (10-20-10) to promote blooming. This Spring boost should be applied as the tulips begin to grow, usually around late winter to early spring.
Potting Mix Selection
Pick out a high-quality potting mix specifically designed for bulbs, and you'll be giving your tulips a solid foundation for growth.
This mix should have a consistent texture that allows for good soil aeration, which is essential for healthy root development. Look for a mix that's well-draining, yet retains enough moisture to support your tulips' needs.
Avoid mixes with high organic matter content, as they can retain too much water and cause root rot. Instead, opt for a mix with a balanced blend of peat moss, vermiculite, and perlite.
These ingredients will provide the necessary mix consistency and soil aeration for your tulips to thrive. By choosing the right potting mix, you'll be setting your tulips up for success from the start.
Deadheading Tulip Flowers
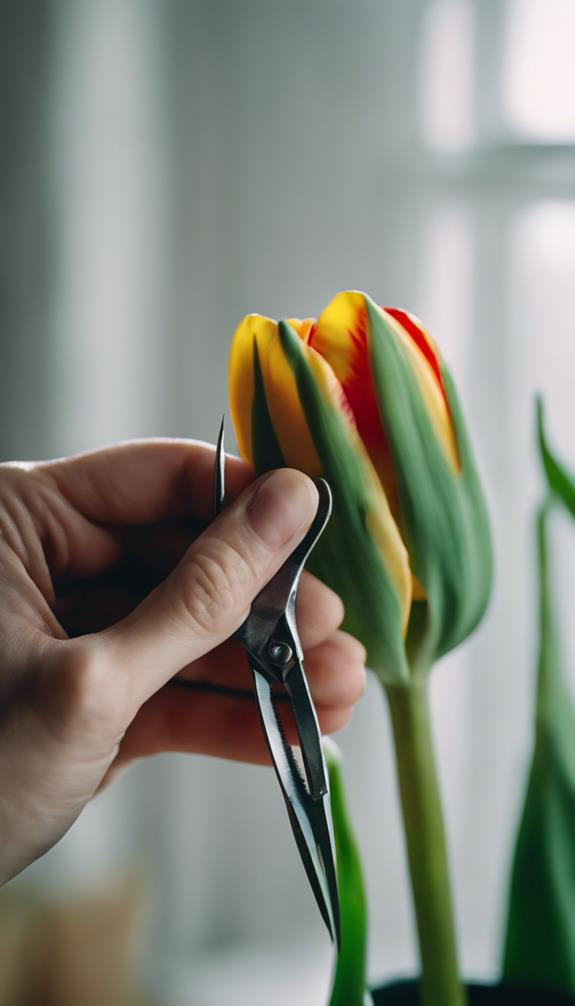
Several weeks into bloom, you'll notice your potted tulips start to fade, and this is where deadheading comes in.
Deadheading involves removing the faded flowers to encourage prolonged blooms and promote healthy plant growth.
To deadhead, snip off the wilted flowers at the base of the stem, making fresh cuts just above a leaf node.
Remove any seed pods that may have formed, as they can divert the plant's energy from re-blooming.
By deadheading, you'll not only maintain the appearance of your potted tulips but also encourage the plant to focus its energy on re-growing and storing energy for next year's bloom.
This simple technique can substantially extend the blooming period, giving you more time to enjoy your vibrant potted tulips.
Dealing With Common Pests
Your potted tulips' beauty can be quickly ruined by common pests that feed on their leaves, stems, or flowers.
You must remain vigilant to protect your plants from these unwanted visitors. Aphids, for instance, can be controlled by introducing natural predators like ladybugs or lacewings. You can also use neem oil or insecticidal soap to combat these sap-sucking pests.
Slugs, another common pest, can be trapped using copper-based barriers or beer traps.
Regularly inspect your plants for signs of infestation, and take prompt action to prevent the problem from escalating. By staying proactive, you can guarantee your potted tulips remain healthy and thriving.
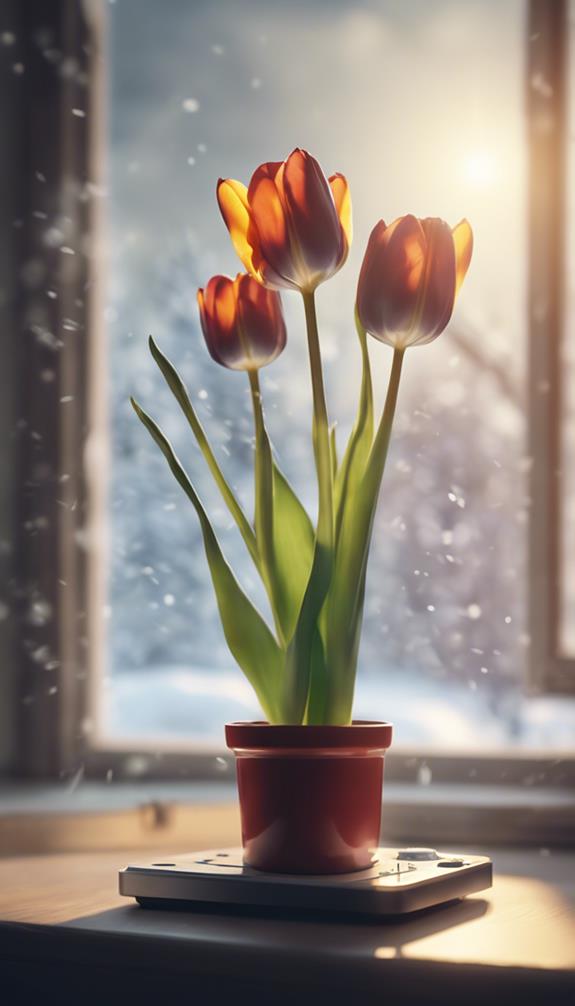
Overwintering Tulip Containers
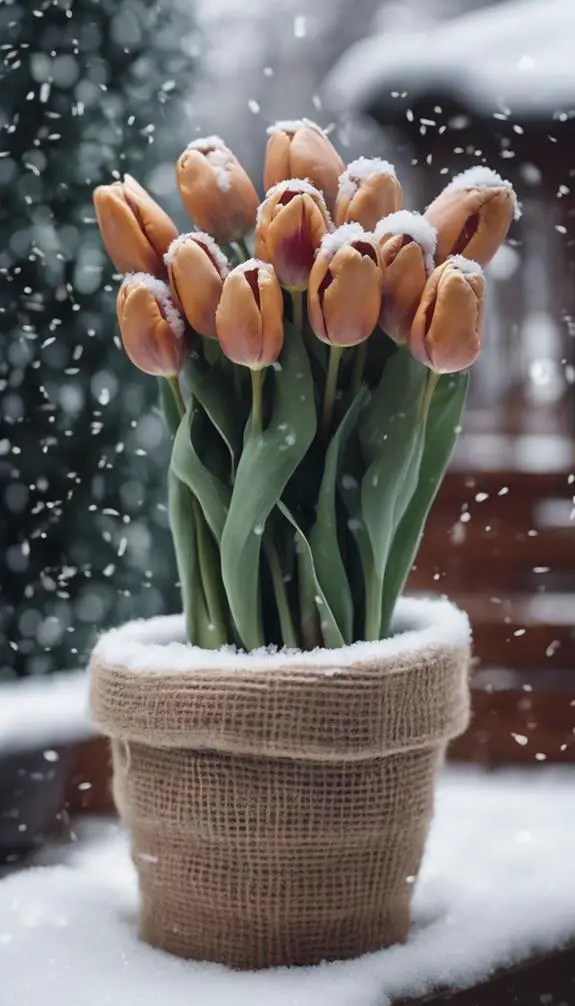
After protecting your potted tulips from pests, you'll need to prepare them for the cold winter months.
To overwinter your tulip containers, you'll need to provide cold storage and employ insulation methods to guarantee the bulbs remain dormant. Move the pots to an unheated garage, shed, or cold frame with temperatures between 35°F and 45°F (2°C and 7°C).
Insulate the containers with straw, hay, or shredded newspaper to maintain a consistent temperature. You can also use foam insulation or burlap to wrap the pots.
Avoid direct sunlight and moisture to prevent rot. By providing the correct overwintering conditions, you'll help your tulips survive the winter and bloom again in the spring.
Encouraging Tulip Blooms Again

As winter gives way to spring, it's time to coax your tulips back into bloom.
To encourage tulip rebloom, you'll need to simulate winter conditions by storing the pot in a cold, dark place (around 40°F) for 4-6 weeks.
This process, called flower forcing, will trick the bulbs into thinking they've gone through a winter cycle.
After the cold period, move the pot to a sunny location and water thoroughly.
As the weather warms up, your tulips will start to grow and eventually produce new blooms.
Keep the soil moist and fertilize with a balanced fertilizer to promote healthy growth.
With proper care, your tulips should rebloom within 8-10 weeks.
FAQs
Can I Grow Tulips in a Pot Indoors Year-Round?
You can grow tulips in a pot indoors year-round, but you'll need to provide special winter care, like cooling the pot to 40°F (4°C) for 4-6 weeks, and guarantee adequate light exposure, ideally south-facing windows or grow lights, to promote blooming.
How Do I Prevent Tulips From Becoming Leggy in Pots?
To prevent leggy tulips, you'll need to provide stem support, like stakes or trellises, and control sunlight intensity by rotating pots or using shading materials, ensuring 4-6 hours of direct sunlight daily.
Can I Reuse Potting Soil From Last Year's Tulips?
You shouldn't reuse last year's potting soil, as it may be exhausted from soil fatigue, and potentially contaminated with fungal spores or bacteria, which can harm new tulips; instead, start fresh with a well-draining, nutrient-rich mix.
Will Tulips in Pots Attract Bees and Other Pollinators?
You'll be delighted to know that tulips in pots can be a magnet for pollinators, as they're naturally pollinator-friendly and bee-attracting, thanks to their vibrant colors, sweet nectar, and accessible pollen, making them an ideal addition to your garden or balcony.
Can I Move Tulip Pots Outdoors After They Finish Blooming?
You can relocate tulip pots outdoors after blooming, but wait until the threat of spring frost has passed, then gradually introduce them to outdoor exposure to prevent shocking the plants.
Conclusion
You've successfully grown tulips in a pot! With proper care, your tulips will bloom annually. After the blooms fade, allow the foliage to die back naturally, then cut it back to within an inch of the soil. Continue to water and fertilize, and store the pot in a cool, dark place over winter. In the fall, repot the tulips with fresh soil, and they'll be ready to bloom again.