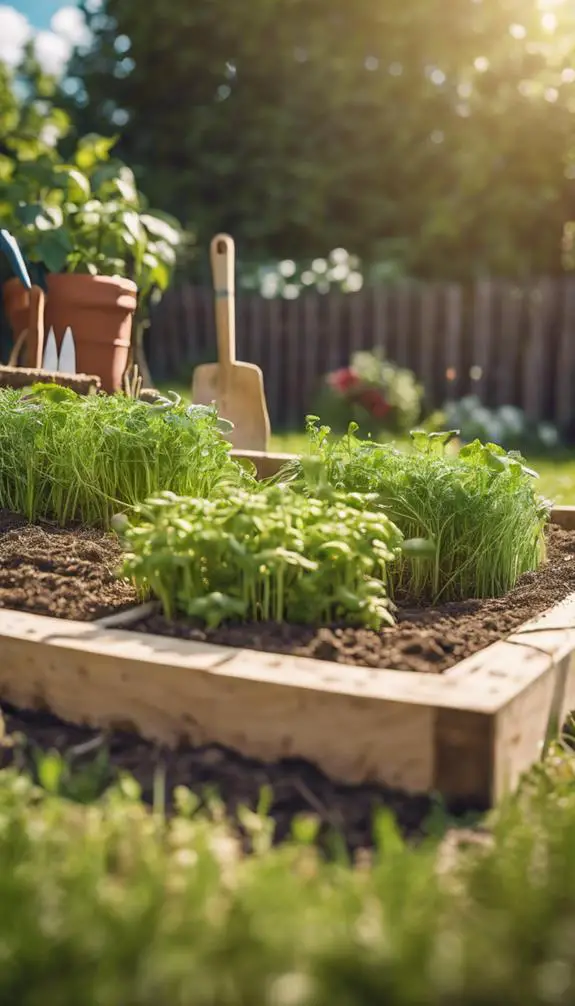
You've decided to give straw bale gardening a try, and you're enthusiastic to get started. First, you'll need to select the right straw bales – look for ones that are dense and tightly packed. Once you've got them, it's time to condition them to create an ideal environment for roots to grow. But what does that entail, exactly? How do you prepare the bales to support the growth of your plants? The answer lies in a few simple steps, and by following them, you'll be on your way to a thriving straw bale garden. But first, let's take it one step at a time…
Summary
- Select dense, tightly packed straw bales with a high straw-to-air ratio for better insulation and water retention.
- Condition the straw by adding nutrients and microorganisms, monitoring temperature, and turning the bales every few days.
- Apply a balanced fertilizer, introduce beneficial soil microbes, and add a layer of compost or manure for slow release of nutrients.
- Plant seeds or seedlings in a hole twice as wide and as deep as the root ball, teasing out roots to encourage growth.
- Water thoroughly, maintaining 40-50% water content in the straw bales, and apply a 2-3 inch layer of organic mulch to retain moisture and suppress weeds.
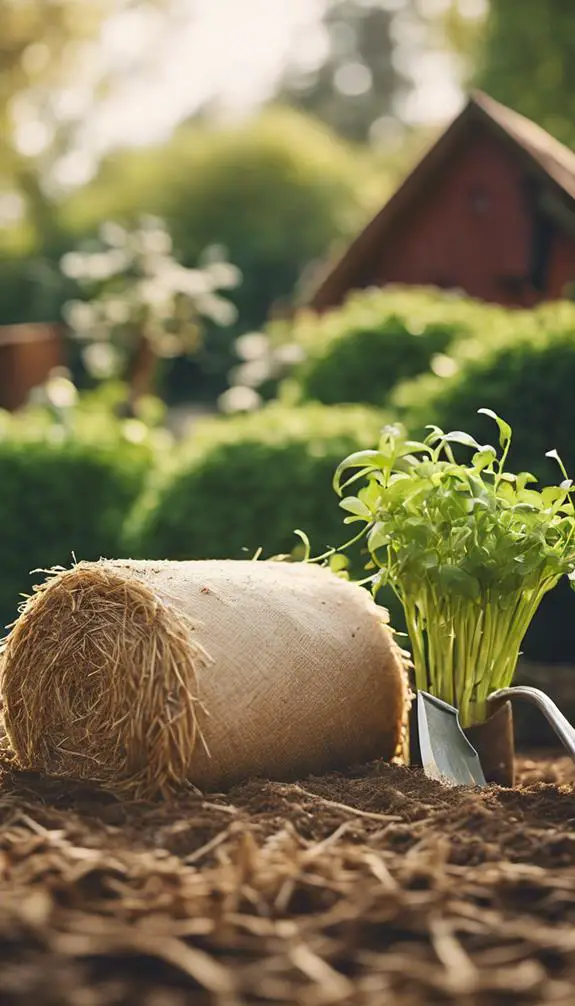
Choose the Right Straw Bales
When selecting straw bales for your garden, you'll want to prioritize those that are dense and tightly packed, as they'll retain moisture and heat more effectively.
This is vital because straw quality factors, such as density and moisture content, directly impact the bale's ability to support plant growth. Look for bales with a high straw-to-air ratio, as they'll provide better insulation and retain more water.
When sourcing bales, consider local farmers or suppliers that use sustainable practices. Avoid bales with signs of mold, mildew, or pest infestation, as these can compromise the health of your plants.
Prepare the Straw Bales
You'll need to prepare your straw bales before planting by selecting bales wisely, ensuring they're free of mold and weeds.
Next, you'll condition the straw to create an ideal environment for roots to grow, which involves adding nutrients and microorganisms to break down the straw.
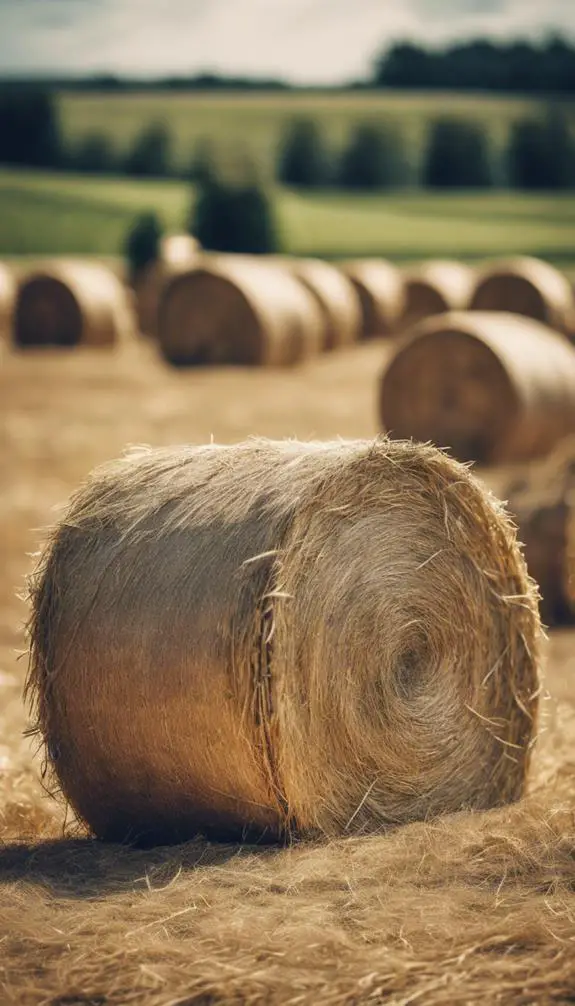
Selecting Bales Wisely
Selecting the right straw bales is essential to a thriving straw bale garden.
You'll want to choose bales with high straw quality, as it directly affects the growth and health of your plants. Look for bales with dry, golden-colored straw that's free of mold, weeds, and pests.
Freshness is also pivotal – opt for bales that are less than six months old.
Avoid bales with compacted or soggy straw, as they can harbor anaerobic bacteria that hinder plant growth.
Check the bale's density by squeezing it gently; it should spring back easily.
Finally, verify the bales are made from organic straw, free of chemical treatments or additives that can harm your plants.
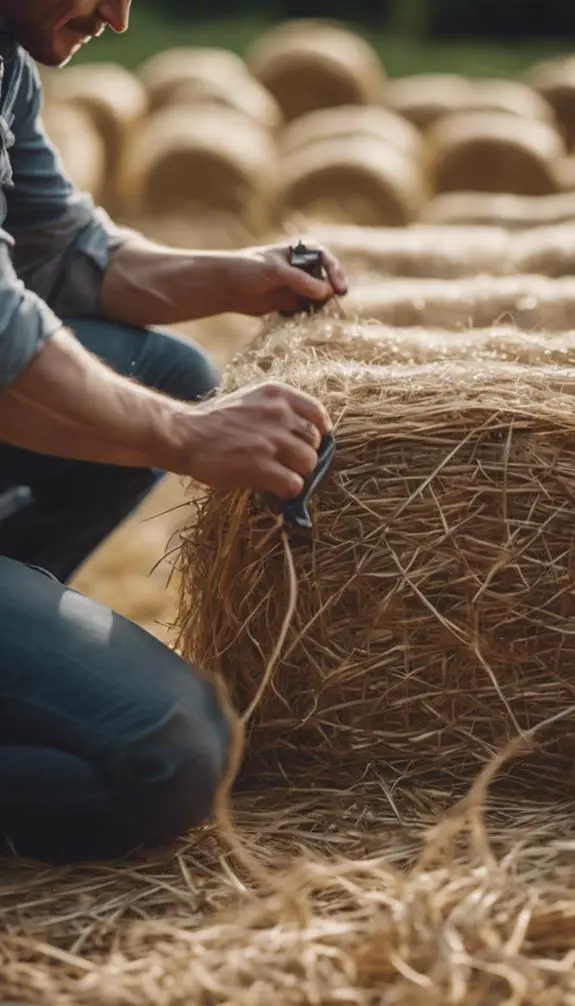
Conditioning the Straw
Your fresh straw bales, carefully chosen for their quality and freshness, now need to undergo a process called conditioning to prepare them for planting.
This vital step guarantees the straw quality remains high and sets the stage for successful bale preparation.
To condition the straw, you'll need to introduce microorganisms that break down the lignin, a complex organic compound found in plant cell walls.
This process typically takes 7-10 days, during which time the bales will start to heat up and release a faint earthy aroma.
Monitor the bales' temperature, aiming for 130-140°F (54-60°C), and turn them every few days to maintain even decomposition.
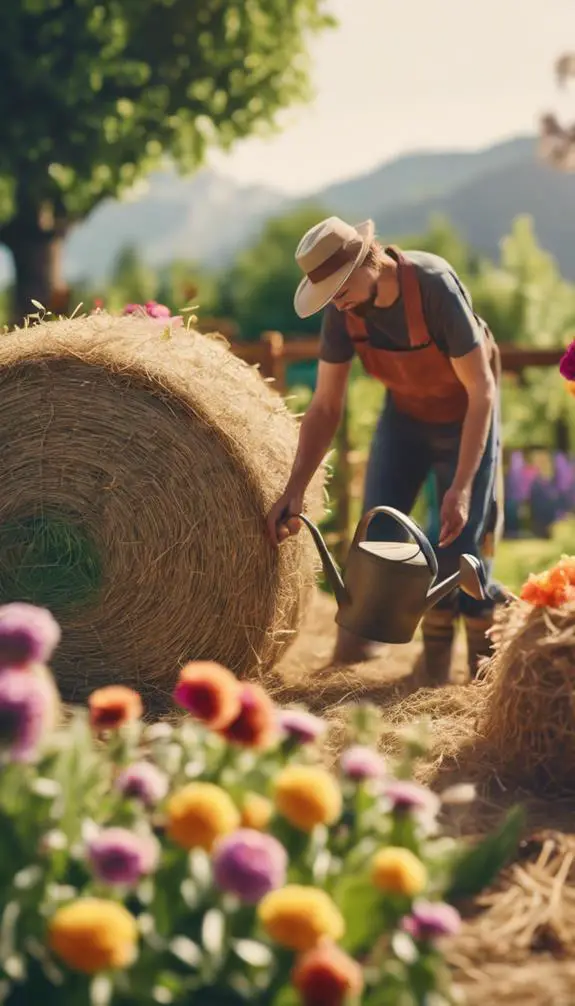
Moisturizing the Bales
Life begins to stir within the straw bales as they complete the conditioning process, and now it's time to introduce the essential element of moisture.
You'll start by soaking the bales thoroughly, ensuring they're damp but not waterlogged. This initial hydration kickstarts the straw bale preparation process, allowing microbes to break down the organic matter.
For ideal bale hydration, water the bales daily, maintaining a consistent moisture level. Check the bales' moisture by squeezing them; they should feel like a damp sponge.
As you continue to hydrate the bales, you'll notice them start to heat up, a sign that the decomposition process is underway. This vital step sets the stage for a thriving straw bale garden.
Select the Right Location
When siting your straw bale garden, consider a location that receives at least six hours of direct sunlight a day, as this will promote healthy plant growth and aid in decomposition of the bales.
Adequate sunlight exposure is vital, as it triggers the decomposition process, which in turn provides nutrients to your plants. Additionally, verify the location has good soil quality, as the straw bales will eventually break down and mix with the surrounding soil.
Avoid areas with standing water or where water tends to collect, as this can lead to rot and poor growth. By selecting a location with ideal sunlight exposure and soil quality, you'll set your straw bale garden up for success.
Lay Out the Straw Bales
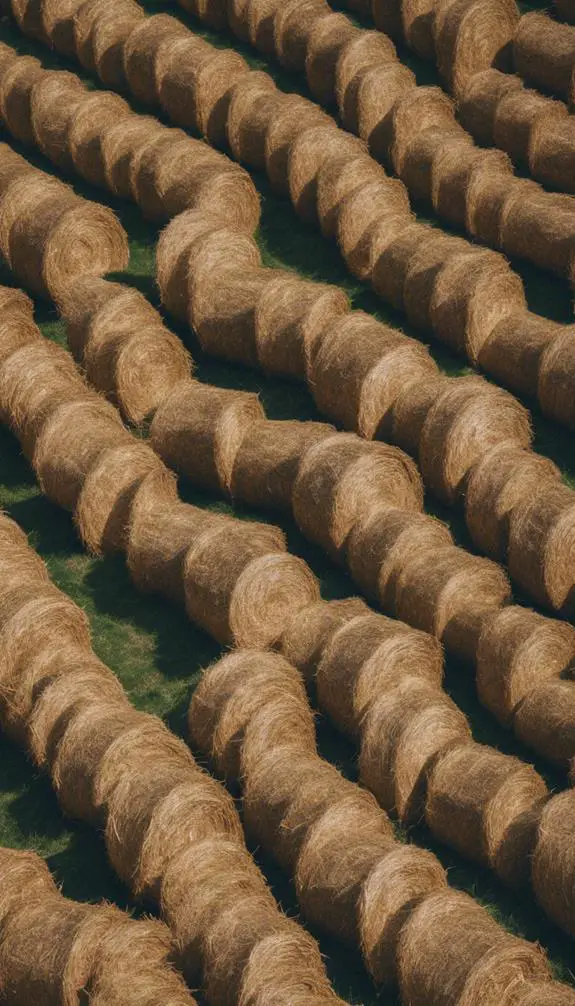
With your location selected, you're ready to start building your straw bale garden.
Now it's time to lay out the straw bales in a strategic arrangement that will maximize space and promote healthy growth.
Consider a bale arrangement that allows for good air circulation and sunlight penetration.
Typically, a rectangular or square pattern works well, with bales spaced about 3-4 feet apart.
This bale spacing allows for easy access between bales and promotes even water distribution.
You can also create a keyhole pattern, where bales are arranged in a circular fashion with a narrow path leading to the center.
This design increases the growing area while reducing the amount of space needed for paths.
Add Nutrients to the Bales
Straw bales, fresh from the supplier, typically lack the necessary nutrients to support healthy plant growth.
You'll need to add nutrients to create an ideal environment for your plants. Start by applying a balanced fertilizer, ensuring a nutrient balance that caters to the needs of your specific plants.
Additionally, introduce beneficial soil microbes by sprinkling a soil inoculant or compost tea over the bales. This will stimulate microbial activity, breaking down organic matter and releasing essential nutrients.
You can also add a layer of compost or well-rotted manure to provide a slow release of nutrients. By taking these steps, you'll create a nutrient-rich environment that supports healthy plant growth and sets your straw bale garden up for success.
Plant Your Straw Bale Garden
Once your bales are conditioned and nutrient-rich, it's time to populate them with your chosen plants.
You'll reap the straw benefits, like improved drainage and aeration, as you plant. Start by creating a hole in the bale that's about twice as wide and as deep as the plant's root ball.
Gently tease out the roots to encourage growth, then place the plant in the hole. Fill in the surrounding area with a mix of potting soil and straw, firming it gently.
Water thoroughly, making sure the bale is moist but not waterlogged. This garden hack allows you to control the soil quality and moisture levels, giving your plants the best possible start.
Select the Right Plants
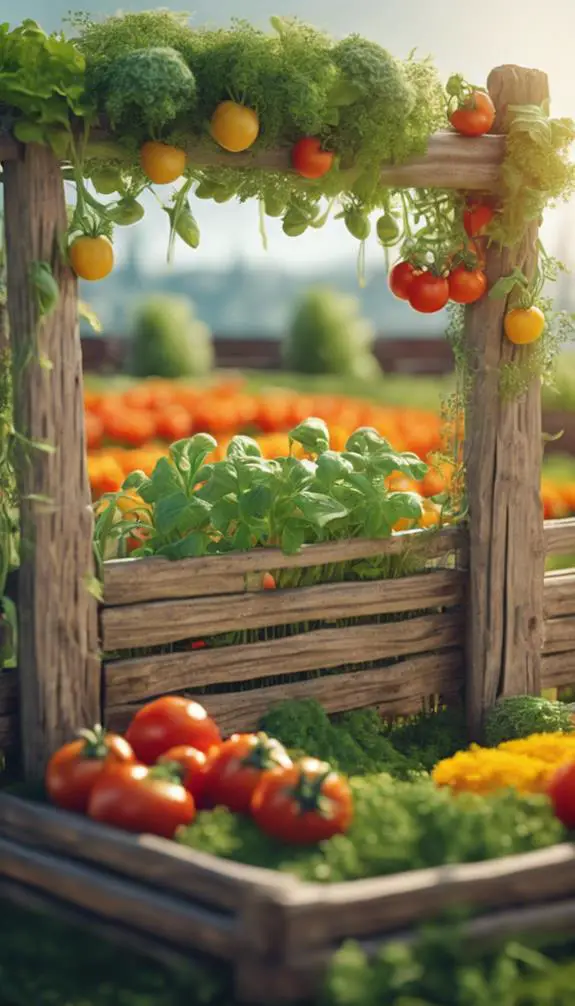
You'll want to choose plants that thrive in a straw bale environment, which typically means selecting varieties that prefer well-draining soil and can tolerate some drought.
Straw bales create a unique microclimate, with temperatures and moisture levels varying throughout the bale. Plants that excel in this setting often have specific soil preferences, such as those that prefer a slightly acidic to neutral pH.
Consider plants like tomatoes, peppers, and cucumbers, which perform well in well-draining soil and can handle the occasional dry spell. Herbs like basil, mint, and cilantro also thrive in straw bale gardens, as they require minimal watering and can tolerate some drought.
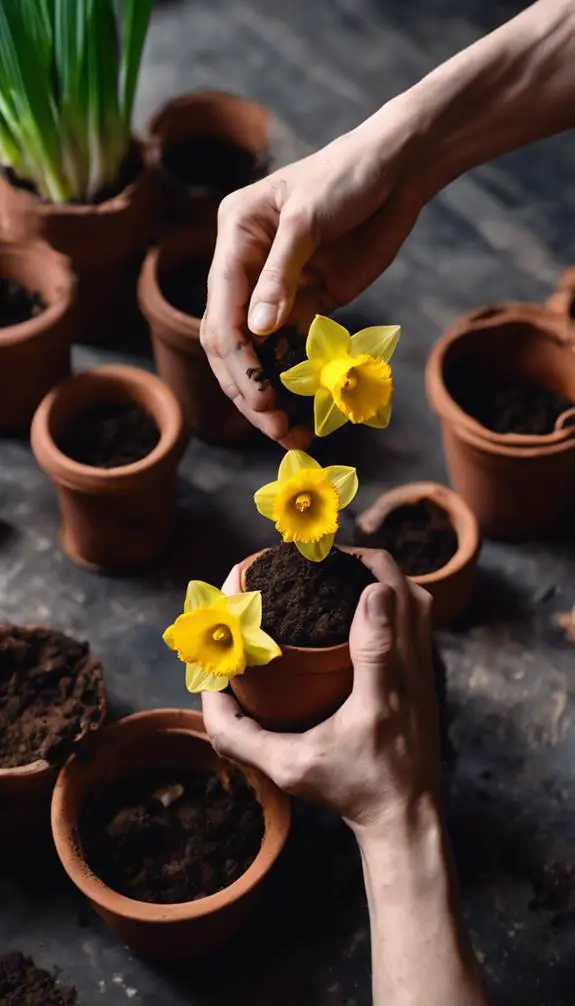
Plant Seeds or Seedlings
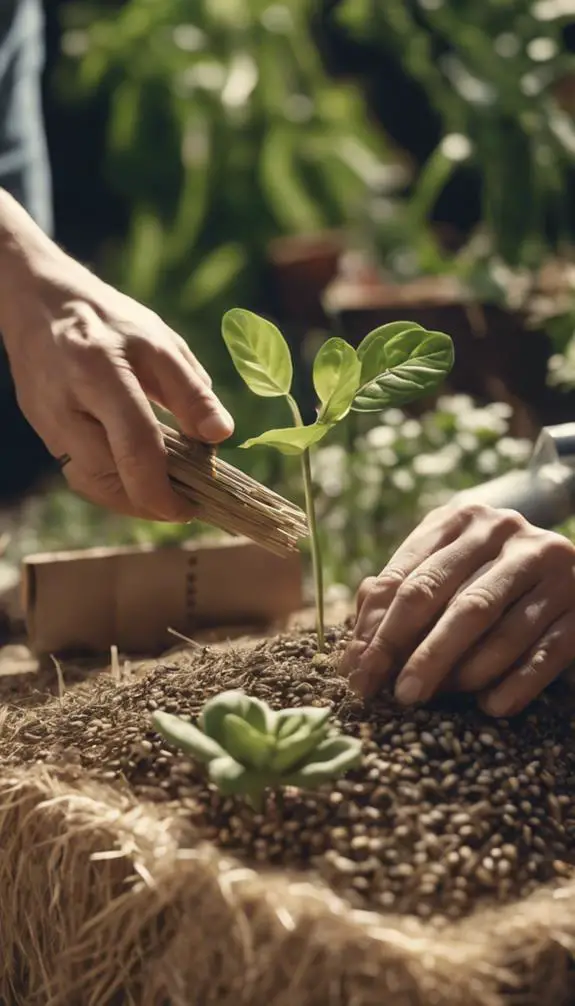
As the straw bale garden is now prepared, it's time to introduce the plants that will thrive in this unique environment.
You'll need to determine whether to plant seeds or seedlings, depending on the type of plants you've chosen and their growth habits.
When planting seeds, confirm you sow them at the correct seed depth, usually 1-2 inches, and space them according to the package instructions.
For seedlings, gently remove them from their pots and plant them at the same depth as they were previously, firming the straw around their roots.
Check the soil temperature, as it should be within the ideal range for your plants' germination or growth.
Water and Mulch the Garden
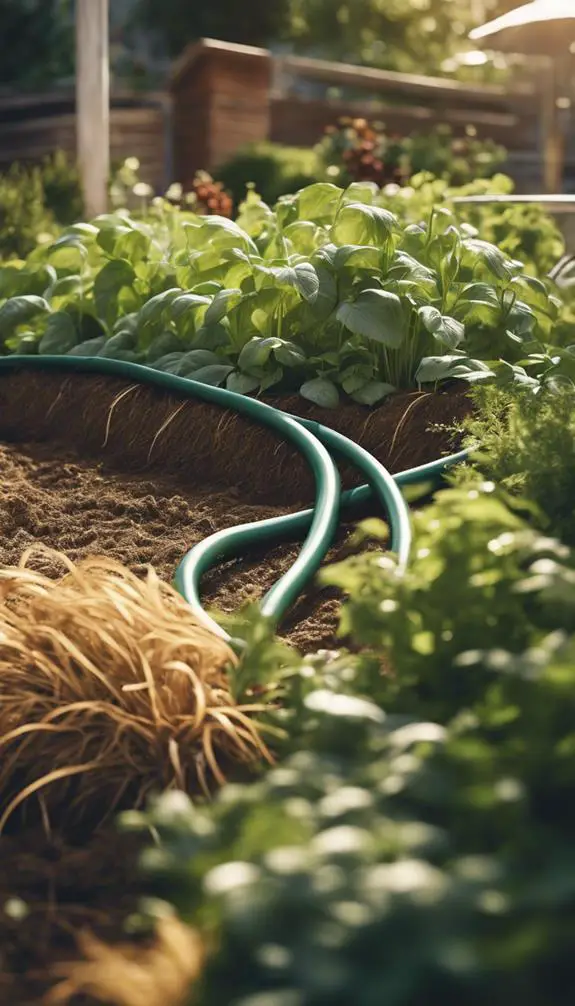
You'll need to monitor the moisture levels of your straw bale garden daily, as the bales can dry out quickly.
Once you've watered your garden, apply a 2-3 inch layer of organic mulch, such as straw or wood chips, to help retain moisture and suppress weeds.
As you establish a watering schedule, keep in mind that straw bale gardens typically require more frequent watering than traditional gardens, especially during hot and dry weather.
Moisture Levels Matter
Get your straw bale garden off to a strong start by keeping the bales consistently moist, especially during the initial conditioning phase.
You'll want to guarantee the straw water content reaches 40-50% to facilitate bale hydration. Check the moisture level daily, and water as needed to maintain this range.
Overwatering can lead to mold and rot, while underwatering slows decomposition. Aim for about 1-2 inches of water per bale per day.
You can check the moisture level by inserting your hand into the bale or using a moisture meter. Proper hydration will help create an ideal environment for microorganisms to break down the straw, making nutrients available to your plants.
Mulch Application Tips
Two to three inches of organic mulch around your straw bale garden will help retain moisture, suppress weeds, and regulate soil temperature.
Apply the mulch evenly, ensuring it doesn't touch the straw bales themselves, as this can cause rot. Instead, create a "straw shield" by maintaining a small gap between the mulch and the bale.
For ideal mulch maintenance, replenish the layer as needed, and fluff it up periodically to prevent matting. Organic mulch options like wood chips, bark, or straw work well.
Avoid using mulches that can attract pests, like grass clippings or manure. By following these mulch application tips, you'll create a healthy environment for your straw bale garden to thrive.
Watering Schedule Essentials
A well-hydrated straw bale garden is essential for ideal growth and production.
You'll want to establish a regular watering schedule to guarantee your bales receive the right amount of moisture. Check the bales daily, and water when the top 2-3 inches of the bale feels dry to the touch.
Aim to provide about 1-2 inches of water per week, either from rainfall or irrigation. Avoid overwatering, which can lead to rot and decay. Instead, focus on achieving peak soil saturation.
As you water, make sure the liquid penetrates the bale evenly, reaching the roots of your plants. Follow these watering tips to create a thriving straw bale garden that will yield a bountiful harvest.
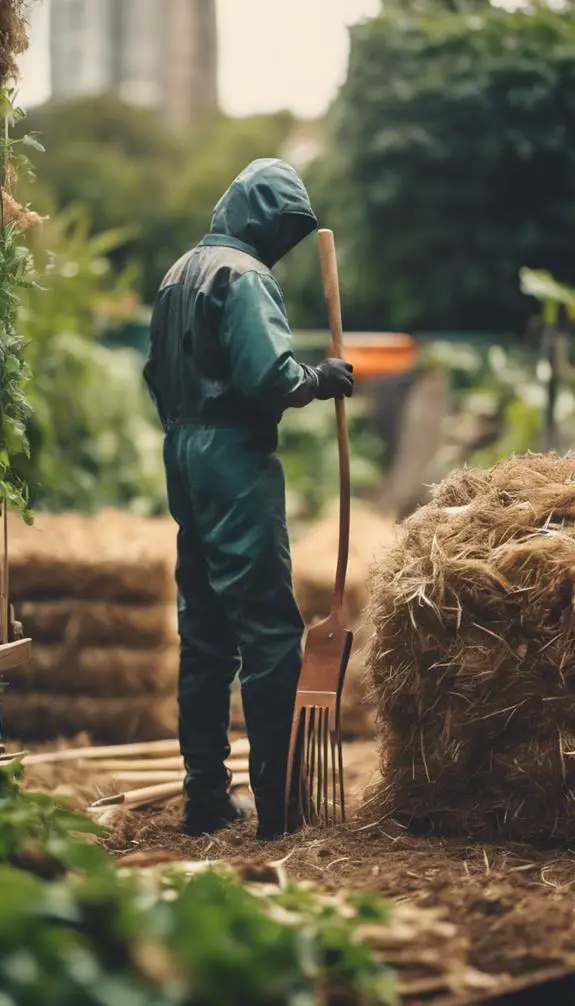
Maintain the Straw Bales
Every week, inspect your straw bales for signs of decomposition, such as a sour smell, mold, or a significant decrease in size.
This regular Straw Bale Maintenance is vital to guarantee prime growing conditions for your plants.
During Bale Inspection, check for any signs of burning or overheating, which can occur if the bales are too dense or have insufficient airflow.
If you notice any issues, turn the bales to improve air circulation and speed up the decomposition process.
Add more straw or carbon-rich materials as needed to maintain a balanced carbon-to-nitrogen ratio.
Monitor for Pests and Diseases
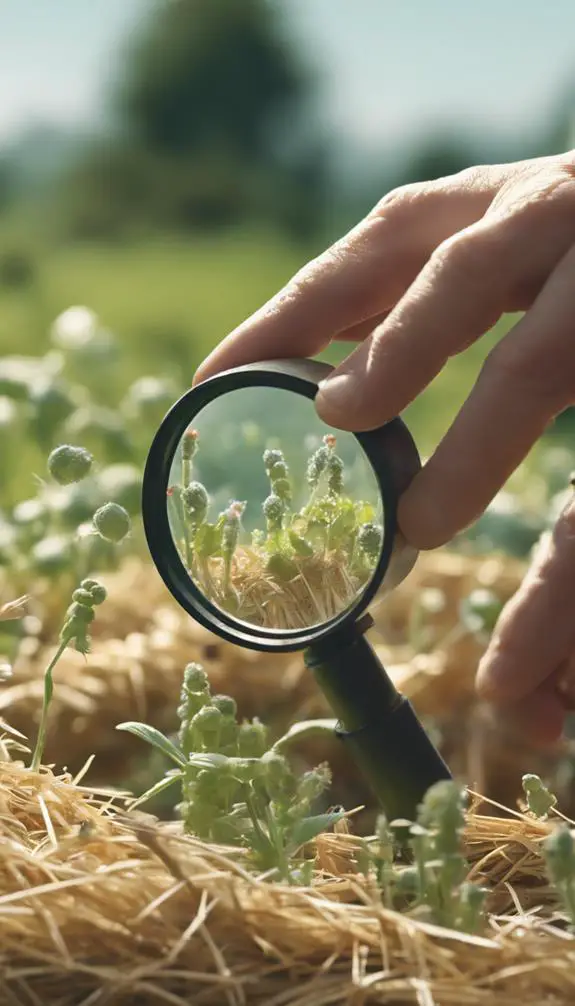
As you tend to your straw bale garden, you'll need to regularly inspect it for unwanted visitors and potential threats.
You should check your bales daily for signs of pests, inspect the bales and surrounding soil for fungal growth, and watch for slugs nightly when they're most active.
Check for Pests Daily
Monitoring your straw bale garden daily for pests and diseases is crucial to its success, since undetected issues can quickly spread and devastate your crop.
You'll want to perform daily inspections, checking for signs of pests like aphids, whiteflies, and spider mites. Look for physical damage, unusual odors, or changes in plant color or texture.
Be sure to inspect the undersides of leaves and stems, where pests often hide. If you find any issues, implement pest control methods promptly, such as introducing beneficial insects, spraying soaps or oils, or using neem oil.
Catching problems early will help prevent infestations and keep your straw bale garden thriving.
Inspect for Fungal Growth
Fungal growth can quickly destroy your straw bale garden, so it's essential you inspect for it regularly.
You'll want to perform visual checks daily, looking for signs of fungal types like powdery mildew, leaf spot, or rust.
Inspect the straw bales and plants for white, cottony growth, black spots, or yellowing leaves.
Check for musty odors or slimy textures, which can indicate fungal growth.
Regular inspections will help you catch fungal issues early, allowing you to take swift action to prevent the problem from spreading.
Make note of any affected areas and remove infected straw or plants to prevent further damage.
Watch for Slugs Nightly
You've inspected your straw bale garden for fungal growth, but now it's time to shift your attention to other potential threats.
Slugs are one of the most destructive pests in straw bale gardens, and they're most active at night. Conduct nightly patrols to monitor for slug activity.
Look for signs of slimy trails, chewed leaves, and holes in fruit. Set up slug traps, such as shallow trays filled with beer or a mixture of yeast and water, to lure and capture these pests.
Check the traps frequently to dispose of the trapped slugs. Regularly inspect your plants for any damage and remove any infested or infected areas to prevent the spread of disease.
Stay vigilant, and you'll be able to protect your straw bale garden from these nocturnal pests.
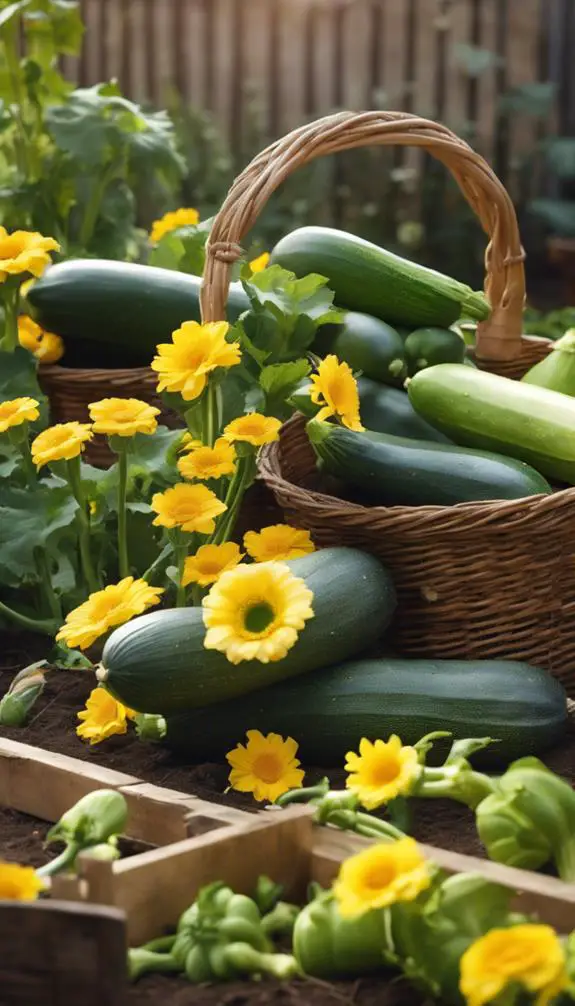
Harvest Your Fresh Produce
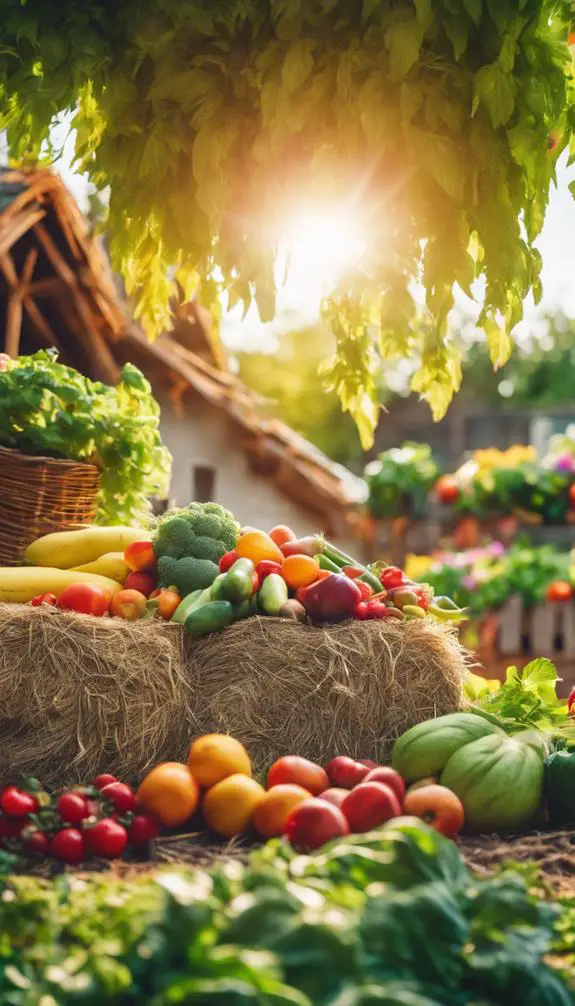
Three to four months after planting, your straw bale garden should be teeming with fresh produce, ready to be harvested.
You've worked hard to reach this milestone, and now it's time to reap the rewards. As you inspect your bales, look for signs of ripeness, such as color, texture, and smell.
For leafy greens, simply snip off the fresh picks with scissors, leaving the roots intact to promote regrowth. For vining plants, gently twine the stems around a trellis or cage to encourage continued growth.
Regular harvesting will encourage your plants to produce more, helping you achieve your garden goals. Keep a close eye on your bales, as overripe produce can quickly spoil.
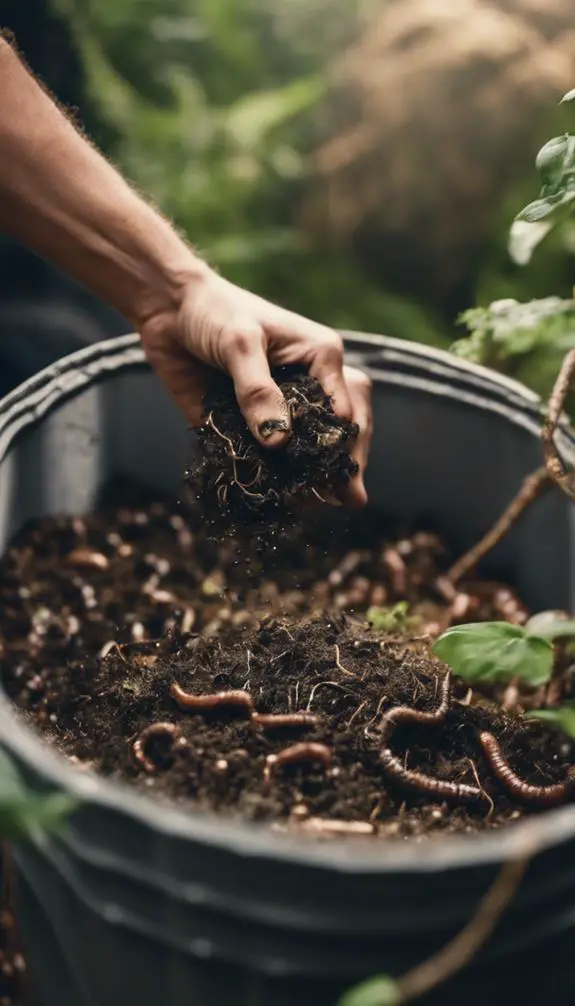
Turn Old Bales Into Compost
As your straw bale garden reaches the end of its productive life, the bales themselves become a valuable resource for your garden's future.
You can recycle them into nutrient-rich compost, releasing numerous benefits for your soil.
Break down the bales into smaller pieces and mix them with other organic materials, like food scraps or leaves, in a 2:1 ratio of "green" to "brown" materials.
This blend will heat up, killing off any pathogens and weed seeds.
After a few weeks, the compost will be ready to use, providing a slow release of nutrients and improving soil structure.
FAQs
Can I Use Straw Bales That Are Moldy or Rotten?
You shouldn't use moldy or rotten straw bales, as they can harbor diseases and pests that'll harm your plants. Instead, opt for fresh options or dry alternatives that provide a clean slate for your garden's growth.
How Deep Do I Need to Plant Seeds in the Bales?
When planting seeds, you'll want to ponder seed depth and soil density. Generally, seeds should be planted 2-3 times deeper than their width, but adjust according to soil density – denser bales may require shallower planting.
Will Straw Bale Gardens Attract Rodents or Other Pests?
You'll want to ponder pest control methods, as straw bale gardens can attract rodents and other pests; implement wildlife deterrents like physical barriers, repellents, or traps to minimize damage and guarantee a thriving harvest.
Can I Use Straw Bales for a Garden in a Shaded Area?
You can adapt straw bales to shaded areas, but consider the implications: shaded soil may retain moisture, affecting straw decomposition, and shaded plants may require adjustments to your bale's microclimate, so choose shade-tolerant varieties and monitor moisture levels.
How Long Will a Straw Bale Garden Last Before It Needs Replacing?
You'll find that straw bale longevity varies, but typically, a well-maintained bale lasts 1-2 growing seasons before decomposition sets in, with factors like moisture, temperature, and bale quality influencing its lifespan.
Conclusion
You've successfully planted a straw bale garden, providing a nutrient-rich environment for your plants to thrive. Regularly monitor temperature, moisture, and pests to guarantee perfect growth. As the season progresses, your plants will flourish, and you'll be rewarded with a bountiful harvest. After the harvest, decompose the spent bales to create a nutrient-rich compost for future gardens. By following these steps, you'll enjoy a sustainable and productive straw bale garden for years to come.