You're enthusiastic to bring vibrant blooms to your outdoor space, and planting garden bulbs in containers is a great way to do so. But before you start, making sure you get the fundamentals right is crucial. You'll need to choose the perfect container, select the ideal potting mix, and figure out the correct planting depth for your bulbs. Get these factors wrong, and your bulbs might not thrive. But don't worry, with a few simple tips and tricks, you'll be on your way to growing stunning container bulbs that will brighten up your patio or balcony. Now, let's get started and explore the vital steps to success.
Summary
- Choose a container that's at least 6-8 inches deep to accommodate the bulb's growth and has drainage holes to prevent waterlogged soil.
- Select a well-draining potting mix and plant bulbs at the same depth as in the ground, typically 2-3 times deeper than their height.
- Space bulbs 3-6 inches apart, depending on the variety, and plant smaller bulbs 3-5 per container, and larger bulbs individually or in pairs.
- Water well after planting and add a layer of organic mulch to retain moisture and regulate soil temperature, keeping the soil consistently moist but not waterlogged.
- Monitor bulbs' progress regularly, checking for signs of growth, disease, or pests, and adjust sunlight and watering accordingly based on the specific bulb variety's needs.
Choosing the Right Bulbs
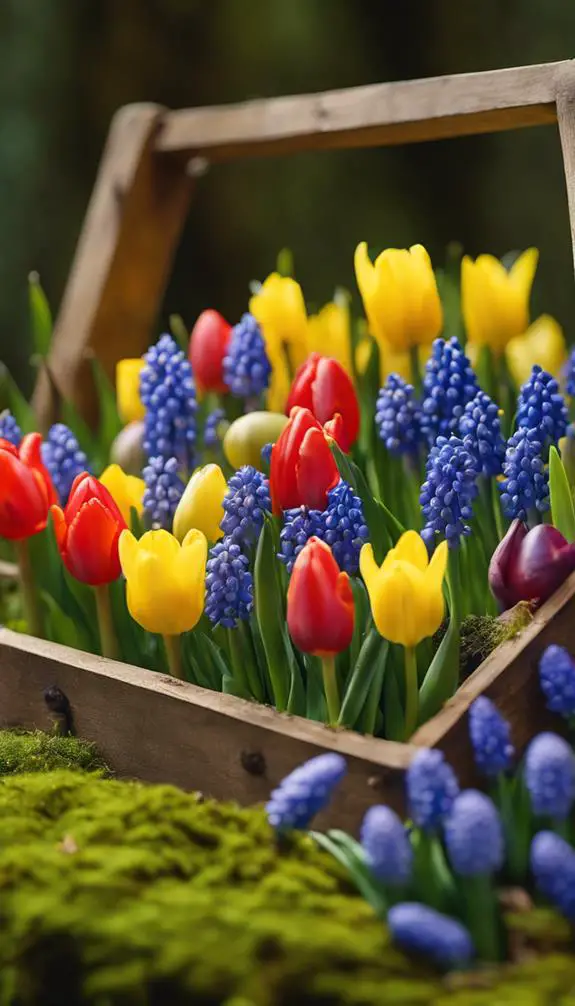
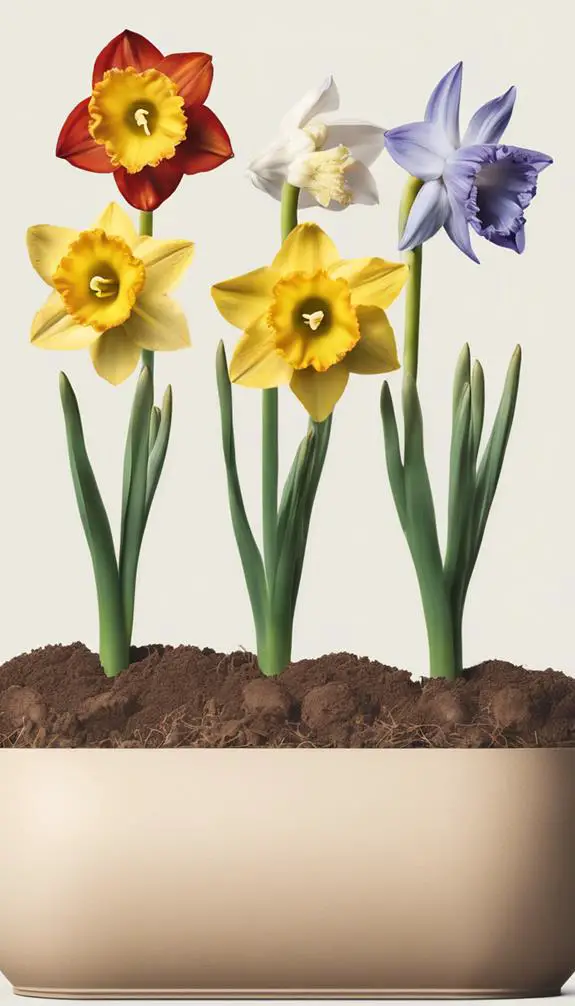
Selecting the right bulbs for your garden is a crucial first step in creating a vibrant and thriving display of flowers.
You'll want to ponder the various bulb varieties and their unique characteristics. For instance, tulips and daffodils are classic choices, but you may also want to explore more exotic options like ranunculuses or anemones.
Think about the flower shapes you want to feature in your garden – do you prefer bold, cup-shaped blooms or delicate, bell-shaped ones? Different bulbs produce different flower shapes, so choose accordingly.
Additionally, ponder factors like bloom time, fragrance, and growth habits to guarantee your bulbs flourish and provide the desired visual impact.
Selecting Containers for Bulbs
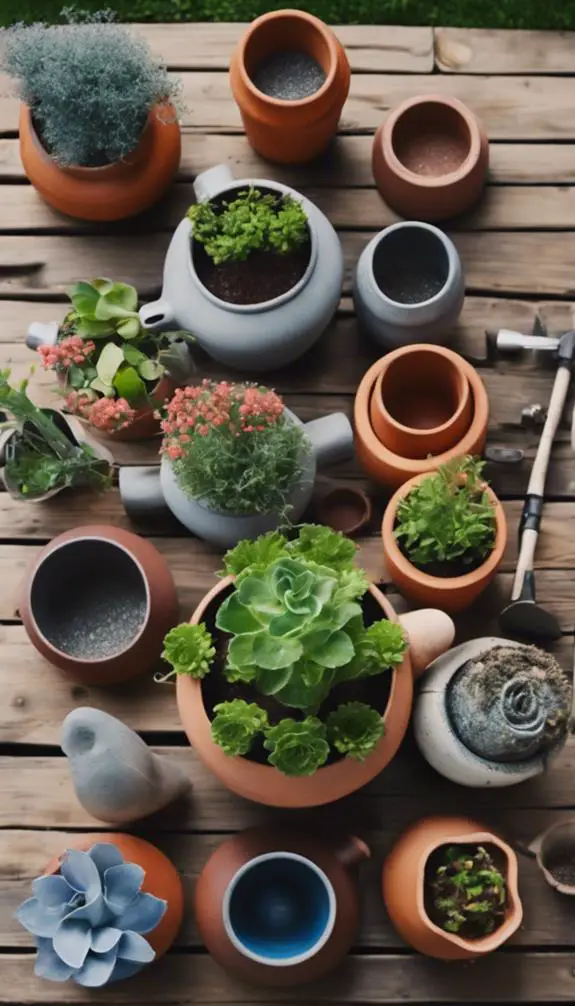
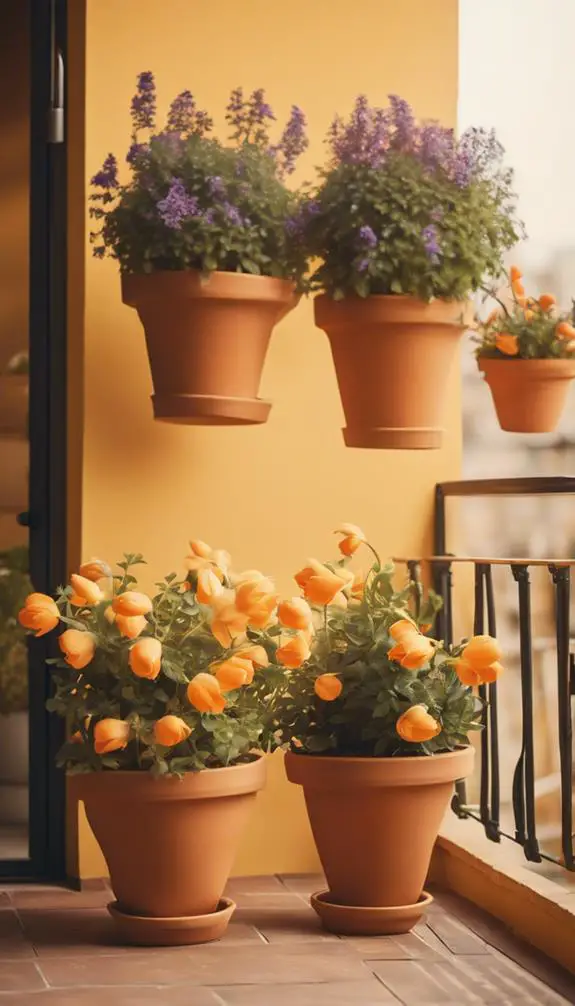
Your garden beds may not be the only place to showcase your bulbs; containers can add an extra layer of flexibility and creativity to your garden design.
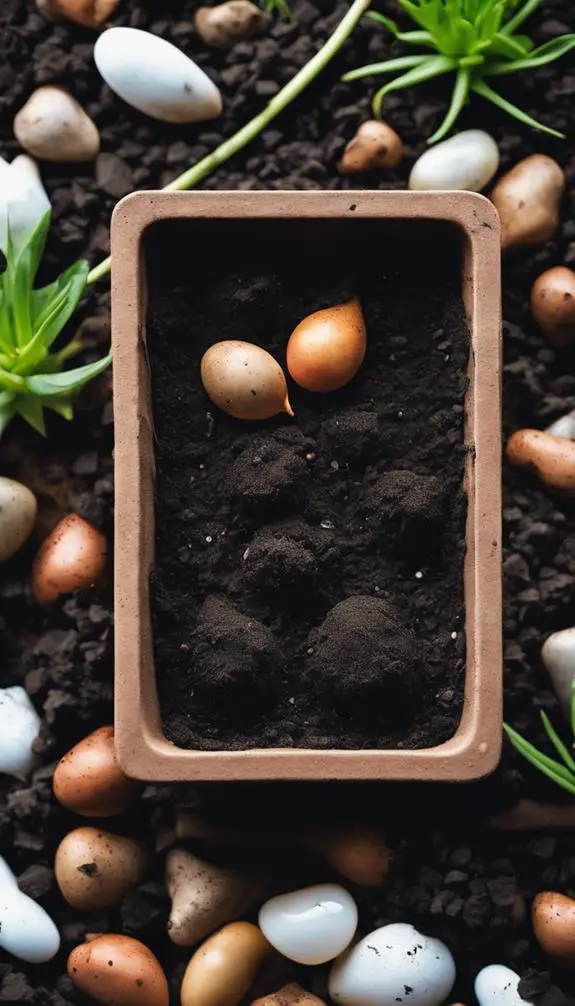
When selecting a container for your bulbs, consider the mature size of the plants. Choose a container that's at least 6-8 inches deep to accommodate the bulb's growth.
Also, think about the material options: terra cotta, ceramic, or plastic. Terra cotta and ceramic containers provide good drainage and a natural look, while plastic containers are lightweight and easy to move.
Verify your container has drainage holes to prevent waterlogged soil. A well-chosen container will give your bulbs the room they need to thrive and add visual interest to your garden.
Preparing the Container Soil
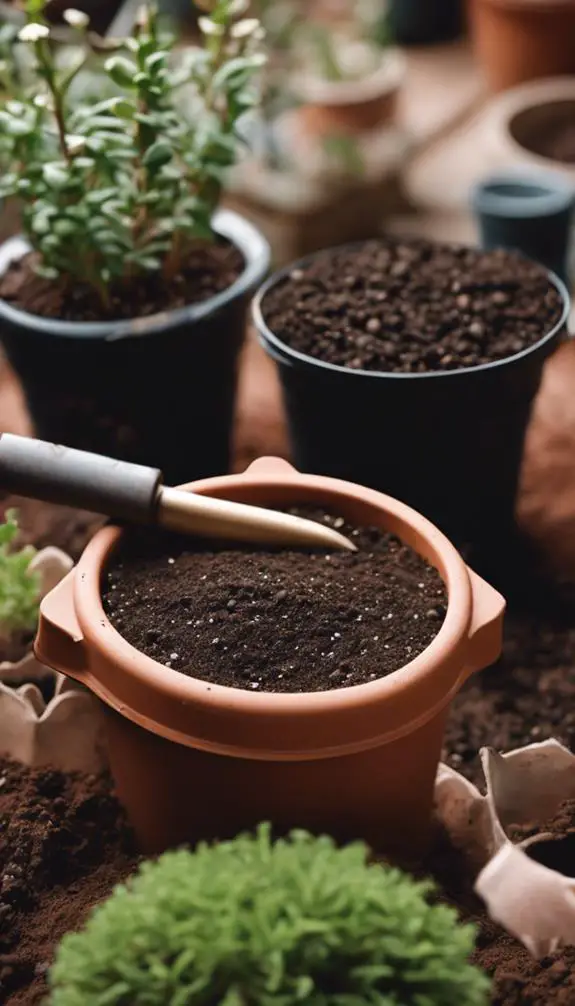
When preparing the container soil, you'll want to create a well-balanced mix that caters to your bulbs' specific needs.
The structure of the soil matters, so you'll need to select a mix that provides good aeration, water retention, and drainage.
Soil Structure Matters
Gardeners often overlook the essential role soil structure plays in a bulb's success, but a well-balanced mix can make all the difference.
You want a mix that drains excess water yet retains enough moisture to support your bulbs' growth. Soil aeration is pivotal, as it allows oxygen to reach the roots and prevents waterlogging.
A mix with good water retention will supply your bulbs with a steady supply of moisture, reducing the need for frequent watering.
When preparing your container soil, aim for a mix that's about 60% organic matter, such as peat moss or compost, and 40% inorganic matter, like perlite or vermiculite.
This blend will provide the perfect balance of aeration and water retention for your garden bulbs.
Selecting Right Mix
Explore into selecting the right mix for your container soil by considering the specific needs of your bulbs.
You'll want a well-balanced blend that provides ideal growing conditions. Aim for a mix ratio of 60% peat moss or coconut coir, 20% perlite or vermiculite, and 20% compost or worm castings.
This combination will retain moisture, improve drainage, and supply essential nutrients. Don't forget to check the soil pH, as most bulbs thrive in slightly acidic to neutral conditions (pH 6.0-7.0).
Avoid using regular potting soil, as it can be too dense and may cause waterlogging. By selecting the right mix, you'll give your bulbs the best chance to bloom beautifully in their containers.
Drainage Is Key
Proper drainage is the cornerstone of a thriving bulb garden, as it prevents waterlogged soil that can rot your bulbs.
When preparing the container soil, you'll want to guarantee good container drainage. Add a layer of small rocks or broken pottery at the bottom of your container to facilitate water flow.
This allows excess water to escape, reducing the risk of waterlogged soil. You can also mix in some perlite or vermiculite to improve drainage and aeration in the soil.
Understanding Bulb Planting Depth
When planting garden bulbs, you'll need to determine the correct planting depth, which is typically measured from the base of the bulb to the soil surface.
You'll also need to weigh the importance of layering the soil correctly, as this affects the bulb's ability to grow and thrive.
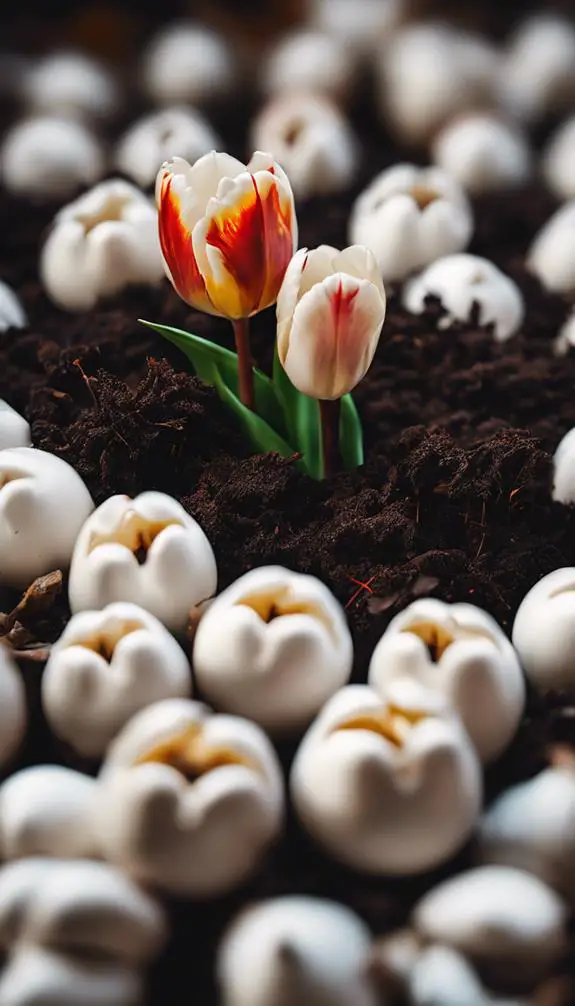
Bulb Depth Measurement
You're about to discover the secret to planting bulbs at the right depth, ensuring they bloom beautifully and thrive in your garden.
To get it right, you'll need to measure carefully. Using bulb measurement tools like a ruler or measuring tape, determine the height of the bulb.
Typically, bulbs should be planted two to three times deeper than their height. For example, a 2-inch bulb should be planted 4-6 inches deep.
Be cautious of measuring mistakes, such as not accounting for the soil layer or miscalculating the bulb's height. Avoid these common errors, and you'll be on your way to a stunning display of blooms.
Soil Layering Importance
As you prepare to plant your bulbs, one crucial consideration is the soil layering, which profoundly impacts the planting depth.
You'll want to create distinct soil layers to guarantee proper growth. Start with a layer of drainage material, like pebbles or broken pottery, at the bottom of your container. This allows excess water to escape, preventing waterlogged soil.
Next, add a layer of potting soil, followed by a layer of bulb fertilizer or compost. This combination provides essential nutrients for your bulbs.
Depth Variations Matter
Your bulb's fate is sealed the moment it's planted, and the determining factor is the depth at which it's placed.
Depth rules vary depending on the bulb type, so it's vital to research the specific needs of your bulbs. Generally, plant bulbs 2-3 times deeper than their height.
For example, a 2-inch tall bulb should be planted 4-6 inches deep. Proper spacing is also essential, as overcrowding can lead to reduced growth and increased risk of disease.
Aim for 3-6 inches of bulb spacing, depending on the variety. By following these depth and spacing guidelines, you'll set your bulbs up for success and guarantee a vibrant, thriving display.
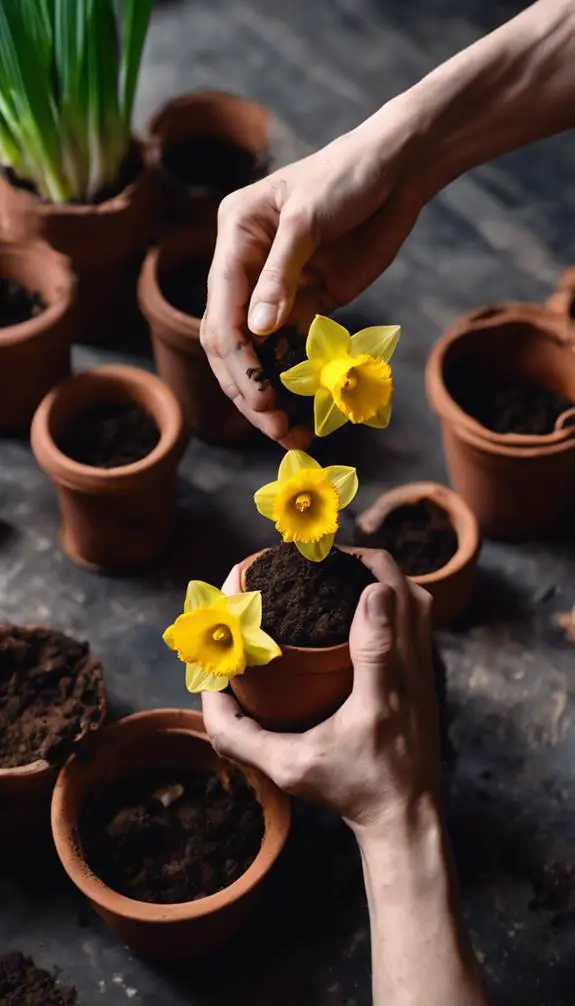
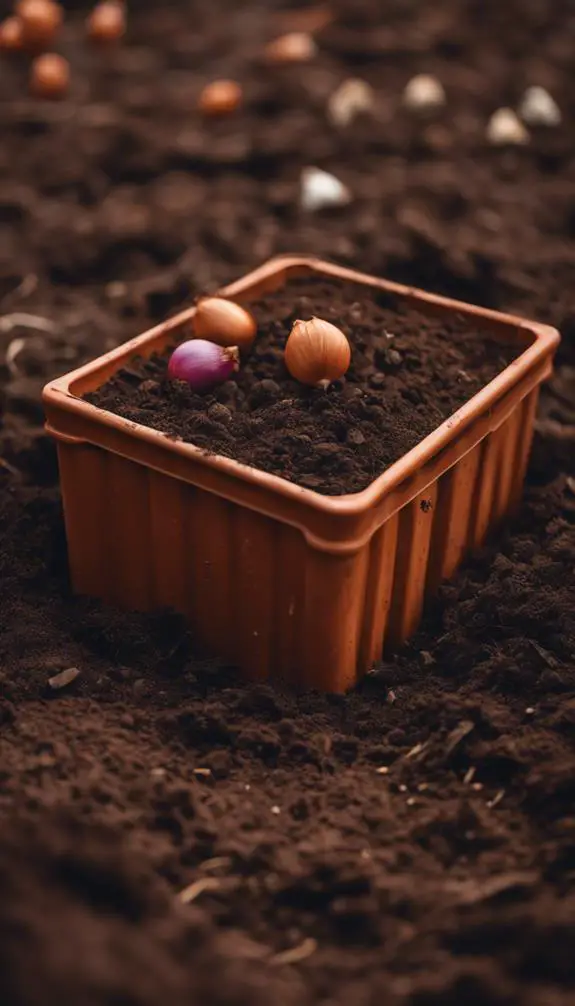
Planting Bulbs in Containers
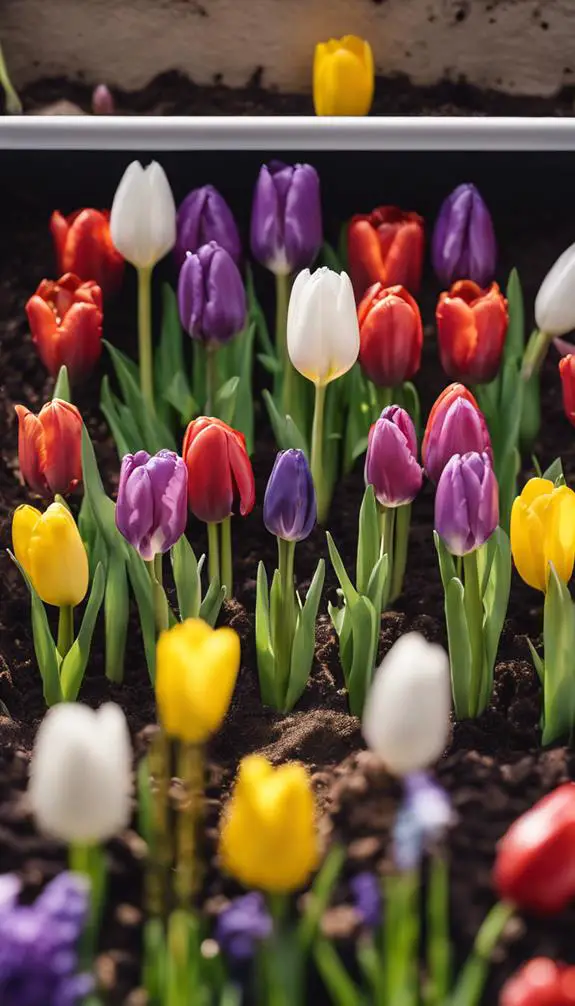
Dig in and get creative with planting bulbs in containers, a versatile and space-saving way to add vibrant flowers to your patio, balcony, or indoor spaces.
You can create a stunning display even in small gardens, where traditional gardening methods may be limited. Choose container varieties that are compact, produce smaller blooms, or have a more upright growth habit.
Select a container that's at least 6-8 inches deep to accommodate the bulbs' rooting depth. Use a well-draining potting mix and plant the bulbs at the same depth as you'd in the ground.
Water well and add a layer of mulch to retain moisture. With proper care, your container bulbs will thrive and provide a beautiful display of color.
Spacing Bulbs Correctly
When planting garden bulbs, you'll want to space them correctly to guarantee each bulb has enough room to grow and thrive.
As a general rule, plant bulbs 2-3 times deeper than their height, and space them 3-6 inches apart, depending on the variety.
Bulb Distance Guidelines
About three times the height of the bulb, that's the general rule of thumb for spacing bulbs correctly.
This confirms proper bulb proximity, allowing each bulb to receive adequate sunlight, air, and water.
When planting multiple bulbs, you'll want to follow specific spacing patterns.
For example, if you're planting tulips, which are typically 8-10 inches tall, space them about 24-30 inches apart.
Daffodils, on the other hand, can be spaced closer together, about 12-18 inches apart.
Remember, the key is to provide enough room for growth and development.
Proper Spacing Techniques
Plant your bulbs in a pattern that allows for air circulation and sunlight penetration, ensuring each bulb receives the necessary resources to thrive.
Avoid bulb clustering, where bulbs are packed too tightly together, as this can lead to container crowding and reduced growth. Instead, plant bulbs at varying depths and spacings to create a visually appealing arrangement.
For smaller bulbs, plant 3-5 per container, while larger bulbs can be planted individually or in pairs. Make sure to leave enough space between each bulb to accommodate mature plant size.
Proper spacing techniques will give your bulbs room to breathe, preventing overcrowding and promoting healthy growth.
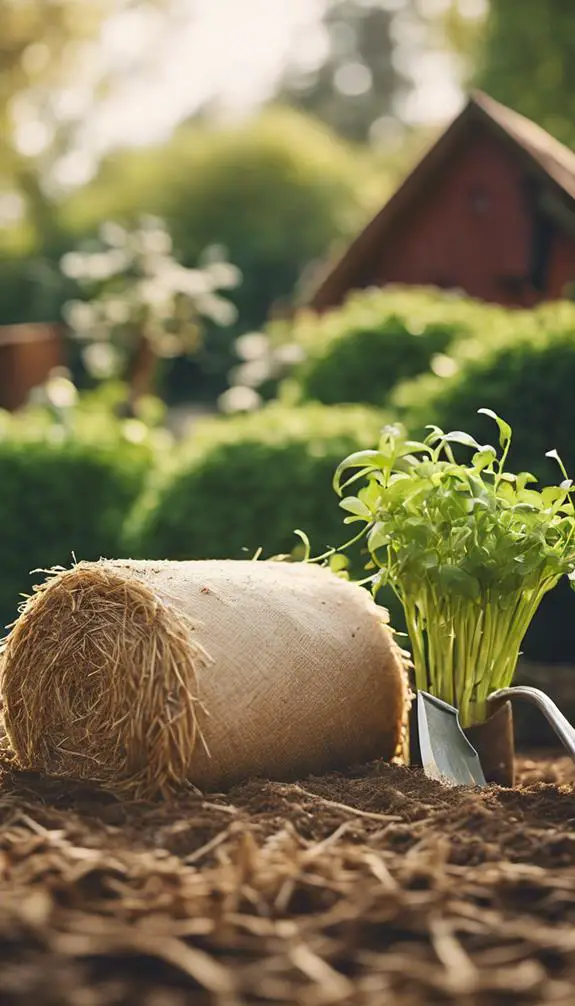
Adding Soil and Mulch
You've prepared the bed and positioned your bulbs – now it's time to add the soil and mulch.
For ideal growth, choose a well-draining potting mix specifically designed for containers. Avoid using garden soil, as it can compact and prevent proper drainage.
Add a 2-3 inch layer of soil, gently firming it around the bulbs to eliminate air pockets.
Next, apply a 1-2 inch layer of organic mulch, such as bark chips or straw, to retain moisture and regulate soil temperature.
Mulch benefits include reduced evaporation, improved soil structure, and a visually appealing finish.
Watering Newly Planted Bulbs
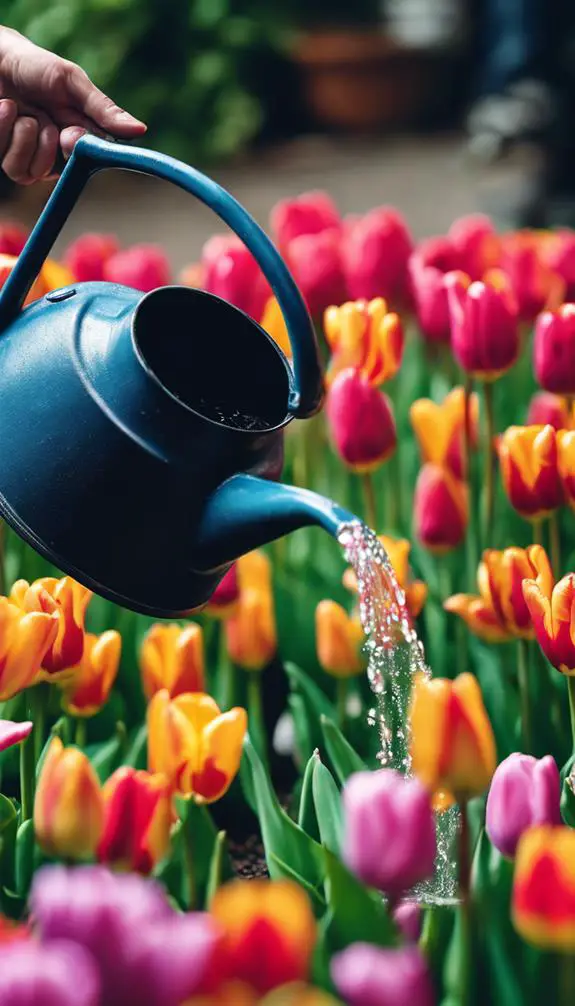
With your newly planted bulbs nestled in their soil and mulch bed, it's time to give them the hydration they need to establish a strong foundation.
Watering is vital, and you'll want to get it just right. Aim to keep the soil consistently moist, but not waterlogged.
Check the moisture levels by sticking your finger into the soil up to the first knuckle. If the soil feels dry, it's time to water.
Watering tips: water gently but thoroughly, making sure the pot drains well to prevent root rot. Avoid getting water on the bulbs themselves to prevent rot.
Caring for Bulbs After Planting
Beyond the initial watering, your bulbs need ongoing care to thrive.
You'll need to monitor their progress regularly, checking for signs of growth, disease, or pests. During the post-planting care period, make sure the soil remains consistently moist but not waterlogged.
Check the container daily, and water only when the top inch of soil feels dry to the touch. Bulb monitoring is vital at this stage, as it allows you to catch any potential issues early on.
Keep the container in a cool, bright location, protected from extreme temperatures and harsh winds. By following these simple steps, you'll be well on your way to growing healthy, thriving bulbs that will bloom beautifully in the spring.
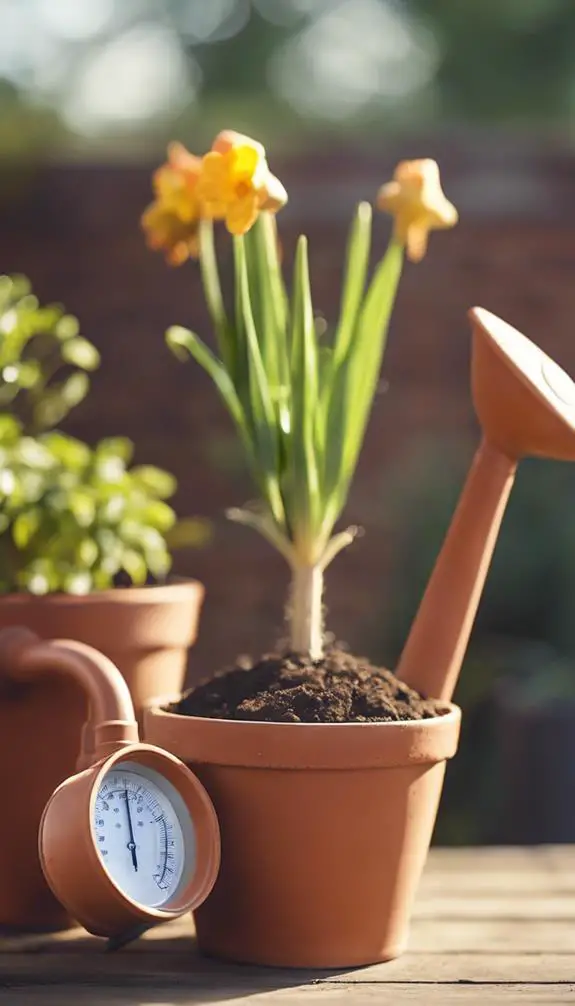
Providing Proper Sunlight
As you tend to your newly planted bulbs, don't overlook the crucial role sunlight plays in their development.
Most bulbs require at least 6 hours of direct sunlight per day to thrive. If your container receives full sun, consider providing morning sun, which is gentler on the bulbs than intense afternoon sun.
Be sure to check the specific sunlight requirements for your bulb variety, as some may need more or less sunlight. When selecting a spot for your container, guarantee it receives the recommended sunlight hours.
If necessary, move the container to a sunnier location or use a sheer curtain to filter the sun's rays. Proper sunlight exposure will help your bulbs grow strong and healthy, leading to beautiful blooms.
Fertilizing Container Bulbs
You've guaranteed your container bulbs receive the right amount of sunlight, now it's time to focus on feeding them.
Fertilizing is vital for bulb growth, and timing is everything. Apply a balanced, water-soluble fertilizer at planting time to give your bulbs a strong start.
For an extra boost, use bulb-specific fertilizers or bulb boosters that contain phosphorus, which promotes root development and flower production.
Avoid over-fertilizing, as this can damage your bulbs. Wait until the foliage emerges before fertilizing again, and then only lightly.
Proper fertilizer timing will guarantee your container bulbs thrive and produce stunning blooms.
Protecting Bulbs From Pests
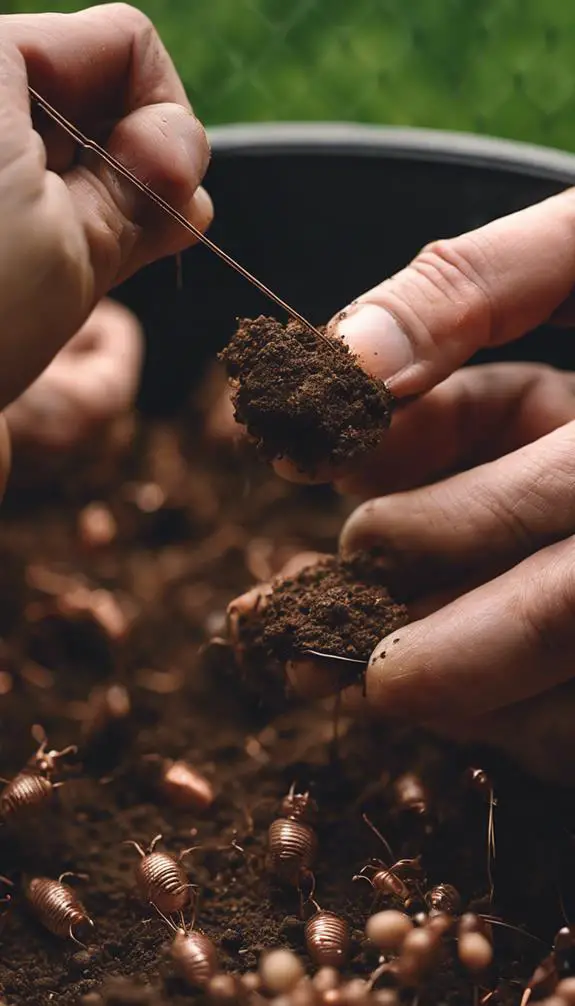
Pests can be a major problem for gardeners, and bulbs are no exception.
Squirrels, in particular, love to dig up and munch on your bulbs. To protect your bulbs, use squirrel protection methods like planting them at a depth of at least 8-10 inches, making it harder for squirrels to reach.
You can also add a layer of chicken wire or hardware cloth around the container to prevent them from digging. Rodent deterrents like castor oil or predator urine can also be used to repel them.
Another option is to plant bulbs in containers with wide, heavy bases that are harder for squirrels to tip over. By taking these steps, you'll be able to enjoy your beautiful blooming bulbs without those pesky critters ruining the show.
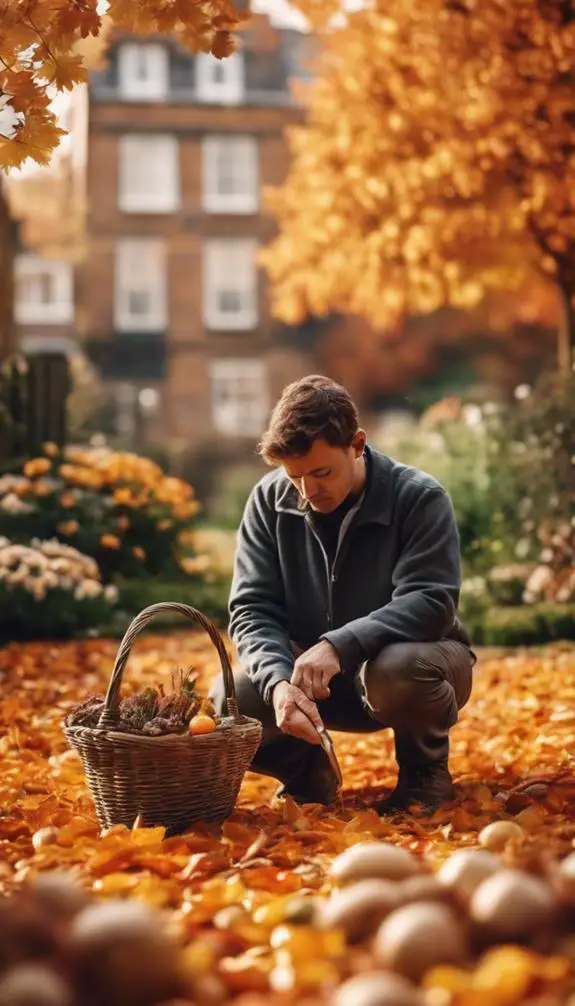
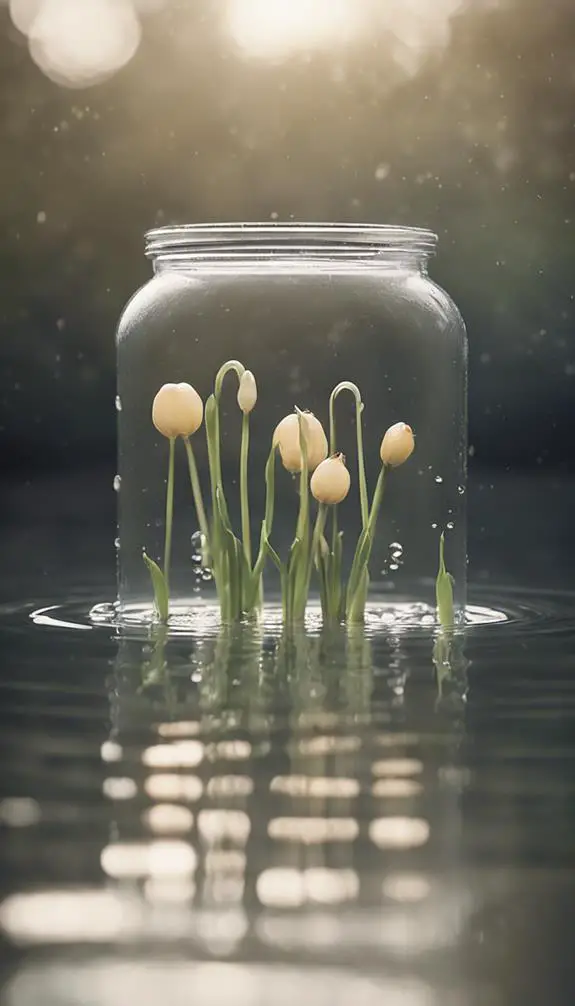
Forcing Bulbs for Early Blooms
Forcing bulbs is a technique that allows you to enjoy blooms weeks or even months ahead of their natural schedule.
By mimicking winter's chill, you can trick bulbs into thinking it's spring. To force bulbs, plant them in containers in the fall, then store them in cold storage (around 35-45°F) for 12-14 weeks.
This simulates winter's chill, prompting the bulbs to develop roots and prepare for growth. After cold storage, move the containers to a bright, cool spot (around 40-50°F) to encourage blooming.
With proper care, you'll get a spring preview, enjoying vibrant blooms long before the outdoor weather warms up. This innovative technique gives you a head start on the growing season, allowing you to savor the beauty of spring earlier than ever.
FAQs
Can I Plant Bulbs in Containers Indoors Year-Round?
You can plant bulbs in containers indoors year-round, but for winter blooms, you'll need to prep them indoors 3-4 months prior, providing the right conditions, then move them outdoors when the weather cools.
Will Rodents Dig up Bulbs in Outdoor Containers?
You'll want to protect your outdoor container bulbs from rodents; they'll dig them up if they can. Try using pest control methods like copper mesh or rodent deterrents like predator urine or hot pepper spray to keep them at bay.
Can I Reuse Container Soil From Last Year's Bulbs?
You're wondering if you can reuse container soil from last year's bulbs? Generally, it's best to start fresh, as old soil can harbor diseases and deplete nutrients, affecting soil quality; a fresh start guarantees peak growth for your new bulbs.
Do Bulbs Need Deadheading After They Finish Blooming?
You'll want to deadhead bulbs after they finish blooming to promote bulb maintenance, as this encourages the bulb to focus energy on re-growing and storing energy for next year's flower, ultimately extending flower longevity.
Can I Grow Bulbs in Hanging Baskets or Vertical Gardens?
You can definitely grow bulbs in hanging baskets or vertical gardens, enjoying stunning hanging blooms with proper Basket care, such as ensuring good drainage and adequate sunlight, to create a breathtaking display of colorful flowers.
Conclusion
You've successfully planted garden bulbs in containers, and now it's time to sit back and enjoy the show. With the right bulbs, containers, soil, and care, you'll be rewarded with vibrant blooms that'll brighten up your outdoor space. Remember to monitor their progress, providing enough sunlight and water as needed. By following these steps, you'll be well on your way to enjoying beautiful, thriving container bulbs that'll bring joy and color to your garden all season long.