You're just a few weeks away from transforming your outdoor space into a vibrant spring wonderland. To get started, you'll need to choose the perfect bulbs for your desired color scheme and bloom times, and prep the soil by clearing debris and weeds. But that's just the beginning – you'll also need to test your soil's pH levels and nutrient content to guarantee your bulbs have the best chance at thriving. Now that you've taken the first steps, you're probably wondering what comes next. How do you plant those bulbs to achieve the stunning display you envision?
Summary
- Choose a mix of early, mid-season, and late-blooming bulbs for a prolonged display, considering bloom times, heights, and colors.
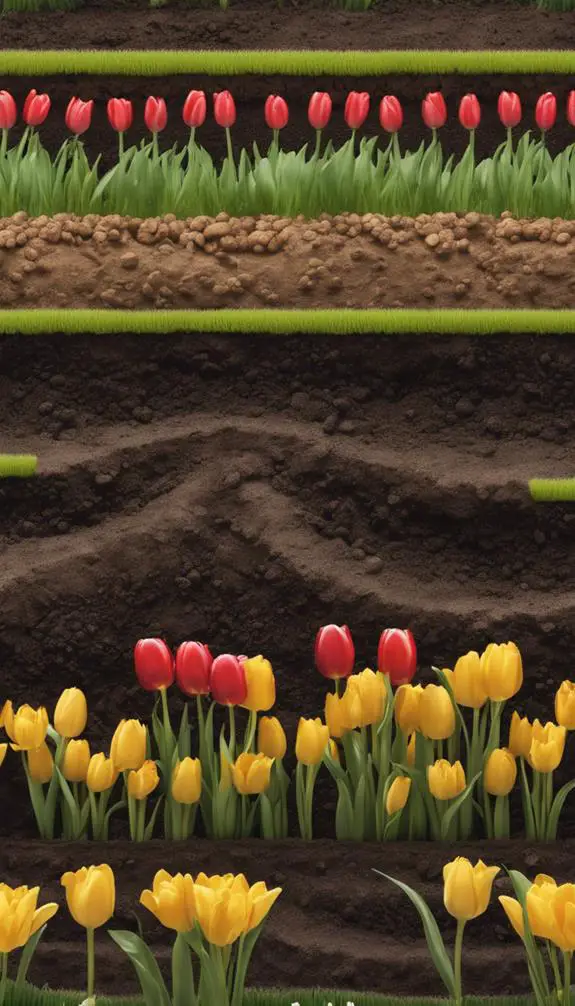
- Plant bulbs 2-3 times deeper than their height, close enough together for a visually appealing display, and in layers for proper drainage and aeration.
- Ensure the basal plate faces downwards and the nose faces upwards, and consider spacing to prevent competition for resources.
- Select pots with drainage holes and well-draining potting mix for container planting, leaving enough space for bulbs to grow.
- Plant spring-flowering bulbs in the fall, about 6-8 weeks before the first frost, to allow for sufficient time to establish themselves in the soil over winter.
Choosing the Right Bulbs
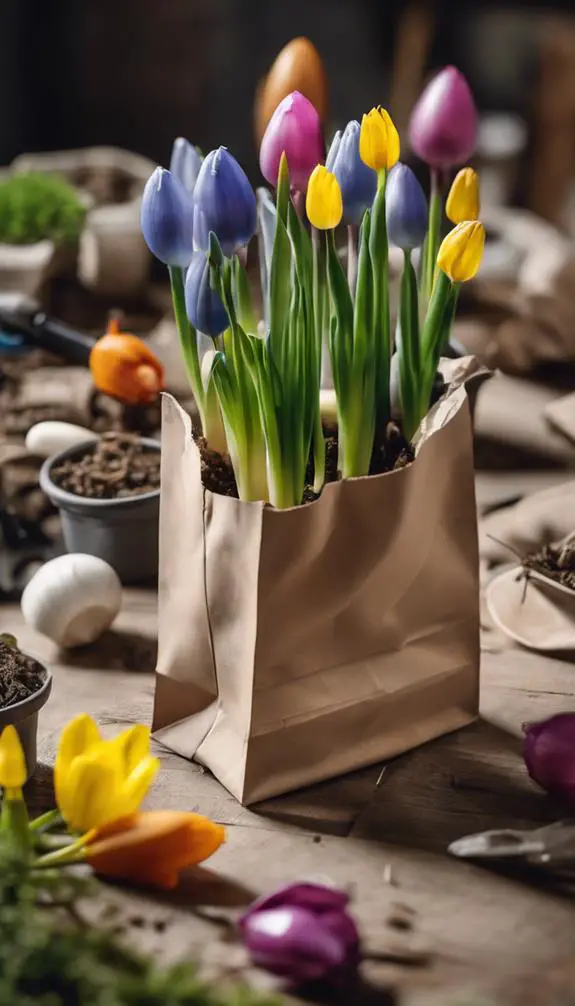
With spring on the horizon, you're likely enthusiastic to start planning your garden.
Choosing the right bulbs is vital to creating a vibrant and harmonious display. You'll want to ponder bulb varieties that complement each other with regard to bloom times, heights, and colors.
Selecting a mix of early, mid-season, and late-blooming bulbs guarantees a prolonged display of color. Think about a color scheme that resonates with your personal style, such as monochromatic, complementary, or analogous.
For a bold statement, combine bright yellows and oranges with deep blues and purples. For a softer look, pair pastel shades with whites and creams.
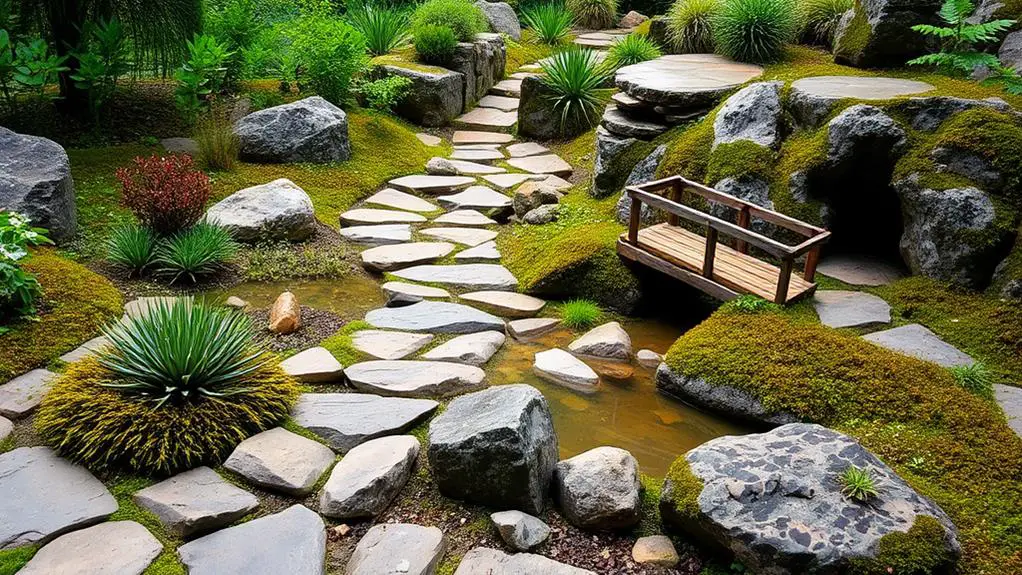
Preparing the Planting Site
Six to eight weeks before the first frost, clear the area of any debris, weeds, or dead plants to prepare the planting site for your spring bulbs.
You'll want to create a clean slate to guarantee ideal growing conditions. Consider your garden design and envision where you want your bulbs to bloom.
Take this opportunity to assess your soil's pH levels and nutrient content through soil testing. This will help you determine if any amendments are needed to create a welcoming environment for your bulbs.
Selecting the Best Soil
Your spring bulbs' success hinges on the soil they're planted in, so vitally, you must get it right.
Begin by testing your soil's pH levels to verify they're suitable for your chosen bulbs. Most spring bulbs thrive in slightly acidic to neutral soils with a pH between 6.0 and 7.0.
Next, assess your soil's moisture levels, as bulbs need consistent moisture during the growing season. Avoid areas with standing water, as this can lead to rot.
If your soil is heavy clay or sandy, mix in organic matter like compost to improve drainage and structure. By taking these steps, you'll create a peak environment for your spring bulbs to flourish.
Understanding Bulb Sizes

Three main factors determine the size of spring bulbs: the type of bulb, its maturity, and its intended use in your garden.
You'll often see bulbs classified as miniature, small, medium, or large, but what does that mean? Bulb measurement is typically done by circumference, with miniature bulbs being around 2-4 inches, small around 4-6 inches, and so on.
Bulb classification is vital, as it affects how you plant and care for them. For instance, larger bulbs may need more space and support, while smaller ones can be planted closer together.
Understanding bulb sizes helps you make informed decisions when selecting and planting bulbs, ensuring they thrive in your garden. By considering these factors, you'll be better equipped to create a stunning spring display.
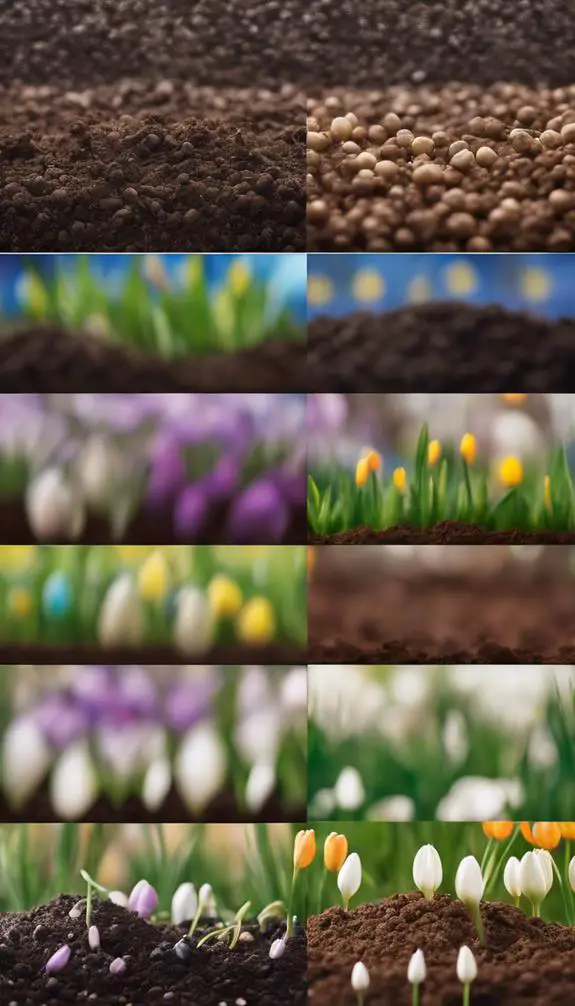
Planting Depths and Spacing
As you prepare to plant your spring bulbs, it's time to think about where they'll go in the ground.
Planting depths vary by bulb type, but a general rule of thumb is to plant bulbs two to three times deeper than their height. For example, if a bulb is 2 inches tall, plant it 4 to 6 inches deep.
When it comes to spacing, you'll want to plant bulbs close enough together to create a visually appealing display, but not so close that they're competing for resources.
Plant bulbs in layers, creating soil pockets for each layer to guarantee proper drainage and aeration. This will give your bulbs the best chance to thrive and produce beautiful blooms come spring.
How to Handle Bulb Orientation

Proper bulb orientation is crucial for ideal growth and blooming.
When you inspect your bulbs, make sure the basal plate (the flat base of the bulb) faces downwards, and the nose (the pointed top) faces upwards. This guarantees the stem grows upwards and the roots grow downwards.
Improper orientation can lead to weak and leggy stems, or even prevent blooming altogether.
During bulb inspection, gently rotate the bulb to identify the basal plate and nose. If you notice any bulb damage, such as cracks or soft spots, it's best to discard the bulb to prevent the spread of disease.
Planting in Containers

You've carefully inspected and prepared your bulbs, now it's time to weigh the best way to plant them.
If you're short on garden space or want to add some flexibility to your planting, consider planting in containers.
Start by selecting pots that are at least 6-8 inches deep to accommodate the bulb's growth.
Make sure they've drainage holes to prevent waterlogged soil.
Prepare your containers by filling them with a well-draining potting mix, leaving enough space for the bulbs.
When choosing pots, opt for ones that are wide enough to accommodate multiple bulbs, allowing for good air circulation.
Proper container preparation is key to ensuring healthy growth and blooming.
Creating a Planting Pattern

When deciding on a planting pattern, consider the mature size of the bulbs and their growth habits to guarantee a visually appealing display.
You can create bulb clusters by planting multiple bulbs close together, which will produce a stunning show of color in the spring.
For a more dramatic effect, try creating flower circles by planting bulbs in a circular pattern.
This will add visual interest to your garden bed and create a beautiful focal point.
To add some innovation to your design, consider mixing and matching different bulb varieties and colors to create a unique look.
Dealing With Pests and Diseases

Three common pests that can wreak havoc on your spring bulb display are squirrels, rabbits, and deer.
To prevent them from digging up your bulbs, use pest resistance techniques like planting bulbs at a depth of at least 8-10 inches, covering them with a 2-inch layer of mulch, and surrounding the bed with a physical barrier like chicken wire or hardware cloth.
You can also try using repellents like predator urine or hot pepper sprays.
Disease prevention methods are equally important.
Make sure to inspect your bulbs for signs of rot or mildew before planting, and discard any infected ones.
Plant bulbs in well-draining soil and avoid overwatering, which can lead to fungal diseases.
Consider adding a layer of compost or well-rotted manure to improve soil health and reduce the risk of disease.
Caring for Newly Planted Bulbs

After protecting your spring bulbs from pests and diseases, it's time to focus on their ongoing care.
You've taken the first step towards a beautiful bloom, but your work isn't done yet. Newly planted bulbs often experience bulb shock or post-planting stress, which can delay growth or even cause them to rot.
To minimize this risk, make sure the soil is well-draining and the bulbs receive adequate sunlight. Avoid overwatering, as this can exacerbate stress and lead to rot. Keep the soil consistently moist but not waterlogged.
Watering and Mulching Tips

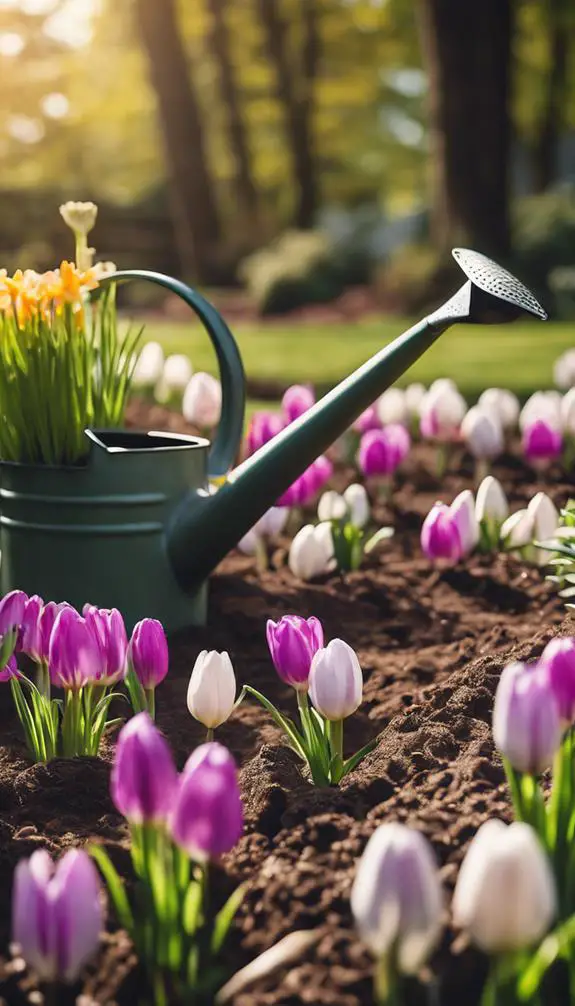
When planting spring bulbs, you'll want to guarantee the soil retains moisture during the winter months, as this will help your bulbs establish a strong root system.
To achieve this, you'll need to employ effective moisture retention strategies, such as watering well before the ground freezes and applying a layer of organic mulch.
Moisture Retention Strategies
How do you guarantee your spring bulbs receive the right amount of moisture during their critical growth period?
By implementing effective moisture retention strategies, you can certify maximum growth. Start by maintaining consistent humidity levels around your bulbs. You can do this by covering the soil with a thin layer of organic mulch, which acts as a soil blanket, retaining moisture and regulating soil temperature.
Additionally, water your bulbs regularly, but avoid overwatering, which can lead to rot and decay. Check the soil daily, and only water when the top inch of soil feels dry to the touch.
Winter Protection Methods
Your spring bulbs have made it through the fall planting season, and now it's time to focus on protecting them from harsh winter conditions.
To guarantee they survive the cold months, you'll need to provide them with winter protection methods. Water your bulbs well before the ground freezes to keep the soil from drying out.
Then, apply a 2- to 3-inch layer of winter mulch, such as straw or bark chips, to insulate the soil and prevent frost heaving. This frost protection will keep your bulbs from being pushed out of the ground by freezing and thawing soil.
Additionally, the mulch will help retain moisture and regulate soil temperature, giving your bulbs the best chance to thrive come spring.
Aftercare and Maintenance
Proper care after planting is essential to guarantee your spring bulbs thrive and come back year after year.
As you wait for your bulbs to bloom, you'll need to keep an eye on the soil and bulbs themselves. Perform regular bulb inspections to verify they're free from rot and disease.
Check for signs of damage or stress, and remove any affected bulbs to prevent the spread of disease. Soil monitoring is also pivotal – make sure the soil is consistently moist but not waterlogged, as this can lead to rot.
Timing and Scheduling Planting

You'll want to plant your spring bulbs at the right time to guarantee they bloom beautifully.
This means considering ideal climate conditions, such as cooler temperatures and adequate moisture, which stimulate growth and flowering.
When to Plant
When to Plant
Most spring-flowering bulbs need to be planted in the fall, about 6-8 weeks before the first frost, to allow for sufficient time to establish themselves in the soil over winter.
By doing so, you'll give them a head start on the growing season, and they'll bloom beautifully when the spring weather arrives.
Create a planting calendar to guarantee you don't miss the ideal window.
Typically, this falls between September and November, depending on your region's climate.
Don't wait until the ground freezes, as this can hinder root growth.
Mark your calendar and get planting – your bulbs will thank you come springtime!
Ideal Climate Conditions
During the fall planting window, it's essential to ponder the specific climate conditions in your region, as they can substantially impact the success of your spring bulbs.
You'll want to weigh your area's Climate Zones, as they dictate the ideal planting times. For instance, if you're in a region with mild winters, you'll plant earlier than those in areas with harsher winters.
Temperature Fluctuations also play a pivotal role, as they can affect the bulbs' growth and development. Be aware of any extreme temperature swings in your area, as they might require adjustments to your planting schedule.
Regional Planting Dates
Six to eight weeks before the first frost, it's time to start thinking about planting your spring bulbs.
You'll want to check the regional planting dates for your area to guarantee you're planting at the right time. Climate zones and hardiness maps can help you determine the ideal planting time.
In general, if you live in a cooler climate, you'll want to plant in late September or early October, while warmer climates can plant in late October or early November.
Check the specific planting times for your region to guarantee your bulbs have enough time to establish themselves before winter. By planting at the right time, you'll be rewarded with beautiful blooms come spring.
FAQs
Can I Plant Spring Bulbs in the Same Spot Every Year?
You're wondering if you can reuse the same spot for spring bulbs every year, but beware: soil fatigue sets in, reducing blooms. Practice bulb rotation to avoid this, switching locations to maintain soil health and guarantee vibrant flowers.
Will Squirrels Dig up My Newly Planted Bulbs?
You'll likely face squirrel digging if you don't take precautions; these clever critters are attracted to freshly disturbed soil and buried treasures. Employ squirrel deterrents, like chicken wire or repellents, to outsmart their behavior and protect your newly planted bulbs.
Can I Plant Bulbs in Areas With Standing Water?
When dealing with waterlogged soil or flooded gardens, you'll want to avoid planting bulbs in areas where water accumulates, as this can cause rot and decay, but you can still plant in nearby raised beds or mounds with good drainage.
Do I Need to Deadhead Spring-Blooming Bulbs After They Flower?
You'll want to deadhead your spring-blooming bulbs after they flower to focus energy on re-growing and storing energy for next year's bloom, making bulb maintenance and post-bloom care a vital step for ideal results.
Can I Plant Spring Bulbs in the Fall in Warm Climates?
In warm weather, you can plant spring bulbs in the fall, but you'll need to chill them first to trick them into thinking they've experienced winter, ensuring a vibrant bloom when the weather warms up again.
Conclusion
You've successfully planted your spring bulbs! Now, be patient and let nature take its course. With proper care and attention, your bulbs will bloom beautifully in the spring. Remember to water and mulch them regularly, and keep the area weed-free. After the blooming period, allow the foliage to die back naturally, and your bulbs will recharge for next year's show. With these simple steps, you'll enjoy vibrant, thriving flowers for years to come.