You've decided to give strawbale gardening a try, and now it's time to prepare your straw bales for planting. You'll want to start by sourcing high-quality bales from local farmers or suppliers, making sure they're free of mold, pests, and have a fresh smell. Store them in a dry, well-ventilated area, keeping them off the ground to prevent moisture buildup. As you inspect each bale, you'll need to remove any damaged or infested ones, and gently brush off debris. But that's just the beginning – you'll still need to condition your bales to create a fertile environment for your plants to thrive.
Summary
- Gather high-quality straw bales with minimal mold, no pests, and a fresh smell, and store them in a dry, well-ventilated area.
- Inspect each bale for signs of mold, mildew, or rodent infestation, and remove any damaged or contaminated bales.
- Gently brush off debris and dirt, remove twine or netting, and inspect bales for damage or wear before use.
- Moisten the bales to create an ideal environment for plant growth, checking and maintaining the moisture level regularly.
- Add nitrogen-rich, phosphorus-rich, and potassium-rich amendments to the bales to provide essential nutrients for plant growth.
Gather Straw Bales and Materials
Since you're ready to venture on strawbale gardening, gathering straw bales and materials is the first crucial step.
You'll need to source high-quality straw bales, ideally from local farmers or suppliers. When buying, look for bales with minimal mold, no signs of pests, and a fresh, earthy smell.
For straw sourcing tips, consider visiting local farms, checking online marketplaces, or asking fellow gardeners for recommendations.
Once you've acquired the bales, store them in a dry, well-ventilated area to maintain their quality. Bale storage ideas include stacking them on pallets or creating a covered storage area.
Guarantee the bales are off the ground to prevent moisture buildup. With your straw bales and materials in hand, you're one step closer to creating a thriving strawbale garden.
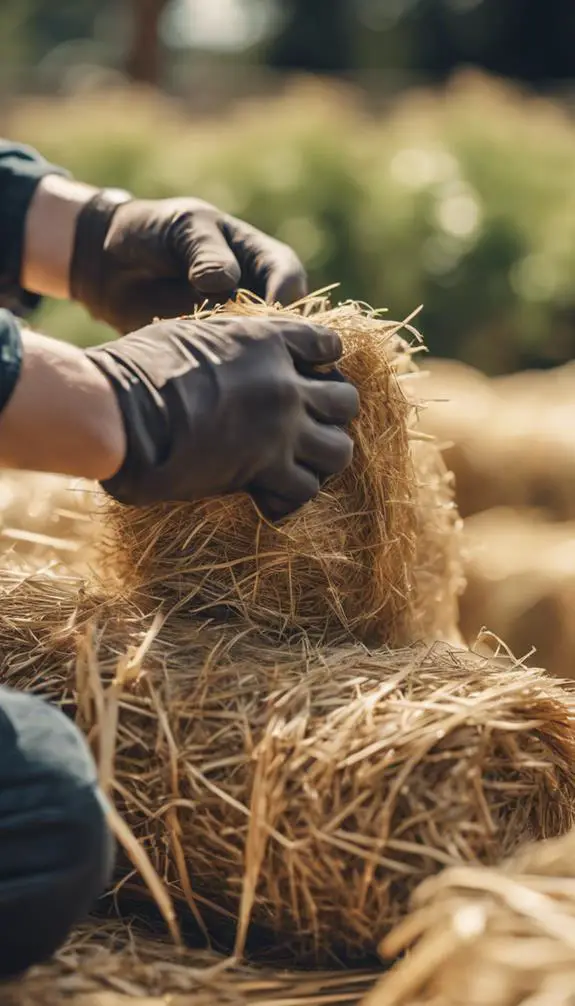
Inspect and Clean the Bales
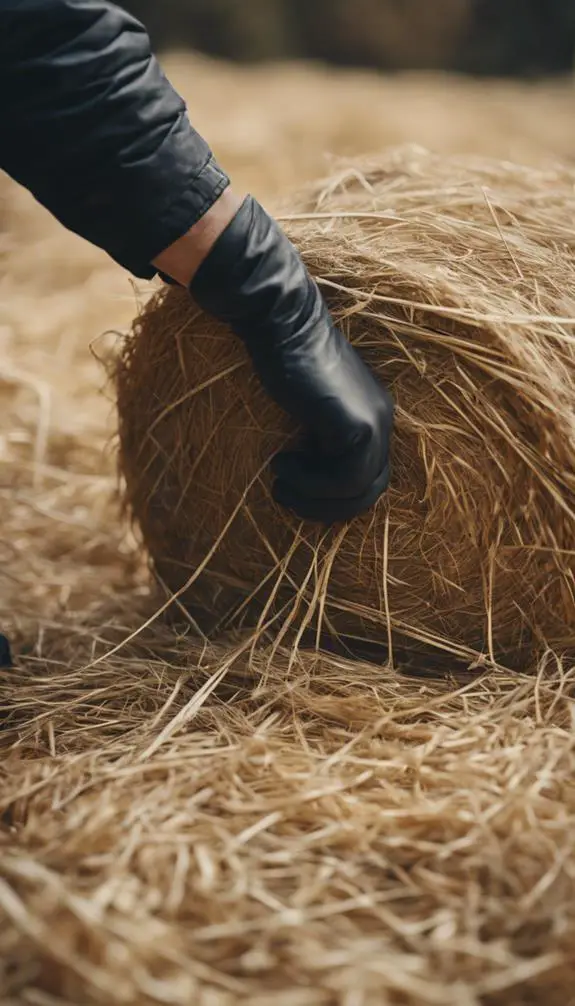
With your straw bales stored properly, it's time to inspect and clean them before introducing them to your garden.
Check each bale for signs of mold, mildew, or rodent infestation, which can compromise straw bale quality. Remove any bales that show signs of damage or contamination. If you used proper bale storage methods, such as keeping them dry and off the ground, you should have minimal issues.
Gently brush off any debris or dirt from the bales' surfaces. This certifies a clean slate for your strawbale garden.
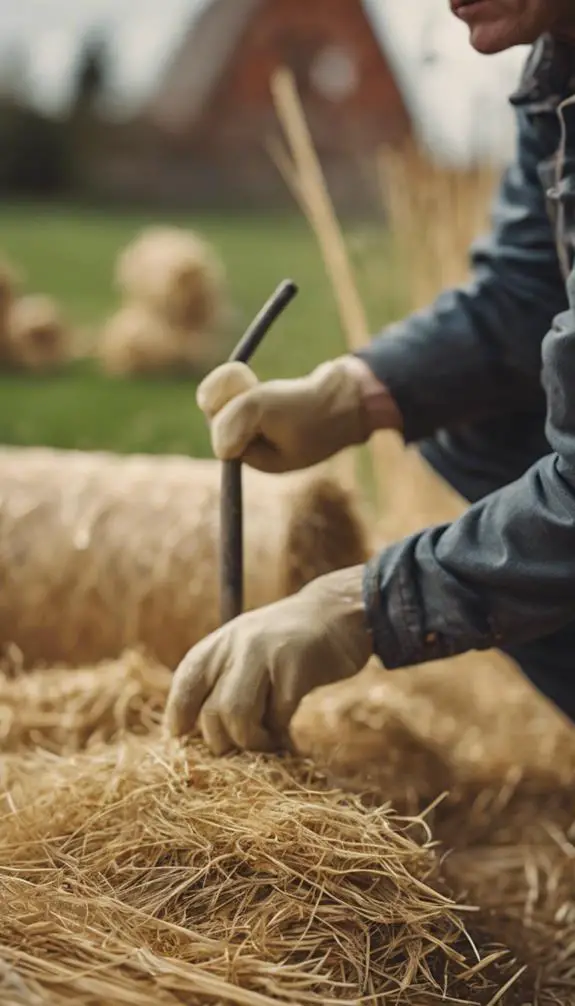
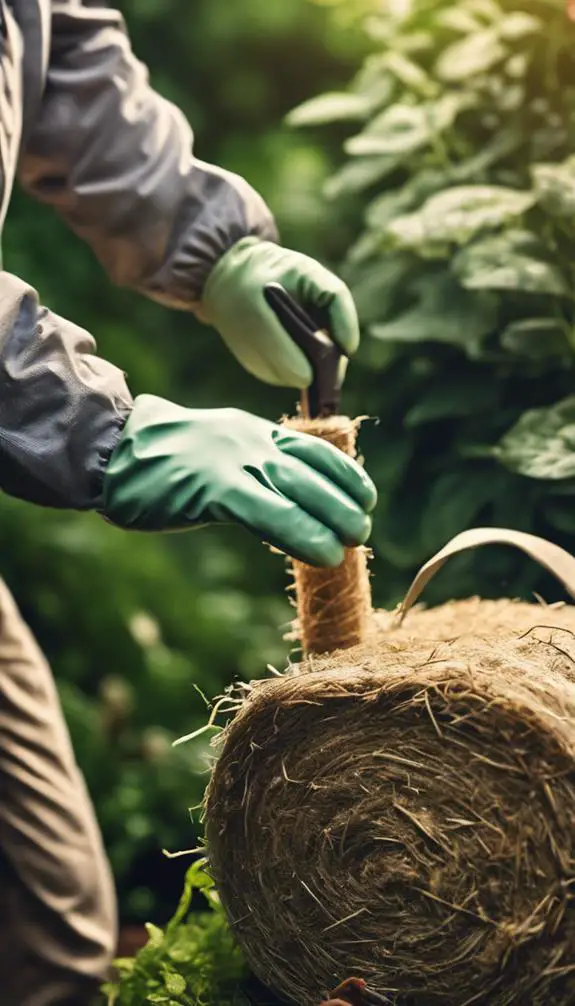
Remove any twine or netting that holds the bales together, as this can hinder decomposition. Now your bales are ready for the next step in preparation for a thriving strawbale garden.
Add Water to the Bales
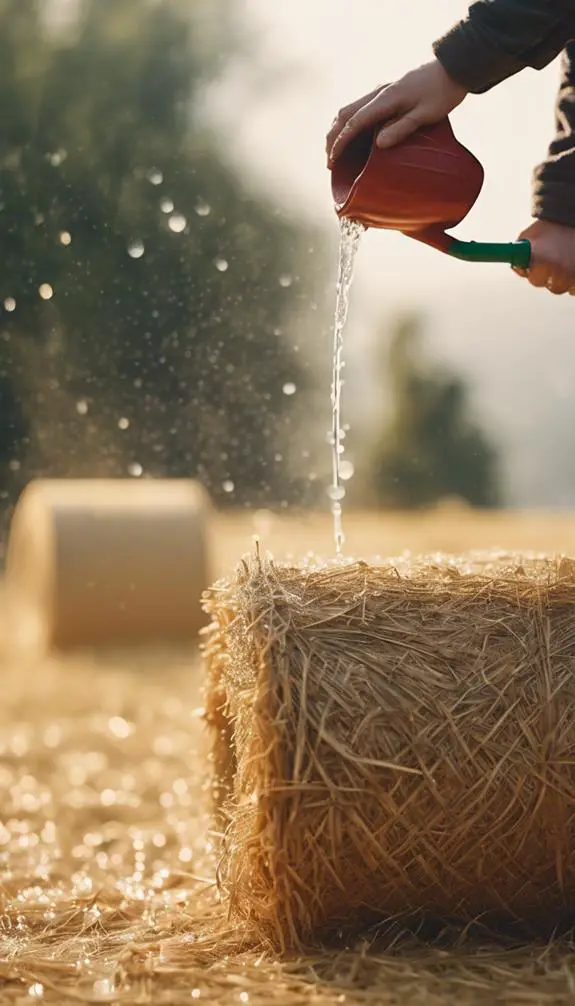
You'll need to add water to the bales to create an ideal environment for plant growth.
First, check the moisture level of the bales by squeezing them; they should be damp, but not soggy.
As you proceed with watering, keep an eye on the bales' water absorption rate, and be prepared to soak them thoroughly to reach the perfect moisture level.
Moisture Level Check
About a week after conditioning your straw bales, verifying their moisture level is vital to guarantee ideal growing conditions.
You'll want to certify the straw moisture is within the prime range for microbe growth and plant development. To check the moisture level, insert your hand into the bale or use a moisture meter.
The ideal moisture level should be like a damp sponge, not soaking wet. If the bales are too dry, add water to maintain bale freshness. Avoid overwatering, as this can lead to mold and rot.
Repeat the moisture level check regularly to maintain the perfect environment for your strawbale garden.
Water Absorption Rate
How quickly do your straw bales absorb water? This is a vital factor in strawbale gardening, as it directly affects water retention and subsequent plant growth.
When you add water to the bales, you want them to soak it up effectively. A good straw soaking process guarantees the bales can hold water without becoming waterlogged.
If your bales absorb water too quickly, it may lead to poor water retention, causing the bales to dry out rapidly. Conversely, slow absorption rates can result in water pooling on the surface, reducing oxygen availability to the plants.
Bale Soaking Process
With the straw bales prepared, it's time to initiate the bale soaking process, which involves adding water to the bales.
You'll want to guarantee the bales are thoroughly saturated, as this step is vital for straw decomposition and nutrient release.
Start by sprinkling water over the bales, making sure to cover the entire surface.
You may need to repeat this process several times, depending on the bale's water absorption rate.
As the bales absorb water, they'll begin to heat up, breaking down the straw's cellular structure and releasing beneficial microorganisms.
This process enhances the straw benefits, making the bales an ideal growing medium for your strawbale garden.
Proper bale preparation is key, so take your time and get it right.
Apply Nitrogen-Rich Amendments
Beyond the initial straw bale conditioning, you'll need to apply nitrogen-rich amendments to create an ideal growing environment.
This is because straw is high in carbon and low in nitrogen, which can lead to nitrogen deficiency in plants. To address this, you'll need to add nitrogen sources such as blood meal, fish bone meal, or manure tea.
These amendments will provide the necessary nitrogen for soil microbes to break down the straw and make its nutrients available to plants. As the straw decomposes, the nitrogen-fixing bacteria will thrive, creating a nutrient-rich environment that supports healthy plant growth.
Add Phosphorus and Potassium
You've set the stage for a thriving strawbale garden by applying nitrogen-rich amendments.
Now, it's time to add phosphorus and potassium to create a well-balanced nutrient profile.
Phosphorus benefits your strawbale garden by promoting root development, flower and fruit production, and overall plant health.
Apply phosphorus-rich amendments like bone meal, rock phosphate, or alfalfa meal at a rate of 1-2 cups per bale.
Potassium, an essential macronutrient, helps with water balance, disease resistance, and nutrient uptake.
Use potassium sources like kelp meal, wood ash, or potassium sulfate at a rate of 1-2 cups per bale.
Mix in Compost or Manure
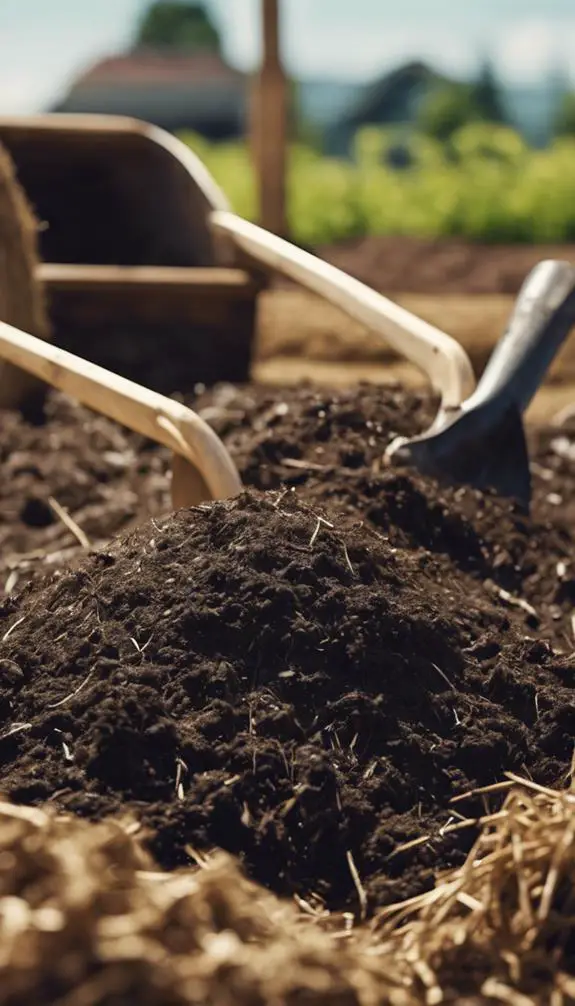
As you prepare your strawbale garden for planting, it's vital to incorporate organic matter that will break down and provide sustained nutrients to your crops.
Mixing in compost or manure is an excellent way to do this. You can use various compost types, such as hot compost, cold compost, or vermicompost, depending on your resources and preferences.
Manure benefits include adding nutrients, improving soil structure, and supporting beneficial microorganisms.
When mixing in compost or manure, aim for a 10:1 ratio of straw to organic matter. This will guarantee a nutrient-rich environment for your plants to thrive in.
Monitor Temperature and Moisture
During the initial decomposition phase, it's essential to monitor the temperature and moisture levels within your strawbale garden.
Temperature checks will help you track the decomposition process, which should reach 130°F to 140°F (54°C to 60°C) within a few days. Use a compost thermometer to take regular readings.
Moisture levels should be maintained between 40% and 60% to facilitate decomposition. You can check moisture by squeezing a handful of straw; it should hold its shape but not drip water.
Regular soil testing will also provide valuable insights into nutrient levels and pH. Effective bale monitoring is pivotal to create a thriving strawbale garden.
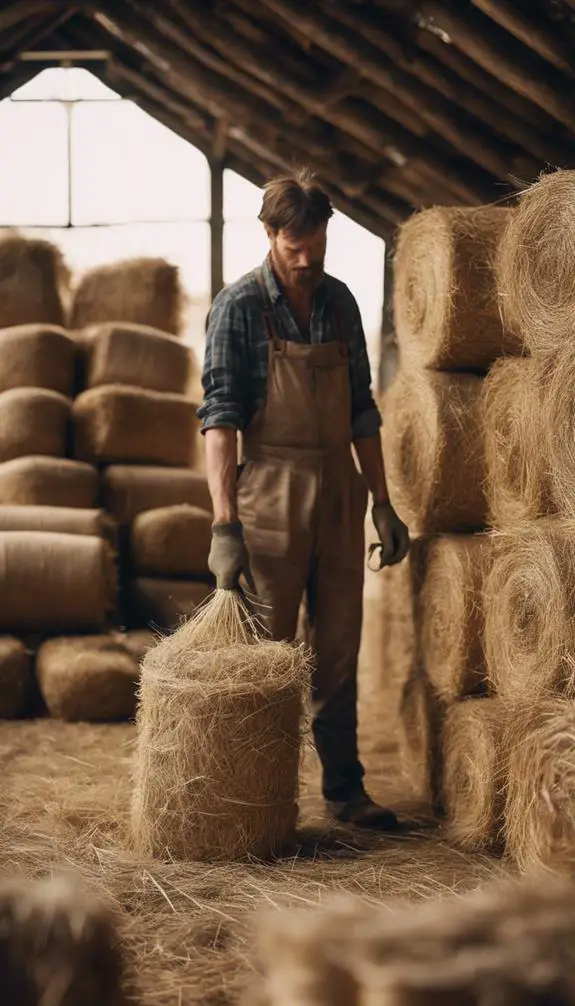
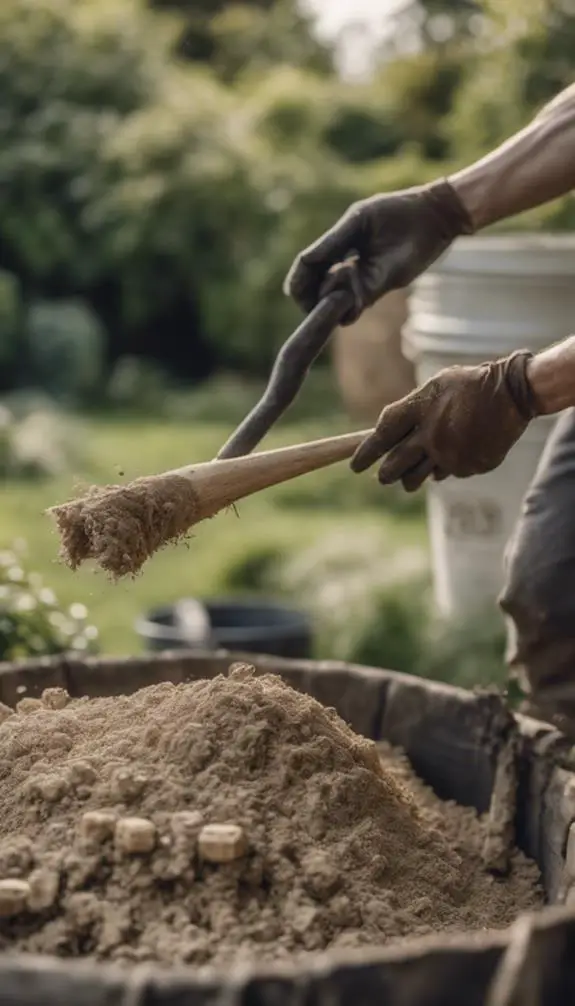
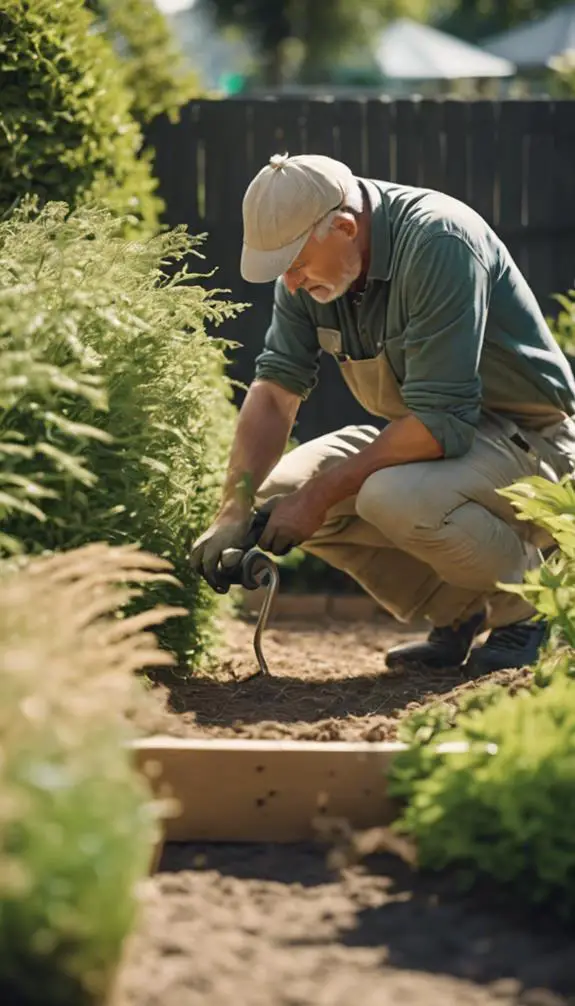
Turn and Fluff the Bales
You'll need to regularly inspect your straw bales to verify they're breaking down properly, which involves checking their condition and making adjustments as needed.
Fluffing the bales is a vital step in this process, and there are specific techniques to master to get the best results.
Bale Condition Check
With your straw bales in place, verifying is vital to regularly inspect and maintain their condition to guarantee prime decomposition and a healthy growing environment.
You'll want to check the straw quality, looking for signs of mold, mildew, or musty odors, which can indicate poor bale freshness.
Inspect the bales for any visible signs of damage, such as torn or broken strings, and make sure they're not waterlogged or compacted.
Regularly turning and fluffing the bales will help maintain their condition and promote even decomposition.
Fluffing Techniques Explained
As you maintain your straw bale garden, regularly turning and fluffing the bales becomes essential to promote even decomposition and aeration.
This process helps to speed up the breakdown of organic matter, allowing your bales to become a nutrient-rich growing medium.
To fluff your bales, use a pitchfork or garden fork to gently turn and loosen the straw, taking care not to compact it.
This technique is a vital part of straw prep methods, as it guarantees your bales remain light and airy, allowing for healthy root growth.
Turning Schedule Tips
Every seven to ten days, turn and fluff your straw bales to maintain ideal conditions for decomposition and aeration.
This turning frequency is vital for bale flipping, as it guarantees the bales break down evenly and prevents mold growth.
You'll notice the bales start to shrink and the straw becomes softer as they decompose.
When you flip the bales, make sure to fluff them thoroughly to introduce oxygen and speed up the process.
This turning schedule will help you achieve the perfect balance of moisture, temperature, and oxygen, creating an ideal environment for your strawbale garden to thrive.
Check for Mold and Pests
Keep an eye out for signs of mold growth and pest infestation, as these can quickly sabotage your strawbale garden.
When checking for mold, look for white, green, or black patches on the surface of the bale or a musty smell. Use mold detection methods like visual inspection, smell tests, or even a mold-testing kit to confirm the presence of mold.
For pest control, inspect the bale for signs of burrowing, gnawing, or droppings. Implement pest control strategies like introducing beneficial insects, using natural repellents, or setting up physical barriers to prevent infestations.
Regularly monitoring your bales will help you catch any issues early, ensuring a healthy and thriving strawbale garden.
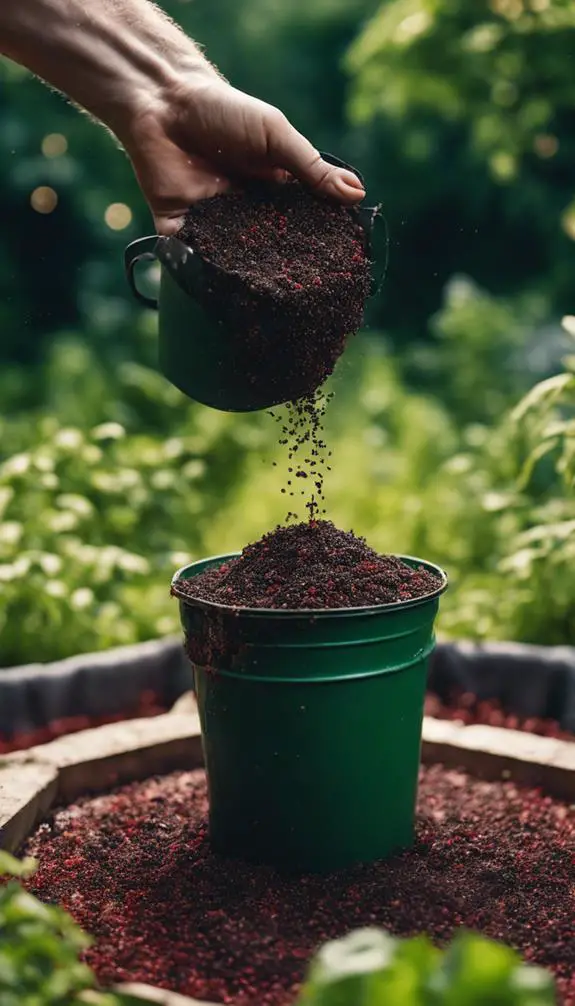
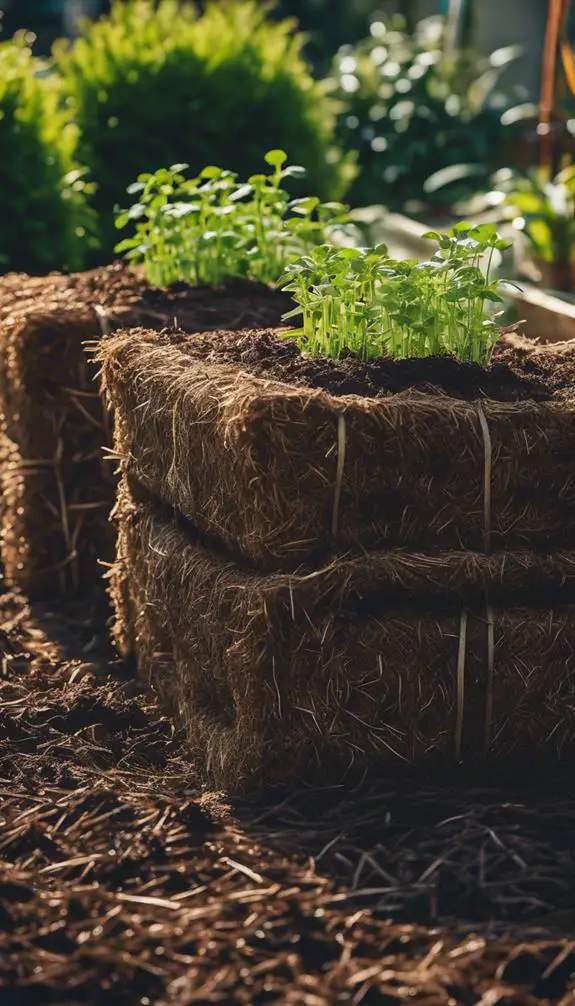
Add a Layer of Compost
You'll apply a rich compost mixture to the straw bale, which will boost the growth of microbes and kick-start the decomposition process.
This layer of compost will provide essential nutrients for your plants as they grow.
Rich Compost Mixture Applied
With your straw bale fully conditioned, it's time to supercharge it with a rich compost mixture.
This blend will inject essential nutrients and microorganisms into the bale, enhancing its compost benefits. Spread a 2- to 3-inch layer of compost evenly across the bale's surface.
This will improve soil structure, allowing for better water retention and aeration. As you apply the compost, take note of its dark color and earthy aroma – signs of a nutrient-rich mixture.
The compost will help break down the straw, creating a thriving environment for your plants to grow.
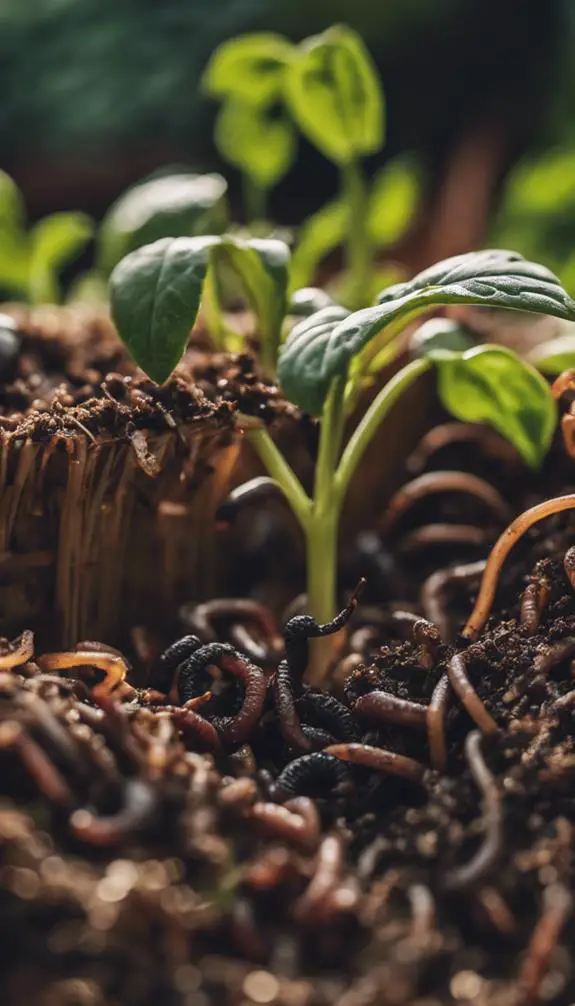
Compost Boosts Microbes Growth
As the compost mixture works its way into the straw bale, it's clear that the real magic happens when microbes growth is boosted.
You're creating an ideal environment for microbe growth, which is essential for soil health. By adding a layer of compost, you're providing a food source for these microorganisms to thrive.
As they break down the organic matter, they'll start to colonize the straw, increasing the bale's water-holding capacity and aeration. This, in turn, will support healthy plant growth and robust root development.
With microbe growth in full swing, you're well on your way to creating a nutrient-rich ecosystem that will support your strawbale garden's success.
Decomposition Process Begins
Compost's introduction to the straw bale sparks a transformative process, setting the stage for decomposition to begin.
As you add a layer of compost, you're providing a food source for microbes, which will drive straw decomposition. Microbial activity will surge, breaking down the straw's lignin and cellulose into simpler compounds.
This process will release heat, carbon dioxide, and nutrients, creating an ideal environment for plant growth. The compost layer will help regulate moisture and temperature, fostering a thriving ecosystem within the bale.
Plant Seeds or Seedlings
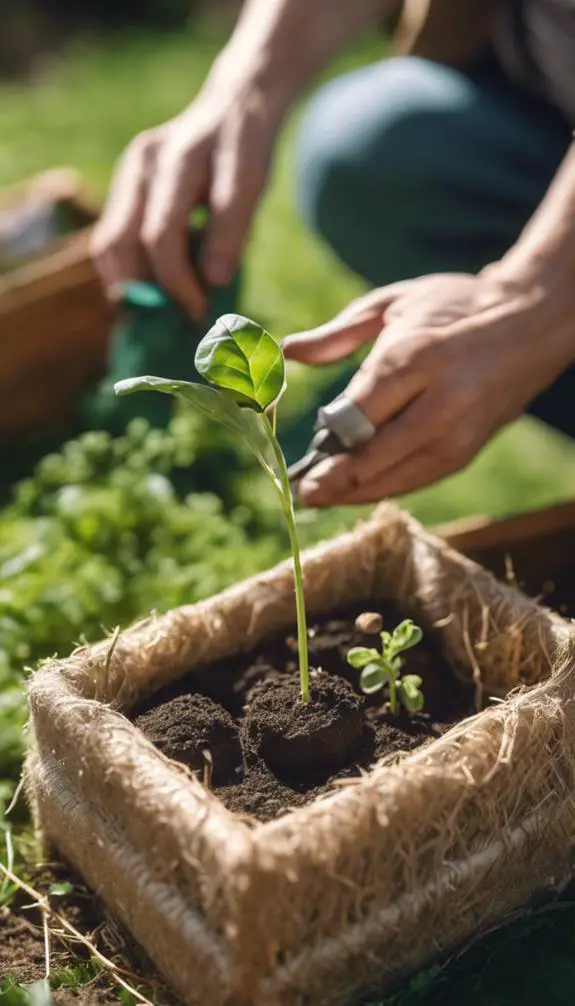
You're ready to bring your straw bale garden to life by planting seeds or seedlings.
For peak growth, choose seeds or seedlings that thrive in a straw bale environment, considering factors like sunlight, moisture, and temperature.
Seed selection is vital, as some varieties may not perform well in this unique setting. When selecting seeds, opt for those that are resistant to fungal diseases, as straw bales can harbor fungal spores.
For plant spacing, follow the seed package instructions or consult a gardening resource for guidance. Typically, seeds are planted 1-2 inches deep and 2-6 inches apart, while seedlings are spaced 6-12 inches apart.
Proper spacing guarantees adequate air circulation, sunlight penetration, and water distribution.
Mulch Around the Bales
Now that your seeds or seedlings are in place, turn your attention to mulching around the bales.
This step is vital in retaining moisture, suppressing weeds, and regulating soil temperature.
Apply a 2-3 inch layer of straw mulch around each bale, keeping it a few inches away from the bale's base.
This thickness allows for ideal straw mulch benefits, including improved water retention and reduced soil evaporation.
The mulch layer thickness will also help suppress weeds, reducing competition for your plants' resources.
As you mulch, verify to cover the entire area around the bales, leaving no gaps for weeds to emerge.
This will create a conducive environment for your plants to thrive.
Maintain and Monitor Progress
Several weeks into your strawbale garden, this is vital to maintain and monitor progress to guarantee ideal growth and health of your plants.
You'll need to track progress regularly, checking for signs of nutrient depletion, pest infestations, or water stress. Create a maintenance schedule to confirm you're staying on top of tasks like watering, fertilizing, and pruning.
Set reminders to inspect your bales regularly, taking note of any changes or issues. By tracking progress and staying vigilant, you'll be able to address problems early on, preventing them from becoming major setbacks.
This proactive approach will help you optimize your strawbale garden's performance, leading to a bountiful harvest.
FAQs
Can I Use Straw Bales From a Farmer's Field for Strawbale Gardening?
You can use straw bales from a farmer's field, but guarantee they're of high quality, as the baling process affects their suitability; look for dry, tightly bound bales with minimal weeds and contaminants for peak results in your strawbale garden.
Do I Need to Remove the Strings From the Straw Bales?
When handling straw bales, you'll want to remove the strings, as they can restrict aeration and water penetration, affecting the bale's condition; simply cutting or pulling them off guarantees ideal bale handling for a successful strawbale gardening experience.
Can I Use Straw Bales That Have Been Rained on or Gotten Wet?
You're wondering if wet straw bales are usable; the answer is yes, but be aware that they'll have higher risks of mold and slower straw absorption rates, potentially affecting your gardening success.
How Long Does It Take for Straw Bales to Decompose Completely?
You'll find that the decomposition rate of straw bales depends on microbial activity, temperature, and moisture levels, typically taking 6-12 months to break down completely, but this timeframe can vary substantially depending on specific conditions.
Are Straw Bales Suitable for Growing Root Vegetables Like Carrots and Beets?
You'll find that straw bales can support root vegetables like carrots and beets, but soil density and root depth are pivotal; guarantee the bale's interior is loose and aerated, allowing roots to penetrate 6-8 inches for peak growth.
Conclusion
You've now successfully prepared your straw bales for strawbale gardening. Your bales should be moist, nutrient-rich, and ready to support healthy plant growth. Keep the bales consistently watered, monitor temperature fluctuations, and maintain adequate air circulation to guarantee perfect decomposition. With proper care, your straw bales will break down into a nutrient-dense growing medium, providing a strong foundation for your garden's success.