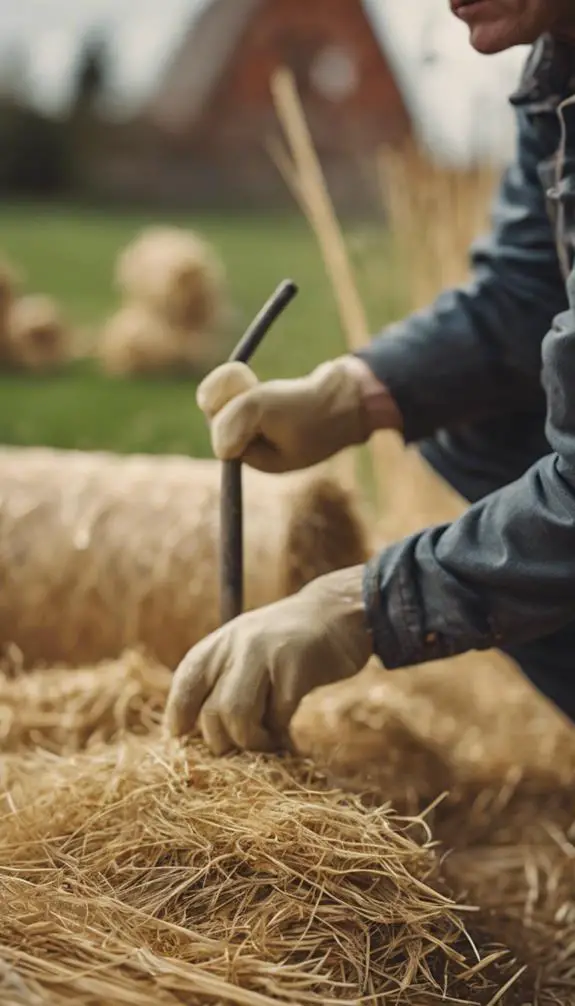
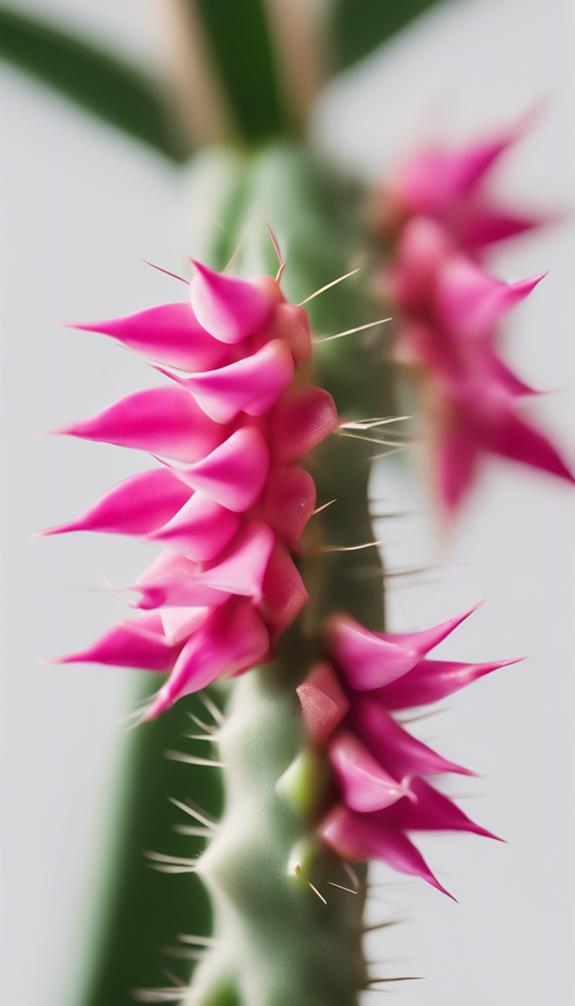
You're interested in propagating a Christmas cactus, and you're not sure where to start. First, you'll need to prepare healthy stem segments with at least three areoles, the small, rounded bumps on the stem where new growth emerges. But what's the best way to cut and dry these segments to prevent rot and encourage root growth? And how do you create the perfect environment for your new cuttings to thrive? With the right techniques and a little patience, you can successfully propagate a new Christmas cactus – but there's more to learn before you can enjoy the fruits of your labor.
Summary
- Prepare cuttings by twisting or cutting 3- to 4-inch stem segments, removing lower leaves, and trimming leaf stems to 1-2 inches from the node.
- Dry cut ends for 24-48 hours to form a callus, and then air dry for 2-5 days to prevent excess moisture.
- Plant the cutting 1-2 inches deep in well-draining cactus mix, gently firming the soil, and keeping it in a warm, dry location.
- Maintain high humidity (50-70%) and mist the cutting gently, watering sparingly to prevent root rot and encourage callus formation.
- Provide bright indirect light (4-6 hours daily) and optimal temperatures (64°F to 70°F) to promote healthy root development and growth.
Gather Essential Propagation Tools

With propagation on the horizon, gather the essential tools to guarantee a successful process.
You'll need a sharp, sterile knife or pruning tool to take cuttings, as well as a clean pot or tray to root them in.
A well-draining potting mix and a watering can with lukewarm water are also must-haves.
For superior plant care, invest in a humidity dome or clear plastic bag to maintain high humidity and promote healthy root growth.
Additionally, consider a propagation mat or heating pad to provide bottom heat, which can enhance the rooting process.
Choose Healthy Stem Segments

You'll want to carefully examine the Christmas cactus stems for any signs of damage, disease, or pests, as these can hinder propagation success.
Look for healthy growth, characterized by firm, plump segments with a vibrant green color and no signs of wrinkling or soft spots.
Inspect for Damage
After collecting your Christmas cactus cuttings, inspect each segment for damage or signs of stress.
Carefully examine the stems, joints, and areoles (the small, cushion-like areas where new growth emerges) for any indication of physical harm, disease, or pests. Look for soft spots, discoloration, or blackened areas, which can indicate rot or infection.
Gently manipulate the segments to check for flexibility and firmness, as brittle or mushy stems may not propagate well.
During plant inspection, cactus examination is vital to identify any potential issues that could hinder propagation success.
Discard any damaged or compromised segments to safeguard the health and viability of your new plants.
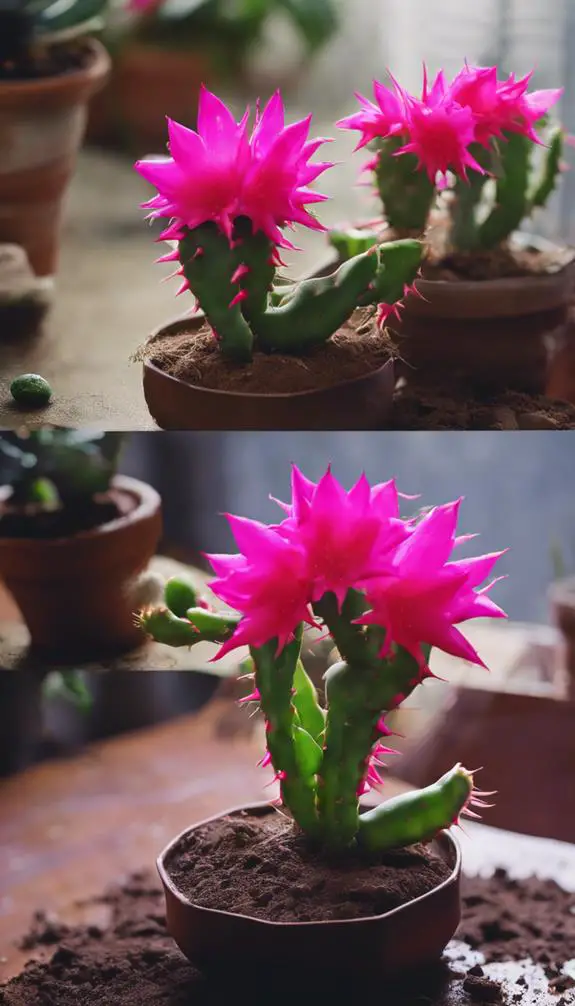
Identify Healthy Growth
Having discarded any damaged or compromised segments, you're left with healthy cuttings that can be further evaluated for propagation.
Now, examine each segment's cactus anatomy, focusing on the areoles, small, cushion-like structures from which new stems, flowers, and roots emerge.
Look for segments with at least two areoles, as these will increase the chances of successful propagation.
Inspect the stem segments for signs of healthy growth, such as firm, plump stems and vibrant, green coloration.
In plant biology, this indicates the presence of active meristematic tissue, which will facilitate rooting.
Select segments with these characteristics, as they'll be more likely to develop into healthy, thriving plants.
Cut Segments From Mother Plant
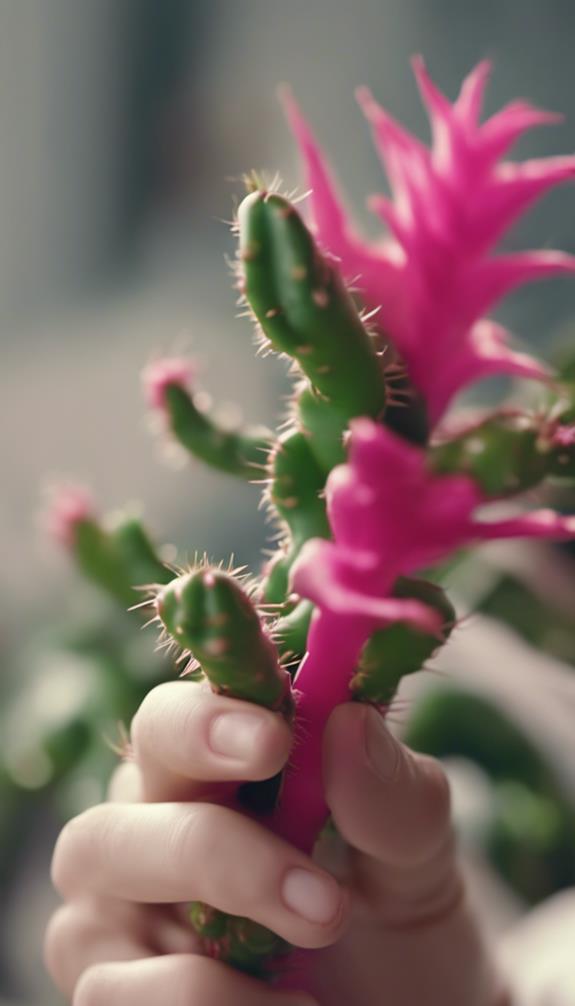
You'll want to choose healthy segments from the mother plant, selecting those with at least three areoles (the small, rounded bumps on the stem from which new growth emerges).
Cut the segments correctly and cleanly, making a precise incision just above an areole using a sharp, sterile knife or pruning tool.
Prepare the cut ends by gently twisting or wiggling the segment to remove any weak or damaged tissue.
Choose Healthy Segments
To guarantee successful propagation, select segments from the mother plant that are plump, firm, and have a vibrant green color.
Avoid taking segments that are shriveled, soft, or discolored, as they may not root well or could be diseased. Crucial to choose healthy segments for your Christmas cactus propagation, as this will directly impact the success of your new plants.
When selecting segments, look for those with at least three areoles (small bumps on the stem where new growth emerges). This will increase the chances of successful rooting.
Proper cactus care begins with choosing the right segments, so take your time and make the right cuts for peak results.
Cut Correctly and Cleanly
Three to five stem segments are typically needed for successful propagation.
To cut these segments from the mother plant, use a sharp, sterile knife or pruning tool. Cut just above a node, where a leaf meets the stem, as this is where roots are most likely to develop.
Employ cutting techniques that produce clean cuts, as ragged or torn edges can lead to poor healing and increased risk of infection. Make a 45-degree angled cut, and gently twist the segment as you cut to minimize crushing the stem. This will help the cutting heal quickly and reduce the risk of rot.
Prepare Cut Ends
With clean cuts made, your attention turns to preparing the cut ends of the stem segments.
This vital step guarantees successful propagation. Using cutting techniques that minimize damage, gently remove any weak or damaged tissue from the cut ends.
Next, sanitize the stems by dipping the cut ends into a solution of water and a few drops of bleach or a commercial rooting hormone. This step prevents bacterial growth and promotes healthy rooting.
Allow the treated cut ends to air dry for 24-48 hours to form a callus, which will help the stem absorb water more efficiently. By properly preparing the cut ends, you're setting the stage for successful propagation and minimizing the risk of root rot.
Prepare Cuttings for Propagation
From the mother plant's segmented stems, carefully twist or cut off 3- to 4-inch sections, making sure each cutting has at least three areoles (the small, round, woolly areas from which roots, stems, and flowers grow).
This will guarantee each cutting has a high potential for successful propagation. When using cutting techniques for propagation, selecting healthy, vigorous sections with a good balance of areoles and stem segments is crucial.
Remove Lower Leaves Safely

You'll need to gently remove the lower leaves from the cutting to prevent rot and encourage rooting.
Hold the stem firmly between your thumb and index finger, and carefully twist or pinch off the leaves, taking care not to damage the stem.
Once you've removed the lower leaves, prepare the leaf stem by trimming it to about 1-2 inches from the bottom node.
Gentle Leaf Removal
When handling the Christmas cactus, one needs to be cautious not to damage the stems or disturb the roots.
You'll want to gently grasp the leaf you're removing, taking care not to touch the areoles (small, fuzzy patches) where new growth emerges. Hold the leaf between your thumb and index finger, making sure to support the stem.
Twist the leaf counterclockwise until it comes off cleanly, taking care not to tear the stem or leave any fragments behind. This gentle handling guarantees prime leaf care, reducing the risk of infection and promoting healthy propagation.
Remove lower leaves safely, leaving about 2-3 inches of stem exposed, to encourage new growth and roots to form.
Leaf Stem Preparation
Remove lower leaves safely by grasping each leaf firmly between your thumb and index finger, taking care not to touch the sensitive areoles. This confirms you don't damage the delicate areas from which new plants will grow.
Hold the leaf at a 45-degree angle and gently twist it counterclockwise until it comes off. Continue removing lower leaves, leaving about 2-3 sets of leaves at the top of the stem.
This promotes healthy leaf maintenance and prevents the stem from drying out. Next, sanitize the stem by gently wiping it with a damp cloth to remove any remaining leaf residue.
This essential step in stem sanitation prevents fungal infections and encourages new roots to form.
Dry Cuttings to Form Callus

By severing the stem cutting from the mother plant, you've taken the first step towards propagating your Christmas cactus.
Now, this is imperative to prepare the cutting for callus formation. Place the cut end of the stem on a dry, clean surface, allowing it to air dry for 2-5 days.
This step is pivotal for callus formation, as excess moisture can lead to rot and poor rooting. During this time, the cutting will start to form a callus, a protective barrier that prevents infection and promotes healthy root growth.
Guarantee the cutting is kept in a warm, dry location with good air circulation to facilitate this process. Proper cutting preparation and callus formation are indispensable for successful propagation.
Plant Cuttings in Well-Draining Soil

With your callused cutting in hand, prepare a pot or propagation tray filled with a well-draining cactus mix specifically designed to prevent waterlogging.
This mix should contain a blend of ingredients that enhance drainage, such as perlite, vermiculite, or sand. Avoid using regular potting soil, as it can retain too much water and cause root rot.
Plant the cutting about 1-2 inches deep, gently firming the soil around it. Make sure the soil mix is moist but not waterlogged, as this can hinder root development.
A well-draining soil mix is vital for successful propagation, as it allows the roots to breathe and absorb essential nutrients.
Water and Provide Humidity
A gentle misting from a water spray bottle sets the stage for your Christmas cactus cutting to take root.
This initial water therapy helps to rehydrate the cutting and encourage callus formation.
As you continue to care for your cutting, maintain high humidity levels by placing a clear plastic bag over the pot or using a propagation dome.
This will help to retain moisture and promote rooting.
Water your cutting sparingly, as excessive moisture can lead to root rot.
Instead, focus on maintaining a consistent level of humidity, ideally between 50-70%.
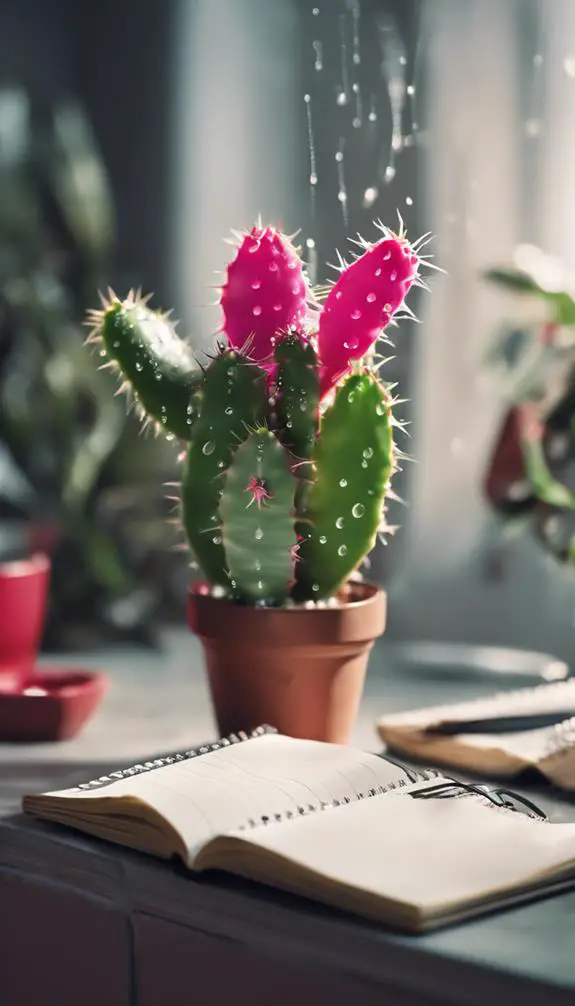
Provide Optimal Temperature Conditions

How warm does your Christmas cactus cutting need to be to take root successfully?
The ideal temperature for propagation is between 64°F to 70°F (18°C to 21°C).
During winter temperatures, keep your cutting at a consistent temperature above 55°F (13°C) to promote healthy root development.
Avoid temperature fluctuations, as they can cause stress to the cutting.
A temperature range with minimal fluctuations will help your Christmas cactus cutting establish a strong root system.
Offer Bright Indirect Light

Once you've established a stable temperature, focus on providing your Christmas cactus cutting with the right amount of light.
Bright indirect light is essential for promoting healthy growth and encouraging root development. Place your cutting near an east- or west-facing window, ensuring it receives 4-6 hours of indirect sunlight daily.
Avoid direct sunlight, which can cause scorching. If you're propagating during winter, position your cutting near a sunny window to complement your winter decor.
Maintain Consistent Watering Schedule
With roots beginning to develop, your Christmas cactus cutting is now ready to receive consistent moisture.
To guarantee ideal soil moisture, you'll want to establish a regular watering schedule. Set water reminders to check the soil every 7-10 days, as Christmas cacti prefer dry soil between waterings.
When you do water, make sure the soil is moist but not waterlogged. Aim to provide about 1-2 inches of water per week, either through rainfall or irrigation.
Monitor for Roots and Growth

Examine your Christmas cactus cutting regularly for signs of root development and new growth.
Check for tiny white roots emerging from the base of the stem or a slight resistance when gently tugging on the cutting, indicating it's taking hold.
As roots develop, you'll notice new segments or leaves forming, signaling a fresh start for your propagated cactus.
Monitor the cutting's moisture levels, ensuring it's not too dry or waterlogged, which can hinder root growth.
If the cutting becomes root bound, meaning the roots have filled the pot, it's a sign that it's ready to thrive.
Be patient, as this process can take several weeks.
Transplant to Individual Pots
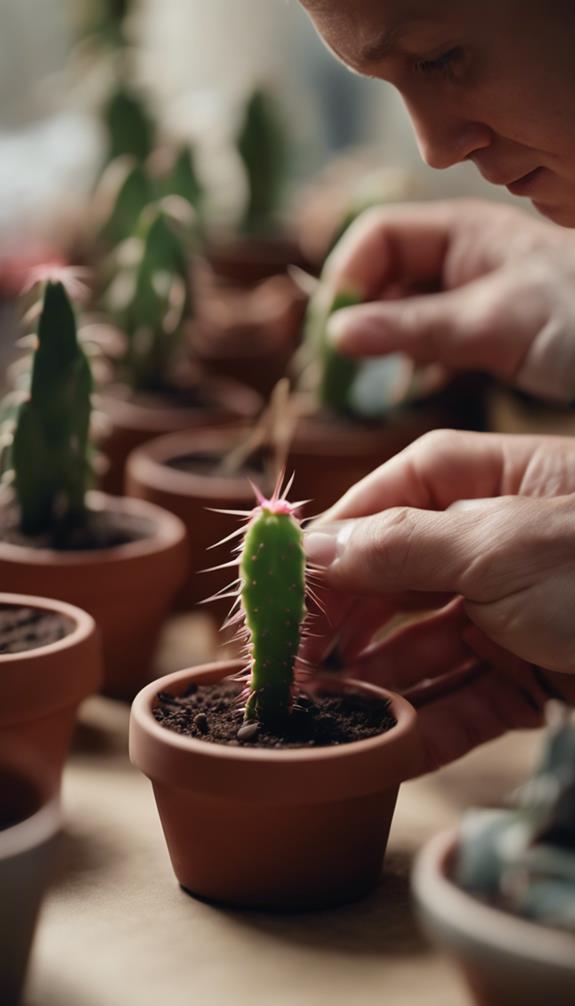
You've successfully propagated your Christmas cactus cutting, and it's now time to give it its own space.
When transplanting, choose a pot that's only slightly larger than the root system to prevent waterlogged soil.
For Soil Selection, opt for a well-draining mix specifically designed for cacti and succulents. This will help prevent root rot and guarantee healthy growth.
Follow these Potting Tips:
Gently remove the plantlet from its propagation container, taking care not to disturb the roots.
Place the plant in its new pot, adding fresh soil around the roots.
Firm the soil gently to secure the plant in place.
Water sparingly until the plant is established in its new home.
FAQs
Can I Propagate a Christmas Cactus in Water Instead of Soil?
You can try propagating a Christmas cactus in water, allowing roots to develop in a hydroponic system, but be cautious, as water roots may not adapt well to soil, requiring a gradual acclimation process to prevent shock.
How Long Does It Take for Roots to Develop on Cuttings?
You'll typically wait 2-6 weeks for roots to develop on cuttings, but be mindful of root bound risks if they're left too long; cutting length matters, as shorter segments tend to root faster, promoting healthy growth and minimizing potential issues.
Can I Use Rooting Hormone Powder or Is Liquid Better?
When deciding between rooting hormone powder and liquid, you'll find powder is effective for dry applications, while liquid offers advantages in water-based systems, providing more even distribution and faster absorption, ultimately boosting your cutting's chances of successful propagation.
Will My Propagated Cactus Produce Flowers Right Away?
When propagating, you shouldn't expect immediate blooming; flower production typically occurs after the new plant has established a robust root system and reached maturity, which can take several months to a year, depending on factors like light, water, and nutrients.
Can I Propagate a Christmas Cactus From Leaf Cuttings Only?
You can propagate a Christmas cactus using leaf cuttings, but it's more challenging; instead, you'll have better success with stem segments containing leaf nodes, as they produce roots and new growth more efficiently.
Conclusion
You've successfully propagated your Christmas cactus. Guarantee the new plants receive bright indirect light and maintain a consistent watering schedule to promote healthy growth. Monitor for signs of root development and new growth, and transplant to individual pots once roots have formed. With proper care, your new plants will thrive and provide beautiful blooms for years to come.