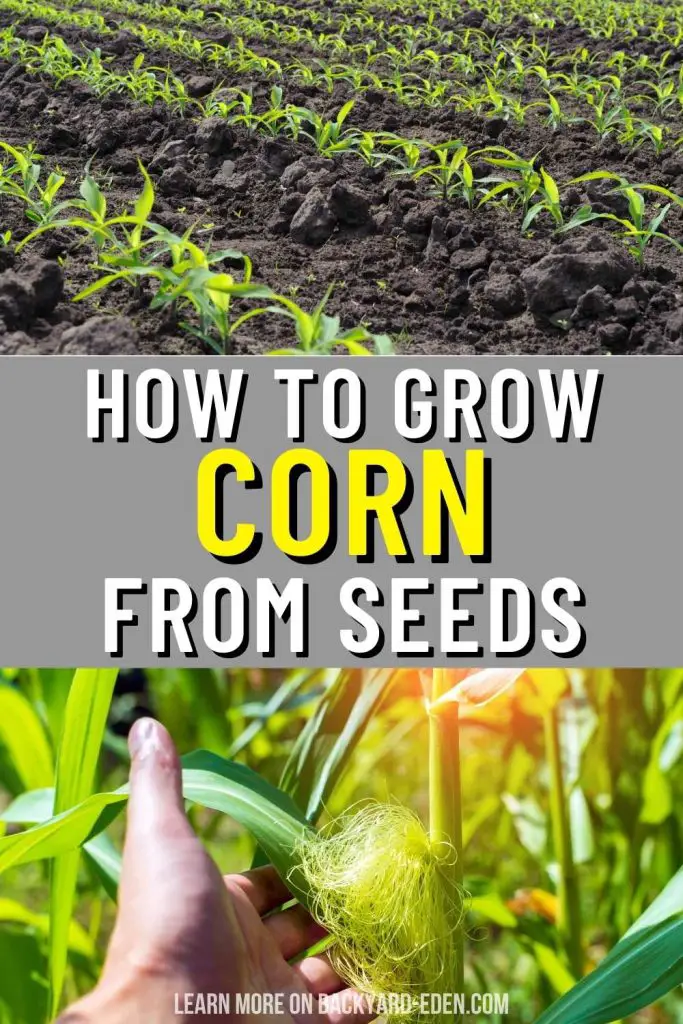
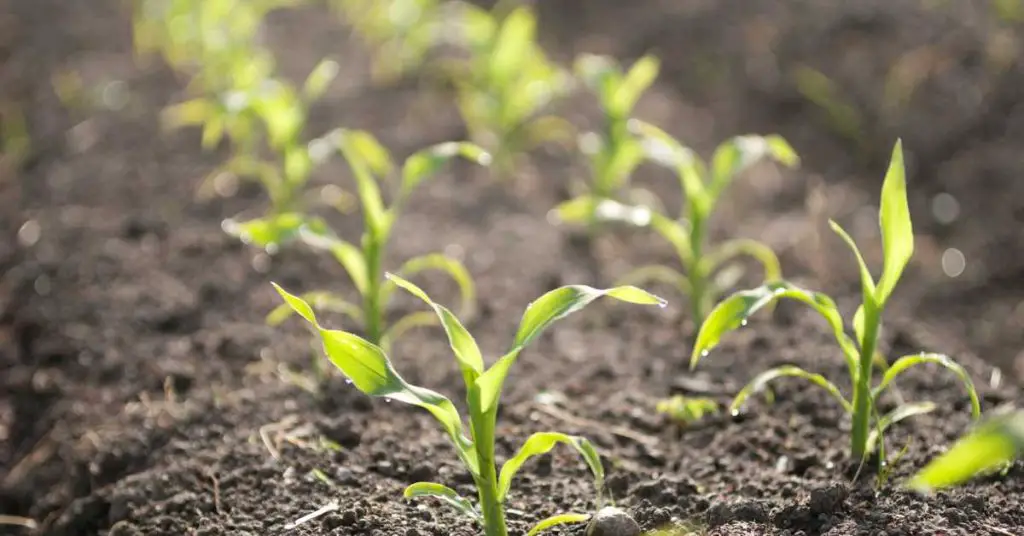
When it comes to growing corn from seeds, there are key steps you need to follow to guarantee a successful harvest. From selecting the right varieties to nurturing the plants through each growth stage, the process requires attention to detail and proper care.
By understanding the nuances of corn cultivation, you can establish yourself for a bountiful harvest that will make all your efforts worthwhile.
So, let’s explore the intricacies of corn farming and discover the secrets to growing your own corn from seeds.
Key Takeaways
- Select corn varieties suited to climate
- Test seed viability before planting
- Plant at 60°F in moist soil
- Space seeds 8-12 inches apart
- Water deeply, fertilize with N-P-K
Selecting the Right Corn Seeds
When choosing the right corn seeds for your crop, prioritize selecting varieties that are well-suited to your specific climate and growing conditions. Conduct seed viability testing before planting to make certain you’re working with seeds that have a high probability of germination. This testing involves placing a sample of seeds in a damp paper towel and monitoring how many seeds sprout. Opt for seeds with high viability rates to maximize your crop yield.
In addition to seed viability testing, consider seed spacing recommendations. Important seed spacing is vital for optimizing sunlight exposure, airflow, and overall plant health. Corn plants require adequate space to grow and develop fully. Typically, corn seeds should be spaced about 8-12 inches apart in rows that are 30-36 inches apart. However, these recommendations may vary based on the specific variety of corn you’re planting. Consult seed packaging or reputable sources for precise spacing guidelines tailored to your chosen corn variety.
Preparing the Planting Site
Before planting corn seeds, make sure the soil quality is at its best by conducting a thorough check. Assess the sunlight exposure in the selected area to guarantee sufficient light for corn growth.
Clear any debris and weeds from the planting site to provide a clean environment for the seeds to thrive.
Soil Quality Check
To guarantee the best growth of your corn plants, assess the quality of the soil at your chosen planting site thoroughly. Begin by conducting a pH level testing to determine if the soil acidity is within the ideal range of 6.0 to 6.8 for corn cultivation.
Additionally, check for nutrient deficiencies by analyzing the levels of essential elements like nitrogen, phosphorus, and potassium. Address any deficiencies by incorporating organic compost or specific soil amendments tailored to supplement the lacking nutrients. Organic compost not only enriches the soil with essential nutrients but also improves its structure, aiding in water retention and root development.
When selecting soil amendments, consider factors such as the soil’s texture, drainage capabilities, and existing nutrient composition to ensure compatibility and effectiveness. By taking these steps to assess and enhance the soil quality, you pave the way for healthy corn plants that are better equipped to thrive and produce a bountiful harvest.
Sunlight Exposure Assessment
Assess the sunlight exposure at your planting site by observing the duration and intensity of direct sun rays throughout the day. Corn plants require ample sunlight to thrive. Ideally, they should receive around 6-8 hours of direct sunlight daily for best growth. Sunlight exposure plays a significant role in determining the growth patterns of corn and directly impacts corn development.
To assess sunlight exposure accurately, monitor the planting site at various times during the day, noting any potential obstructions like buildings or trees that may cast shadows on the area. Keep in mind that corn plants tend to grow towards the light, so make sure that the chosen spot receives consistent and sufficient sunlight. Areas with varying degrees of shade may result in uneven growth and lower crop yield.
Clearing Debris and Weeds
How can you effectively clear debris and weeds to prepare the planting site for peak corn growth?
Weed management is important for successful corn cultivation. Start by removing any large debris such as rocks, branches, or old plant material to create a clean planting area. This debris removal step is essential to prevent interference with seed placement and early plant growth.
Next, focus on weed management. Weeds compete with corn plants for nutrients, water, and sunlight, so it’s crucial to eliminate them before sowing your corn seeds. Consider using a hoe or hand weeder to uproot weeds manually. For larger areas, a tiller can help loosen the soil and uproot weeds effectively.
After removing debris and weeds, consider mulching the area to suppress weed growth further. Organic mulches like straw or wood chips not only help with weed control but also retain soil moisture and regulate soil temperature.
Testing and Amending the Soil
After preparing the planting site, the next step in growing corn from seeds is evaluating and adjusting the soil quality through testing and amending. Soil pH testing is important to determine the acidity or alkalinity of the soil. Corn plants thrive best in slightly acidic soil with a pH range between 6.0 and 7.0. Conduct a soil test using a kit available at garden centers or through your local agricultural extension office. This test will help you identify any nutrient deficiencies that may hinder corn growth. Common deficiencies include nitrogen, phosphorus, and potassium, all important for corn development.
Once you have identified any issues, you can amend the soil accordingly. Adding organic matter like compost or well-rotted manure can improve soil structure and provide essential nutrients. For correcting pH levels, you can use materials like lime to raise acidity or sulfur to lower it. Following the recommendations from your soil test results is necessary to ensure the soil provides the ideal conditions for your corn seeds to germinate and thrive.
Planning the Corn Planting Schedule
To optimize the growth and yield of your corn crop, careful planning of the planting schedule is essential. When planning your corn planting schedule, take into account the weather conditions in your region. Corn thrives in warm soil, so it’s important to wait until after the last frost date before planting. The soil temperature should be around 60°F for best germination and growth.
Additionally, be mindful of the moisture levels in the soil. Planting corn in soil that’s too wet can lead to poor germination and root development.
Pest control is another factor to take into account when planning your corn planting schedule. Some pests, like cutworms and corn borers, can cause significant damage to your crop if not managed effectively. By planting at the right time, you can avoid peak periods of certain pests and reduce the risk of infestations. Rotating your crops annually can also help disrupt pest life cycles and minimize their impact on your corn.
Creating the Corn Seedbed
Preparing the corn seedbed involves carefully tilling the soil to guarantee optimal conditions for seed germination and root development. Before planting, make sure the soil is well-drained and rich in nutrients. Start by tilling the soil to a depth of about 6-8 inches to break up any compacted areas and create a loose, aerated seedbed. This depth allows for proper root penetration and development once the seeds are sown.
When it comes to seed depth, corn seeds should be planted at a depth of around 1-2 inches in the soil. Planting at the correct depth ensures that the seeds have sufficient moisture and warmth to germinate successfully. Additionally, spacing the seeds about 8-12 inches apart within the rows will provide ample room for the corn plants to grow without overcrowding.
Regarding watering frequency, after planting the seeds, it’s essential to keep the seedbed consistently moist but not waterlogged. Depending on the weather conditions, you may need to water the seedbed every 2-3 days to make sure the seeds have enough moisture for germination. Proper watering is vital for the initial stages of growth until the corn plants are well established.
Planting the Corn Seeds
Once the soil has been adequately prepared to guarantee ideal conditions, proceed with planting the corn seeds at the recommended depth for successful germination and growth. The best seed depth for corn planting is around 1.5 to 2 inches deep. Planting at this depth ensures that the seeds are in a moist environment for germination but not too deep that they struggle to reach the surface. Creating furrows at the recommended depth using a hoe or a planter will help in uniform planting and spacing of the seeds.
After placing the seeds in the furrows, gently cover them with soil and pat down to ensure good seed-to-soil contact. Adequate seed-to-soil contact is essential for proper germination. Once all the seeds are planted, water the area gently but thoroughly. It’s vital to maintain watering consistency during the germination period to make sure that the seeds don’t dry out. Overwatering should be avoided as it can lead to seed rot.
Following these steps will set a strong foundation for the growth of your corn plants.
Watering the Corn Plants
When watering your corn plants, make sure you apply water directly to the soil around the base of the plants to avoid wetting the foliage. Watering frequency will vary based on factors like rainfall, soil type, and temperature, so monitor the moisture levels regularly.
It’s generally recommended to water corn plants deeply but infrequently, making certain the soil is moist but not waterlogged to promote healthy root development.
Proper Watering Techniques
Implementing a consistent watering schedule is vital for nurturing healthy corn plants throughout their growth cycle. To guarantee ideal growth, consider incorporating watering efficiency techniques and moisture retention methods. Utilizing irrigation systems can help in maintaining soil moisture levels, especially during dry periods, and aid in drought resistance strategies.
When watering your corn plants, it’s essential to do so deeply and infrequently to encourage root development. This method helps the roots grow deeper into the soil, making the plants more resilient to dry spells. Avoid frequent shallow watering, as it can lead to shallow root systems that are less equipped to withstand periods of drought.
When watering, aim to keep the soil consistently moist but not waterlogged. Overwatering can lead to root rot and other issues, while underwatering can stunt growth. Consider using mulch around the base of the plants to help retain soil moisture and reduce water evaporation. By following these proper watering techniques, you can support the healthy growth and development of your corn plants.
Frequency of Watering
To guarantee best growth and development of your corn plants, it’s essential to establish a consistent watering schedule based on the specific needs of the crop and environmental conditions. Watering frequency plays a key role in maintaining adequate soil moisture levels, which directly impacts plant growth and ultimately crop yield.
Corn plants require regular watering throughout their growth stages, especially during important periods such as germination, tasseling, and silking. Monitoring soil moisture is important to make sure the plants receive sufficient water without becoming waterlogged. Overly dry conditions can stunt growth and reduce yield potential, while excessive moisture can lead to root rot and other diseases.
A general guideline is to water your corn plants deeply, ensuring the soil is consistently moist but not saturated. Typically, providing about 1 to 1.5 inches of water per week is suitable for corn, but this may vary depending on factors like temperature, humidity, and soil type. Adjusting watering frequency based on these conditions will help promote healthy growth and maximize your crop yield.
Watering Schedule Suggestions
Establishing a consistent and well-calibrated watering schedule is important for optimizing the growth and yield of your corn plants. To guarantee watering efficiency and prevent drought stress, consider these watering schedule suggestions.
To begin with, monitor soil moisture levels regularly to gauge the watering needs of your corn plants accurately. It’s vital to water deeply but infrequently to encourage root development benefits. Shallow, frequent watering may lead to shallow root systems that are more susceptible to drought conditions.
When creating a watering schedule, take into account the weather conditions and adjust accordingly. During hot and dry periods, increase the frequency of watering to maintain adequate soil moisture levels. Conversely, reduce watering during cooler or rainy spells to prevent waterlogging, which can hinder root growth and lead to diseases.
Fertilizing the Corn Crop
When fertilizing your corn crop, consider the specific nutrient requirements of the plants at different growth stages. Nutrient application plays a vital role in promoting the growth and development of corn plants. During the initial stages, focus on providing nitrogen, phosphorus, and potassium to support healthy root development and early growth. Nitrogen is essential for leafy green growth, phosphorus aids in root establishment, and potassium helps with overall plant vigor. As the corn plants enter the reproductive stage, increase the application of potassium to support grain development.
To promote ideal growth, apply a balanced fertilizer with an N-P-K ratio suitable for corn, such as 16-16-8 or 10-10-10, following soil test recommendations. Additionally, consider side-dressing nitrogen during the growing season to meet the plant’s demands as it matures. Proper fertilization not only enhances yield but also improves the quality of the corn produced. Remember to follow recommended application rates and timings to avoid nutrient deficiencies or excesses that can hinder plant growth.
Mulching Around the Corn Plants
When mulching around your corn plants, you’re providing numerous benefits to your crop.
Mulch helps to retain soil moisture, suppress weeds, and regulate soil temperature, all important for the healthy growth of corn.
Proper mulching techniques like applying a layer of organic material around the base of the plants can greatly enhance the overall success of your corn cultivation.
Mulch Benefits for Corn
Mulching around corn plants provides essential benefits by conserving soil moisture, suppressing weed growth, and moderating soil temperature. Mulch benefits corn growth by creating a protective barrier that helps retain moisture in the soil, reducing the frequency of watering needed for best corn development. By keeping the soil consistently moist, mulch guarantees that corn plants have a stable environment for root growth and nutrient uptake, promoting healthy and vigorous growth.
Additionally, mulching helps in suppressing weed growth around corn plants. Weeds compete with corn for essential nutrients, water, and sunlight, which can hinder the growth and development of corn plants. By inhibiting weed growth, mulch allows corn to thrive without unnecessary competition, leading to improved yields.
Moreover, mulch acts as an insulator, moderating soil temperature fluctuations. This is important for corn plants as they’re sensitive to extreme temperatures. Maintaining a stable soil temperature through mulching promotes best conditions for corn growth, ensuring better overall plant health and productivity.
Mulching Techniques for Corn
Implementing proper mulching techniques around your corn plants is essential for maximizing growth and yield potential. Mulching benefits include moisture retention, weed suppression, temperature regulation, and soil erosion prevention. Choosing the right mulching materials is vital for achieving these benefits effectively. Organic materials such as straw, grass clippings, and compost are excellent choices as they decompose over time, enriching the soil with nutrients. Inorganic options like plastic mulch effectively control weeds and conserve moisture but may not improve soil quality.
When mulching around your corn plants, make sure the mulch is applied in a layer about 2-4 inches thick, starting a few inches away from the base of the plants. Take care not to pack the mulch tightly to allow for proper air circulation and prevent rotting. Regularly check the mulch depth and replenish it as needed to maintain the desired thickness. By employing the right mulching techniques and materials, you can create an ideal environment for your corn plants to thrive.
Monitoring for Pests and Diseases
To effectively safeguard your corn crop, vigilantly monitor for pests and diseases throughout its growth cycle. Implement integrated pest management strategies to control pests effectively. Regularly inspect both sides of the corn leaves for signs of pest infestation such as holes, chewed edges, or egg masses. Handpick larger pests like caterpillars and beetles, dropping them into a bucket of soapy water to prevent further damage. Utilize row covers to protect young corn plants from pests like birds or insects. Rotate crops yearly to reduce pest population buildup in the soil.
For disease prevention techniques, maintain proper spacing between corn plants to ensure adequate airflow, reducing the risk of fungal diseases. Remove and destroy any infected plant material to prevent the spread of diseases. Apply fungicides preventatively, especially during wet weather when diseases are more likely to proliferate. Monitor for common corn diseases like rust, leaf blight, and smut, addressing them promptly with appropriate treatments. By diligently monitoring for pests and diseases, you can secure a healthy and bountiful corn harvest.
Supporting the Growing Corn Stalks
Supporting the growing corn stalks requires strategic placement of sturdy stakes or trellises to guarantee proper growth and stability. When employing staking techniques for plant support, it’s important to insert the stakes about 1-2 inches away from the base of each corn plant. This distance ensures that the stakes provide ample structural support without damaging the plant’s root system. Additionally, make sure the stakes are at least 6 feet tall to accommodate the corn plant’s ultimate height.
As the corn plant grows, gently tie the stalks to the stakes using soft plant ties. Avoid tying them too tightly to allow for some flexibility and growth. Regularly check the ties to prevent any constriction as the stalks thicken.
For taller corn varieties, consider using trellises instead of stakes. Trellises offer broader support and can help prevent bending or breaking of the stalks, especially during windy conditions. By providing adequate support during the corn plant growth stages, you ensure a successful and bountiful harvest.
Recognizing When Corn Is Ready for Harvest
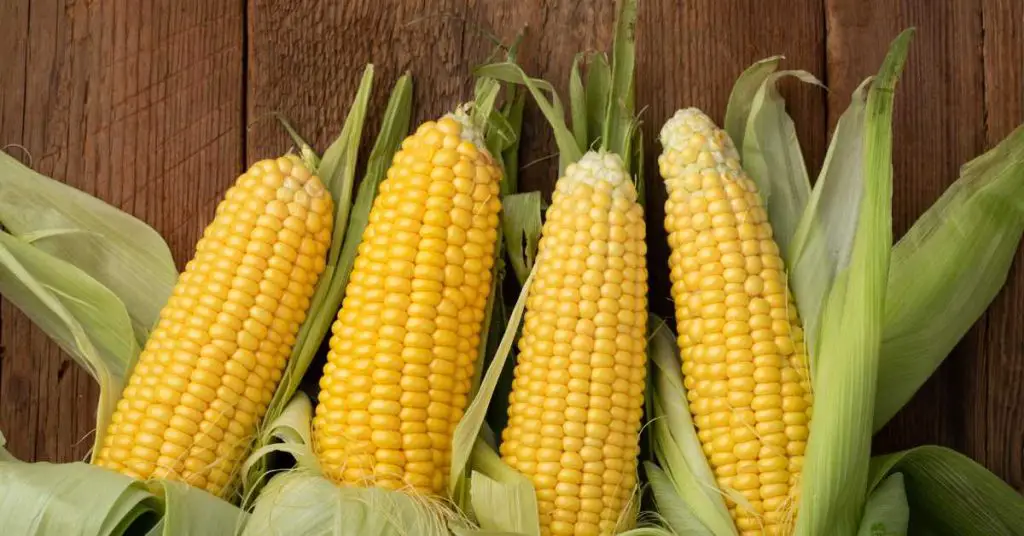
When determining the readiness of corn for harvest, assess the color and feel of the kernels to confirm ideal ripeness. The kernels should be plump and well-developed, with a milky consistency when pierced. Check the color of the kernels; they should be a vibrant shade of yellow for most sweet corn varieties. If you’re growing a specific type of corn, refer to the seed packet or plant label for color indicators. Additionally, the husks should be drying out and turning brown, a sign that the corn is nearing maturity.
Harvesting tips: To harvest corn, grasp the ear firmly and pull it downward with a twisting motion to detach it from the stalk. For best freshness, harvest in the early morning when the sugar content is highest. After harvesting, store the corn in the refrigerator to preserve its sweetness.
When your corn is ready, explore a variety of corn recipes and cooking methods to enjoy its delicious flavor. From classic corn on the cob to creamy corn chowder, the options are endless for incorporating freshly harvested corn into your meals.
Harvesting and Enjoying Fresh Corn
For guaranteeing peak freshness and flavor, promptly harvest and prepare freshly picked corn from your garden or local market. When harvesting corn, make sure the kernels are plump and juicy by gently pressing a few with your thumbnail. To enjoy your corn beyond its harvest season, consider freezing it. Blanch the corn, cool it in ice water, then drain and pack it in airtight bags for long-term preservation.
For those looking to savor the flavor of fresh corn, there are numerous delicious recipes to explore. From succotash to corn chowder, the possibilities are endless.
In addition to its delightful taste, fresh corn offers various health benefits. It’s a good source of fiber, aiding in digestion and promoting gut health. Corn is also rich in antioxidants like lutein and zeaxanthin, which are beneficial for eye health. Moreover, it contains essential vitamins and minerals such as vitamin C, folate, and magnesium.
Frequently Asked Questions
Can I Grow Different Types of Corn Seeds Together in the Same Plot?
Yes, you can grow different types of corn seeds together in the same plot. Companion planting offers benefits like increased pollination and pest control but can pose challenges due to differing soil requirements and nutrient needs.
How Can I Protect My Corn Plants From Birds and Other Animals?
To protect your corn plants from birds and other animals, use bird deterrents like reflective materials, scare tactics such as noise makers or visual deterrents. Implementing physical barriers like netting or fences can also help safeguard your crop.
Is It Necessary to Rotate the Location of My Corn Crop Each Year?
Yes, rotating your corn crop annually is essential. It helps prevent soil depletion, reduces pest and disease buildup, and promotes better nutrient distribution. However, improper rotation can lead to weed issues and challenges in maintaining soil health.
What Are Some Natural Ways to Control Pests on My Corn Plants?
To control pests on your corn plants organically, consider companion planting with marigolds or planting mint nearby to deter pests. You can also create homemade sprays using ingredients like neem oil or garlic to protect your crop.
Can I Harvest and Eat Corn Kernels Directly From the Cob Without Cooking?
Yes, you can eat corn kernels raw from the cob, but cooking enhances flavor and nutritional value. Raw consumption may lack the depth of cooked corn. Cooking methods like boiling or grilling can also offer health benefits.
Conclusion
You have now learned the essential steps to successfully grow corn from seeds.
By carefully selecting the right varieties, preparing the planting site, testing and amending the soil, and planning your planting schedule, you set the foundation for a successful crop.
Creating a suitable seedbed, monitoring for pests and diseases, and supporting the growing stalks are crucial steps in ensuring the health and growth of your corn plants.
Recognizing when the corn is ready for harvest is just as important as all the previous steps.
Follow these guidelines diligently to guarantee a successful corn growing experience.