Stepping stones are not just practical; they also add charm to your garden. Making your own stepping stones is a creative and enjoyable DIY project that can add a personal touch to your outdoor space.
These stones can be customized to match your garden’s style and are durable enough to withstand outdoor conditions.
Plus, they’re a great way to reuse materials and reduce waste.
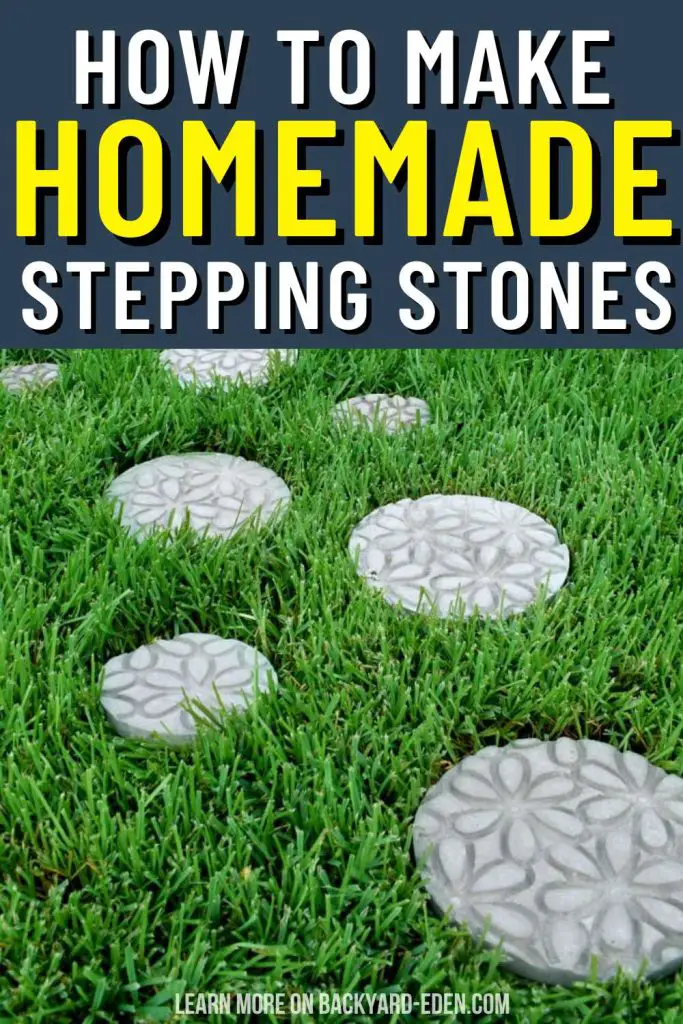
In this guide, we’ll show you how to make homemade stepping stones using simple materials and techniques.
Whether you want to create a path through your garden or add a decorative element, making stepping stones is a fun and rewarding project that anyone can do!
Why Use Stepping Stones to Build a Path?
Using stepping stones to build a path in your garden has several benefits. Firstly, stepping stones create a defined and structured pathway that guides visitors through your garden, making it easier to navigate and enjoy the space.
They can also help prevent soil compaction and erosion by directing foot traffic along a designated path. Additionally, stepping stones can add visual interest to your garden, serving as decorative elements that complement your overall garden design.
They can be customized to match your garden’s style and can be made from a variety of materials, such as concrete, natural stone, or recycled materials, making them a versatile and eco-friendly option for building paths in your garden.
What Are Some Uses of Stepping Stones?
Stepping stones can serve various purposes in a garden or outdoor space. Here are some common uses:
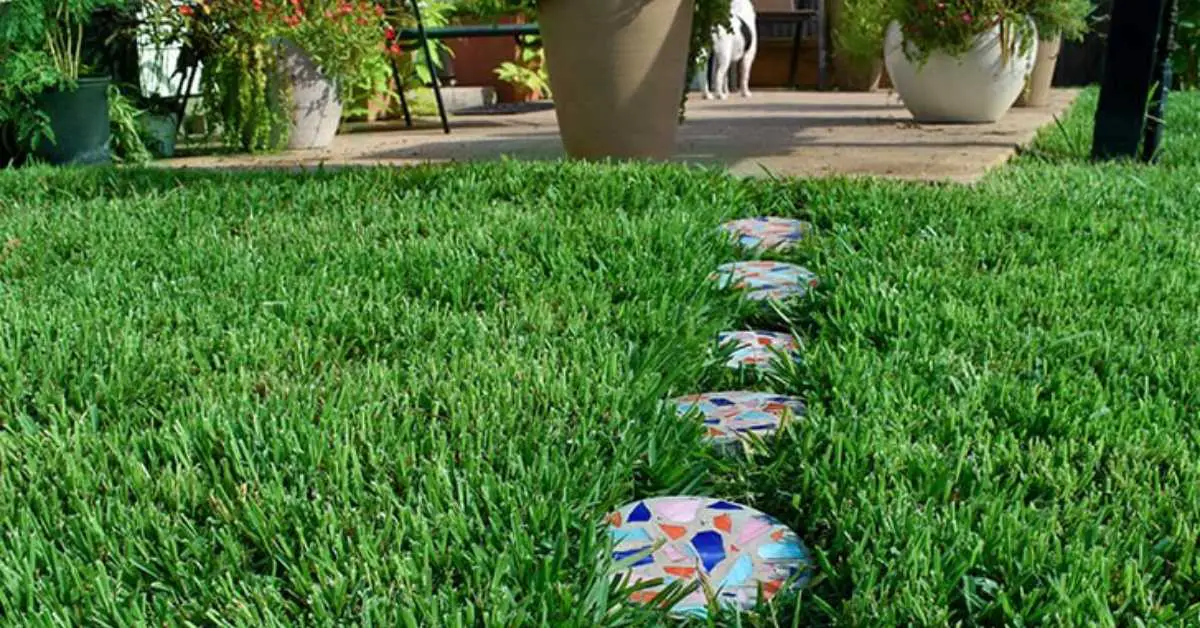
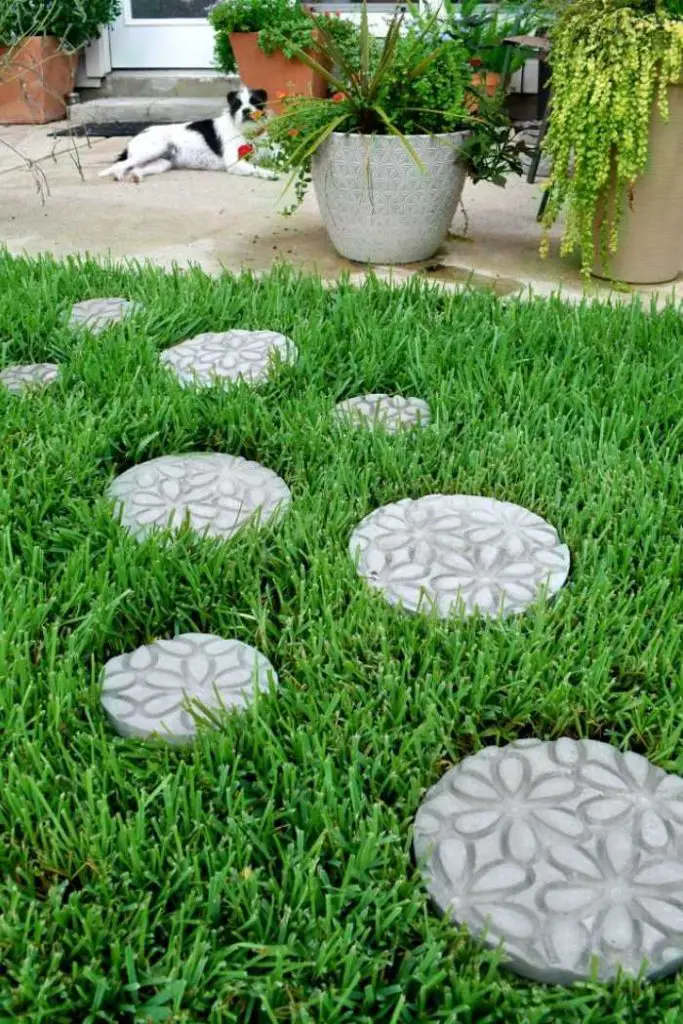
- Pathways: Stepping stones can create pathways through gardens, lawns, or yards, providing a designated route for walking while adding visual appeal to the landscape.
- Pond Crossings: In gardens with ponds or water features, stepping stones can be used to create a crossing point, allowing easy access to different areas of the garden.
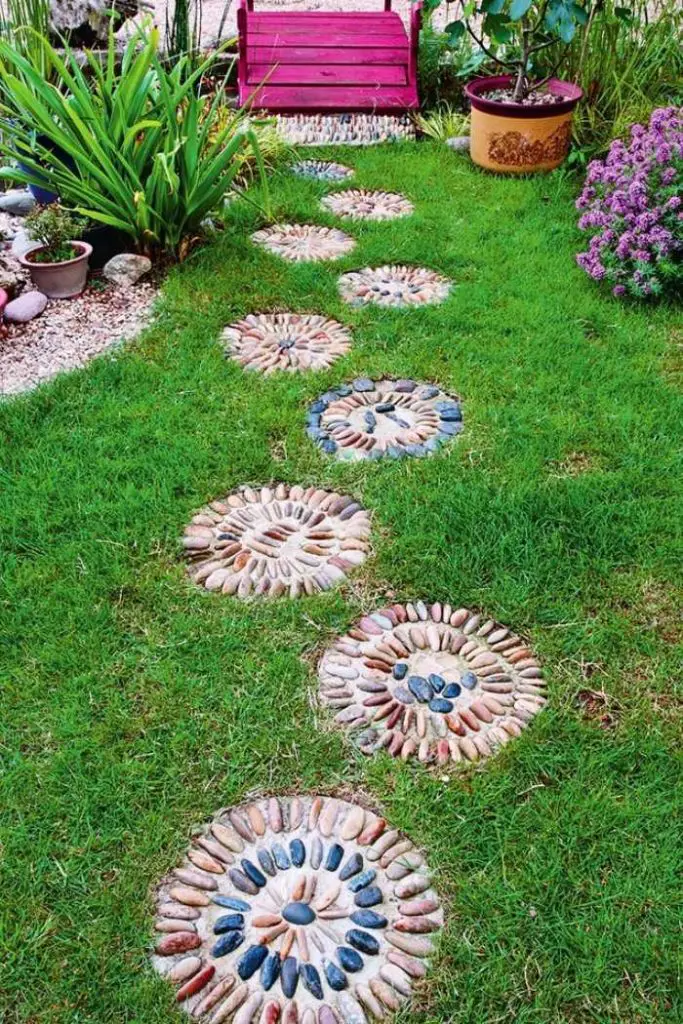
- Decorative Features: Stepping stones can be used as decorative elements, adding texture, color, and visual interest to garden beds, borders, or other outdoor areas.
- Play Areas: In children’s gardens or play areas, stepping stones can be used to create a fun and interactive path for kids to explore and play on.
- Erosion Control: Stepping stones can help prevent soil erosion by directing foot traffic along a designated path, reducing damage to grass and plants.
- Accessibility: In areas where the ground is uneven or difficult to walk on, stepping stones can provide a stable and safe surface for walking.
- Garden Borders: Stepping stones can be used to create borders or edging around garden beds, defining the boundaries and adding a decorative touch to the garden.
- Outdoor Seating: Larger, flat stepping stones can be used as makeshift outdoor seating, providing a place to sit and relax in the garden.
What Materials Are Needed To Make Homemade Stepping Stones?
To make homemade stepping stones, you’ll need the following materials:
- Concrete mix: Choose a high-quality concrete mix from your local hardware store. Avoid quick-setting mixes, as they can be difficult to work with.
- Mold: You can use a variety of molds for your stepping stones, such as plastic, rubber, or homemade molds made from materials like cardboard or wood.
- Water: Use clean water for mixing the concrete.
- Bucket or mixing container: For mixing the concrete.
- Mixing tool: A trowel or stick for mixing the concrete.
- Decorative items: Optional, but you can use glass gems, mosaic tiles, shells, or other decorative items to embellish your stepping stones.
- Release agent: To prevent the concrete from sticking to the mold, you can use cooking spray or petroleum jelly.
Gather these materials before you begin, and make sure you have a well-ventilated work area to complete the project.
Step-by-Step Instructions
1. Prepare the Mold
- Choose a mold that suits your garden’s style and size requirements. Common molds include plastic trays, rubber molds, or homemade molds made from wood or other materials.
- Ensure the mold is clean and free of any debris that could affect the appearance of your stepping stone.
- Apply a release agent to the inside of the mold. This can be cooking spray, petroleum jelly, or a specialized mold release agent. This will prevent the concrete from sticking to the mold and make it easier to remove the finished stepping stone.
2. Mix the Concrete
- Read the instructions on your concrete mix packaging carefully to determine the correct ratio of concrete to water.
- Wear gloves and a mask to protect yourself from the dust.
- In a bucket or mixing container, combine the concrete mix with water, stirring until it reaches a thick, oatmeal-like consistency. Avoid making the mix too runny, as this can weaken the finished stepping stone.
3. Add Decorative Elements
- If you want to add decorative items to your stepping stone, such as glass gems, mosaic tiles, or shells, place them on the bottom of the mold. Arrange them in a pattern or design of your choice.
4. Pour the Concrete
- Carefully pour the mixed concrete into the prepared mold, ensuring it fills the mold evenly.
- Use a trowel or stick to smooth the surface of the concrete and remove any air bubbles. Tap the sides of the mold gently to help settle the concrete.
5. Level and Smooth
- Use a trowel to level the surface of the concrete, ensuring it is flat and even.
- Smooth the surface with the trowel to create a neat finish. You can also use your finger to smooth out any rough edges or imperfections.
6. Add Personal Touches
- While the concrete is still wet, you can add personal touches to your stepping stone. Press decorative items into the surface of the concrete to create patterns or designs. You can also write or engrave words or designs into the wet concrete.
7. Cure the Stepping Stone
- Cover the mold with plastic to keep it moist and let it cure for at least 24 hours. This allows the concrete to harden and set properly.
- Avoid moving or disturbing the mold during this time, as it can affect the final result.
8. Remove the Stone from the Mold
- After the curing period is over, carefully remove the stepping stone from the mold.
- Gently turn the mold upside down and tap the sides to release the stone. If the stone does not come out easily, you can use a pry tool or gently bend the mold to release it.
Following these detailed steps will help you create beautiful and durable stepping stones for your garden.
Is It Cheaper to Make Your Own Stepping Stones?
Yes, making your own stepping stones can be cheaper than buying pre-made ones, especially if you already have some of the materials on hand. The cost of materials for making stepping stones, such as concrete mix, molds, and decorative items, can vary depending on the quality and quantity you choose. However, compared to purchasing pre-made stepping stones, which can be quite expensive, making your own allows you to customize the design and size to suit your needs, potentially saving you money in the long run.
What Kind of Concrete Do You Use to Make Stepping Stones?
To make stepping stones, you can use a regular concrete mix that is suitable for outdoor use. These mixes typically contain a blend of cement, sand, and gravel or aggregate. It’s important to choose a high-quality concrete mix that is designed for outdoor applications to ensure the stepping stones are strong and durable. Avoid using quick-setting concrete mixes, as they can be difficult to work with for this type of project. If you want to add color to your stepping stones, you can use concrete dye or pigment to customize the look.
Can I Use Regular Concrete for Stepping Stones?
Yes, regular concrete mix is suitable for making stepping stones. However, to ensure the stepping stones are strong and durable, you may want to consider adding reinforcement, such as wire mesh or fiberglass, to the concrete mix. This will help prevent cracking and increase the longevity of your stepping stones. Additionally, using a concrete mix that is specifically designed for outdoor use can help improve the durability of your stepping stones in harsh weather conditions.
How Long Does It Take for the Stepping Stones to Cure?
Stepping stones should cure for at least 24 hours before being removed from the mold. However, full curing can take up to 28 days, during which time the concrete will continue to harden and strengthen. It’s important to follow the manufacturer’s instructions for curing times and conditions to ensure the stepping stones reach their maximum strength and durability.
Can I Personalize My Stepping Stones?
Yes, you can personalize your stepping stones in various ways. While the concrete is still wet, you can embed items into the surface, such as glass gems, mosaic tiles, or shells, to create unique designs. You can also write or engrave words or designs into the wet concrete using a stick or other tool. Additionally, you can paint the surface of the stepping stones once they have cured to add further personalization. Be creative and make your stepping stones reflect your personality and style!
Can I Use a Homemade Mold for Making Stepping Stones?
Yes, you can use a homemade mold for making stepping stones. Homemade molds can be made from a variety of materials, such as plastic containers, wooden frames, or even sand molds. Just ensure that the mold is sturdy enough to hold the wet concrete and that you apply a release agent to prevent sticking. Homemade molds can add a unique touch to your stepping stones and allow you to create custom shapes and sizes to suit your garden’s design.
How Thick Should the Stepping Stones Be?
Aim for a thickness of about 2-3 inches for your stepping stones. Thicker stones are more durable and less likely to crack or break underfoot. Thicker stones also provide better support in your garden, especially in areas with heavy foot traffic. However, the thickness of your stepping stones can vary depending on your specific needs and preferences. Adjust the thickness accordingly to suit your garden’s design and the intended use of the stepping stones.
Can I Add Color to the Concrete Mix for More Decorative Stepping Stones?
Yes, you can add color to the concrete mix to create more decorative stepping stones. Concrete dyes or pigments can be added to the mix before pouring it into the mold to create colorful designs. Follow the manufacturer’s instructions for the correct amount of dye or pigment to add based on the amount of concrete mix you are using. Experiment with different colors and patterns to create unique and eye-catching stepping stones for your garden.
Are There Any Safety Precautions I Should Take When Making Homemade Stepping Stones?
Yes, there are several safety precautions you should take when making homemade stepping stones. Wear gloves and eye protection to protect yourself from skin irritation and eye injuries. Work in a well-ventilated area to avoid inhaling dust, and wash your hands thoroughly after handling concrete. Additionally, be careful when handling wet concrete and molds to avoid spills and injuries. Following these safety precautions will help ensure a safe and enjoyable DIY project.
Conclusion
Making homemade stepping stones is a rewarding and creative way to enhance your garden or outdoor space. By following the simple steps outlined in this guide, you can create personalized stepping stones that add charm and functionality to your landscape.
Whether you use them to create pathways, add decorative elements, or provide a safe crossing over a pond or water feature, stepping stones are a versatile and practical addition to any garden.
Plus, by making your own stepping stones, you can save money and customize the design to suit your style.
So, roll up your sleeves, gather your materials, and start creating beautiful stepping stones that will be a welcome addition to your outdoor oasis.