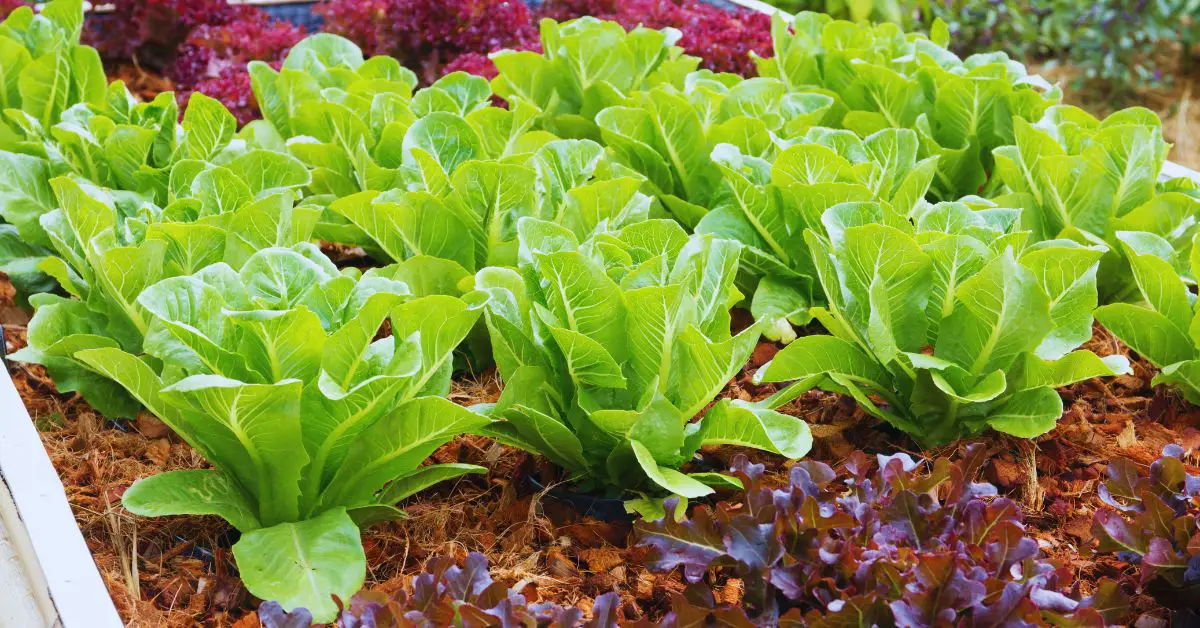
Hello, fellow gardening enthusiasts! If you’re like me, you find the prospect of nurturing your own plants from tiny seeds to thriving vegetables incredibly exciting. Starting seeds indoors can be a game-changer for your vegetable garden, offering you more control over the growing conditions and extending your gardening season.
In this comprehensive guide, I’ll walk you through every step needed to embark on this rewarding journey. From selecting the right seeds to creating the perfect environment for their growth, we’ve got you covered. So, put on those gardening gloves, and let’s dive in!
Why Start Seeds Indoors?
Why should you start your seeds indoors, you might ask? Well, the benefits are numerous. When you start seeds indoors, you gain control over crucial factors like temperature, light, and moisture, ensuring optimal conditions for your seedlings.
This control leads to healthier and stronger plants, ultimately resulting in a more bountiful harvest. Additionally, by starting early indoors, you can extend your growing season, giving you a head start on your gardening goals.
Plus, there’s something undeniably gratifying about nurturing a tiny seed into a thriving plant.
When to Start Seeds Indoors?
When to start seeds indoors depends on several factors, including your local climate, the specific vegetables you’re growing, and the expected last frost date in your area. Here’s a general guideline to help you determine when to start your seeds indoors:
Calculate the Last Frost Date
Determining when to start seeds indoors depends on various factors, including your local climate and the specific vegetables you plan to grow. To get started, find out the average date of the last spring frost in your region. Typically, this information is available through your local agricultural extension office or gardening resources specific to your area.
Refer to Seed Packets
Seed packets for the vegetables you intend to grow often contain valuable guidance on when to initiate indoor seed sowing. Check the seed packets for recommendations, which usually specify the number of weeks before the last expected frost date for starting seeds indoors.
Planting Time
The planting time information provided on the back of a seed packet serves as a valuable guide for gardeners, offering essential details about when and how to sow seeds for optimal growth. This information is typically tailored to the specific requirements of the plant species in question.
It often includes recommendations on when to start seeds indoors or directly in the garden, taking into account factors such as the average date of the last frost in the region.
By following the planting time guidelines, gardeners can ensure that their seeds are introduced to the soil under the most favorable conditions, leading to healthier and more productive plants.
Additionally, these recommendations assist gardeners in planning their gardening schedule, allowing them to align their efforts with the natural rhythms of the growing season.
Days to Maturity
The “days to maturity” information found on a seed packet is a crucial metric that informs gardeners about the approximate length of time it takes for a plant to grow from seed to the point of harvesting ripe produce. This metric varies from plant to plant and offers gardeners a timeline for when they can expect to enjoy the fruits, vegetables, or herbs they’re growing.
“Days to maturity” is a valuable tool for garden planning, helping gardeners coordinate their planting schedule and ensure they have a continuous supply of fresh produce throughout the growing season. It also aids in calculating when to expect the first harvest, which can be particularly important for gardeners looking to maximize their yield and plan subsequent plantings.
By paying attention to this information, gardeners can make informed decisions about when to plant their seeds to achieve the best results.
Light and Water Needs
This information on a seed packet provides crucial guidance on the ideal sunlight and watering conditions for a specific plant. It helps gardeners select appropriate locations and watering practices for optimal growth and health.
Soil Needs
On a seed packet, you will also see some information about the type of soil and temperature requirements necessary for successful seed germination. This guidance helps gardeners select the right soil type and ensure suitable soil temperatures for optimal seedling growth.
Some seeds can be germinated in regular potting soil whereas others prefer a seed starting mix that is loose. The same goes for soil temperature. Some seeds need a soil temperature of 70 degrees like tomatoes to have a good germination rate.
Count Backwards
To establish a precise starting date for indoor seed sowing, count backward from the last frost date based on the number of weeks indicated on the seed packet. For instance, if the seed packet advises starting seeds indoors 6-8 weeks before the last frost date, choose a window within that range that aligns with your local conditions and gardening timetable.
Consider Specific Vegetables
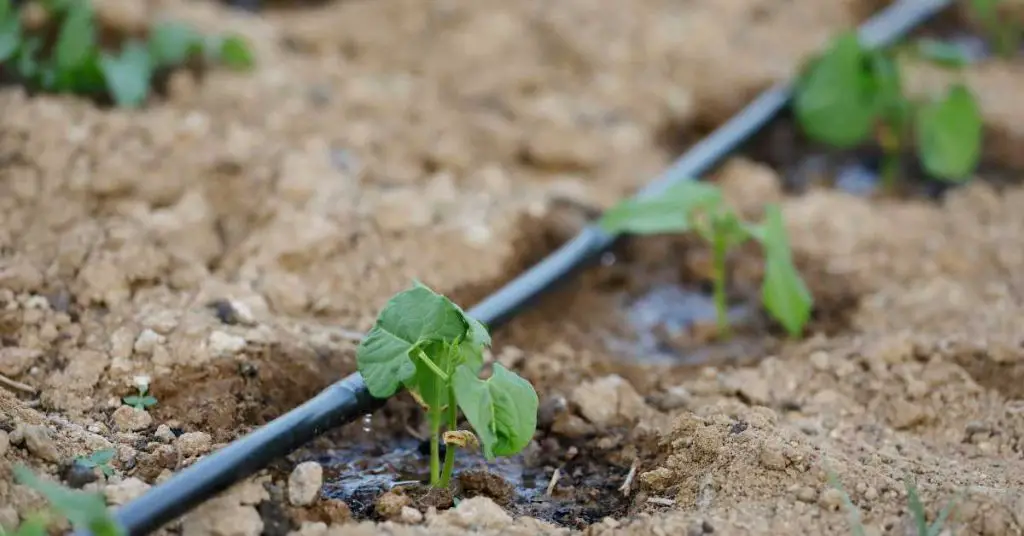
Different vegetables have distinct requirements regarding when to start seeds indoors. Some, like tomatoes and peppers, benefit from an early start indoors, typically around 6-8 weeks before the last frost date. In contrast, certain plants, such as cucumbers and beans, are best sown directly in the garden once the soil has sufficiently warmed.
Microclimate Factors
Factor in any microclimate variations within your garden. These localized conditions may include sheltered areas that warm up earlier in the spring or cooler pockets that require a delayed start. Understanding these microclimates can help you refine your decision on the timing of indoor seed sowing.
Garden Goals
Consider your specific gardening objectives. If you aim for an early harvest, you may opt to start seeds indoors earlier in the season. Conversely, if you’re cultivating cold-tolerant plants, you might schedule a slightly later start. Tailoring your timing to your garden’s unique conditions and your goals will enhance your chances of a successful harvest.
How to Start Seeds Indoors for a Vegetable Garden
Choose the Right Seeds
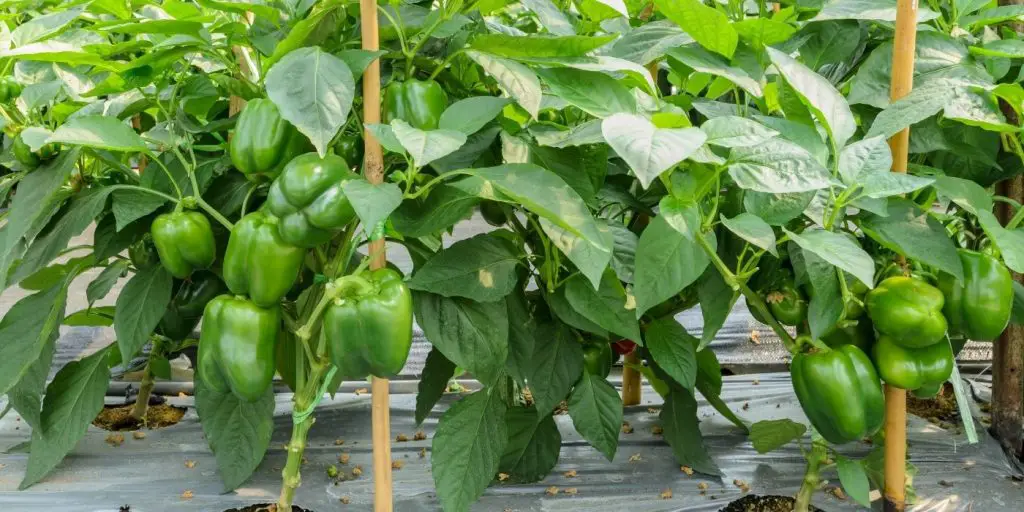
Selecting the right seeds is the first step on your indoor seed starting journey. Consider your location, climate, and personal preferences when choosing your seeds. Opt for vegetable varieties that thrive in your area, taking into account factors like frost dates and growing seasons. Whether you prefer tomatoes, peppers, or cucumbers, choosing the right seeds lays the foundation for a successful garden.
Essential Supplies
Before we dive into the nitty-gritty of seed starting, you’ll need to gather some essential supplies:
- Containers: You can use trays, pots, or cell packs, depending on your preference.
- Seed starting mix: Make sure it’s sterile to prevent diseases from affecting your seedlings.
- Seeds: Of course, you’ll need the seeds of your chosen vegetables.
- Labels: Don’t forget to label your containers to avoid confusion as your seedlings grow.
Timing and Planning
Timing is key when it comes to seed starting. Knowing when to start your seeds indoors and when to transplant them into your garden is essential for success. Creating a seed starting schedule based on your local climate and the recommended planting dates for your chosen vegetables will set you up for a successful growing season.
Seed Starting Containers
The choice of containers can influence the growth of your seedlings. Here’s a quick overview of your options:
- Trays: Ideal for starting a large number of seeds.
- Pots: Suitable for plants that need more space.
- Cell packs: Great for easy transplanting. Consider reusing containers from previous years to be eco-friendly and save some money.
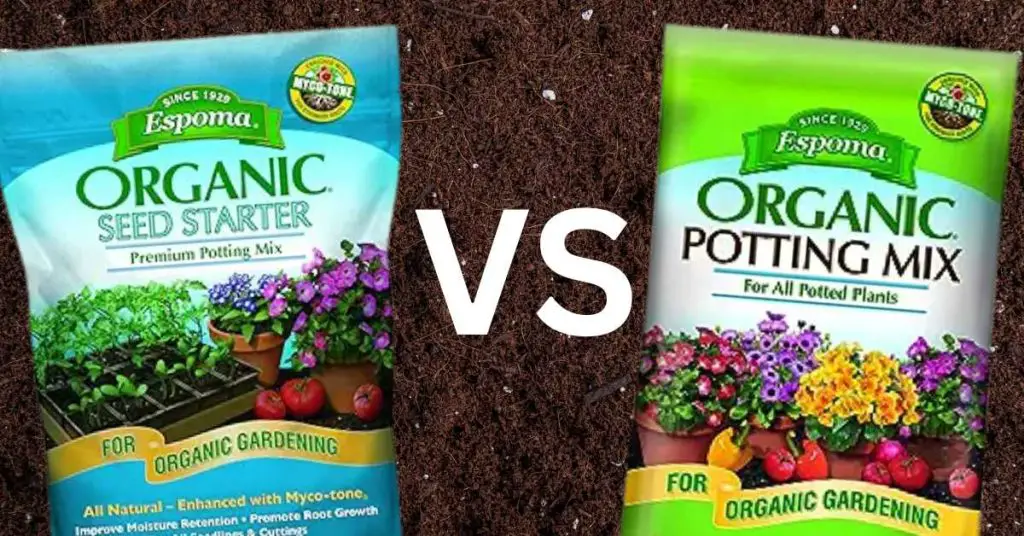
Seed Starting Mix
Your seedlings’ home is the seed starting mix, which should provide the right balance of moisture and nutrients. You can either purchase a commercial mix or create your own by combining ingredients like peat moss, vermiculite, and perlite. Ensure it’s well-draining yet retains enough moisture to support seedling growth.
Sowing Seeds
When sowing seeds, keep these key tips in mind:
- Plant seeds at the recommended depth for each type of vegetable, typically about 2-3 times their diameter.
- Ensure proper spacing between seeds to prevent overcrowding, which can lead to competition for resources.
- Water gently and consistently to keep the soil evenly moist, using a spray bottle or a watering can with a fine rose.
Providing Light
Adequate lighting is crucial for the healthy development of your seedlings. If natural sunlight isn’t sufficient, consider setting up a grow light system. Position the light source close to the seedlings, maintaining a distance of about 2-4 inches above the plants to prevent them from becoming leggy.
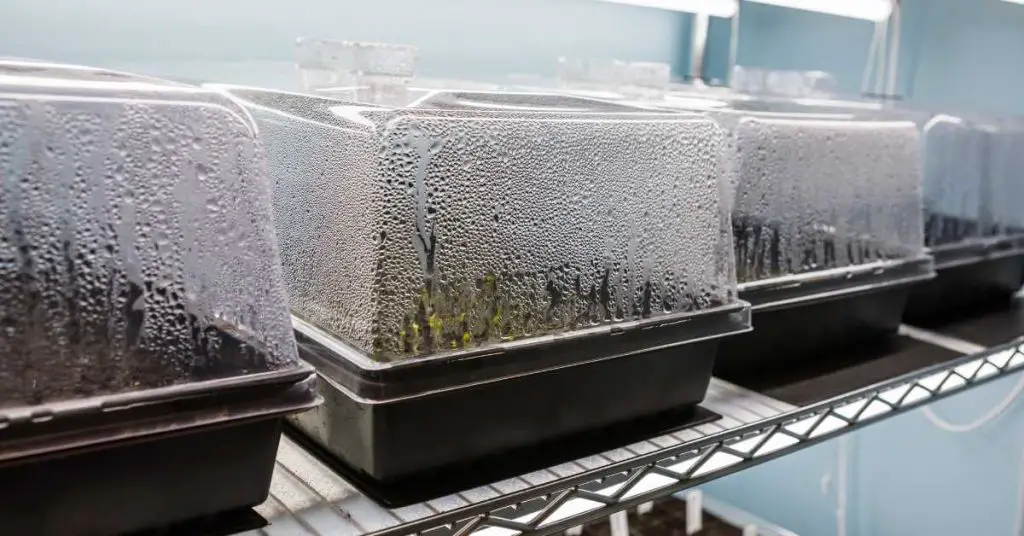
Temperature and Humidity
Maintaining the right temperature and humidity levels is critical for seedling success. Consider using heat mats to provide bottom heat, and humidity domes to maintain proper moisture levels. Be vigilant about temperature-related issues like damping off, which can occur in overly humid or cool conditions.
How to Care For Your Seedlings After Germination
Once your seeds germinate you will need to take care of them to help them get strong and healthy enough to make it out in the garden.
Watering and Fertilizing
Watering and fertilizing your seedlings are essential tasks in indoor seed starting. Properly managing these aspects ensures that your young plants receive the necessary nutrients and moisture to grow into robust, healthy seedlings. Let’s delve into these practices in more detail:
Watering Your Seedlings
Proper watering is critical for seedling success, as young plants are vulnerable to both underwatering and overwatering. Here’s how to water your seedlings effectively:
- Bottom Watering: This is the preferred method for indoor seedlings. Place your seedling containers in a tray or shallow dish filled with water. Allow the soil to wick up moisture from the bottom through capillary action. Bottom watering helps prevent the disruption of delicate seedlings and promotes even moisture distribution.
- Consistency: Seedlings thrive on consistent moisture levels. Avoid allowing the soil to dry out completely, as this can stress the plants and lead to stunted growth. Conversely, overwatering can cause root rot and other issues.
- Watering Technique: Use a fine mist spray bottle or a gentle watering can with a fine rose to water your seedlings. This ensures that you apply water evenly and without disturbing the soil surface or the seedlings themselves.
- Check Soil Moisture: Regularly check the moisture level of the soil by sticking your finger into it. Water when the top inch of the soil feels dry to the touch but is not completely dry. Adjust your watering schedule based on your seedlings’ needs and the environmental conditions in your growing area.
- Avoid Waterlogged Soil: Be cautious not to allow your seedling containers to sit in standing water for extended periods, as this can lead to root suffocation and disease.
Fertilizing Your Seedlings
While your seedlings initially draw nutrients from their seed leaves (cotyledons), they will eventually need additional nutrients to thrive. Here’s how to fertilize your seedlings effectively:
- When to Start: Wait until your seedlings have developed their second set of true leaves before introducing fertilizer. The first set of leaves, known as cotyledons, are not “true” leaves and don’t require fertilization.
- Type of Fertilizer: Choose a balanced, water-soluble fertilizer with a formulation like 10-10-10 or 20-20-20. These numbers represent the percentages of nitrogen (N), phosphorus (P), and potassium (K) in the fertilizer, respectively. The balanced formulation provides essential nutrients for overall growth.
- Dilution: Always dilute the fertilizer according to the manufacturer’s instructions. Over-fertilizing can damage seedlings. A typical dilution rate is around half the recommended strength.
- Application: Gently water your seedlings with the diluted fertilizer solution, ensuring that the soil is evenly moistened. Avoid getting the fertilizer on the leaves, as it can cause leaf burn in some cases.
- Frequency: Fertilize your seedlings every two to three weeks. However, be cautious not to over-fertilize, as excess nutrients can lead to salt buildup in the soil, harming your seedlings.
- Monitor Growth: Keep an eye on your seedlings’ growth. If you notice signs of nutrient deficiency, such as yellowing leaves, you may need to adjust your fertilization schedule or increase the strength of the diluted fertilizer slightly.
- Transplant Considerations: When transplanting seedlings into larger containers or the garden, provide them with a slow-release granular fertilizer in addition to continued dilute liquid feedings. This helps sustain their nutrient supply as they grow.
By mastering the art of watering and fertilizing your seedlings, you’ll give them the best possible start in life. Remember that consistency and balance are key to nurturing strong and healthy plants.
Transplanting Seedlings
When it’s time to move your seedlings into the garden, follow these steps:
- Harden off your seedlings gradually by exposing them to outdoor conditions for increasing periods each day. This acclimatizes them to the different environments.
- Be gentle when transplanting to avoid damaging the delicate roots of your seedlings.
Pest and Disease Management
Keeping an eye out for common pests and diseases is crucial, as early detection can save your seedlings. Use organic methods to prevent and treat issues, such as neem oil for insect pests and proper sanitation to prevent diseases. Regular monitoring is your best defense against potential problems.
Frequently Asked Questions
How deep should I plant the seeds?
Plant your seeds at a depth equal to about 2-3 times their diameter. Always refer to the seed packet for specific recommendations, as planting depths can vary among different vegetable varieties.
Can I reuse containers from the previous year?
Yes, you can reuse containers from previous years, which is both eco-friendly and cost-effective. However, ensure you clean and sanitize them thoroughly before using them again to prevent any potential disease transmission to your new seedlings.
What is the best way to water newly planted seeds?
The best way to water newly planted seeds is from the bottom. Place your seedling containers in a tray of water, and allow the soil to absorb moisture from below. This method helps prevent disturbing the seeds and provides consistent moisture to the roots.
Do I need to fertilize seedlings right away?
No, you don’t need to fertilize your seedlings right after planting the seeds. Wait until your seedlings have developed their second set of true leaves before starting to fertilize. At this stage, you can use a diluted, balanced liquid fertilizer to provide essential nutrients.
How can I tell if my seedlings need more light?
Leggy seedlings with long, weak stems are a clear sign that they need more light. Adjust the positioning of your grow lights to provide more intensity or consider increasing the duration of light exposure to address this issue.
When should I transplant seedlings into the garden?
Transplant your seedlings into the garden when they have at least two sets of true leaves and the outdoor conditions are suitable. Typically, this occurs after the last frost date for your specific region. Be sure to harden off your seedlings first to help them acclimate to the new environment.
What are some natural ways to prevent pests in my indoor seedlings?
There are several natural methods to prevent pests in your indoor seedlings. Consider using neem oil, introducing beneficial insects like ladybugs, or practicing companion planting. These approaches can help deter common garden pests without resorting to chemical solutions.
How do I prevent mold and mildew on seedlings?
To prevent mold and mildew on your seedlings, ensure good air circulation by using a fan if necessary. Avoid overcrowding your seedlings, and water the soil rather than the foliage to reduce humidity around the plants. Proper sanitation practices also play a crucial role in preventing fungal issues.
What can I do if my seedlings become leggy?
If your seedlings become leggy, it’s essential to provide them with more light. Adjust the height and intensity of your grow lights to ensure they are getting enough light. You can also transplant leggy seedlings deeper when moving them into larger containers to help support their growth.
Can I use tap water to water my seedlings?
While you can use tap water for watering your seedlings, it’s best to use filtered or dechlorinated water. Let tap water sit for a day to allow chlorine to dissipate before using it on your seedlings. This ensures that your plants receive water without any potentially harmful chemicals.
Conclusion
Congratulations, you’re now armed with the knowledge and confidence to start your seeds indoors like a seasoned gardener! The journey from seed to harvest is both rewarding and educational, and with patience and care, you’ll soon be enjoying the fruits (or veggies) of your labor.
So, put your newfound expertise to use, grab those gardening gloves, and embark on your indoor seed starting adventure. And if you found this guide helpful, remember that there are plenty more gardening articles waiting for you to explore. Happy gardening!