How to Grow Hot Peppers From Seed
There are few things out there that you can grow that are as much fun as starting peppers from seed. There are thousands of different varieties of peppers to grow in your garden. Sweet peppers to use in your cooking or super hot peppers to use in salsas.
Starting peppers from seed and growing them until harvest is incredibly rewarding and can be fun for the whole family.
This is how I start them from seed and how I get them ready to go into the garden.
Love for peppers
I remember when I harvested my very first and boy was it an experience. The very first pepper I grew was a cayenne that I had bought from a local garden center.
It was small but I gave it a chance by planting it in my garden and then hoped for the best. I remember thinking that this plant wasn’t going to make it.
Over the next two months, I witnessed that little plant grows into a huge plant, so large that it was easily five feet tall.
That plant with the right care and love far exceeded my original expectations and turned into a great plant. It produced so many peppers that year that I was harvesting peppers every single day.
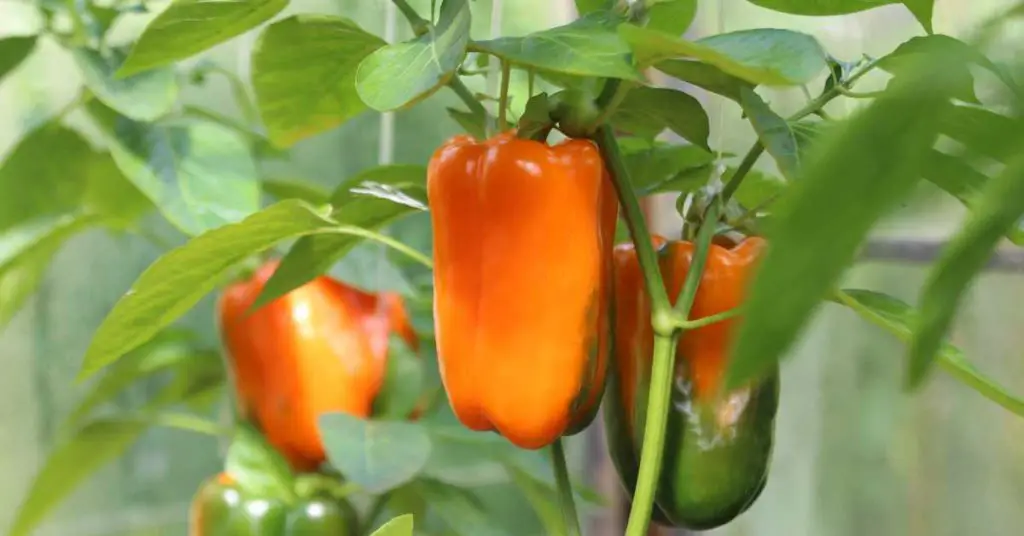
I anxiously awaited trying my first ripe cayenne pepper because peppers taste and are so much better for you when they are ripe.
When I took my first bite of ripe homegrown cayenne pepper it had just the right amount of crunch, a little sweetness, and a nice punch of heat. I ate so many cayenne peppers that year, I was hooked and wanted more.
This post may contain affiliate links. Read our full disclosure here.
Research Pepper Varieties
I started researching peppers and realized there was a world full of peppers to try. I decided that if I wanted to be able to try all sorts of peppers both sweet and hot that I needed to start them from seed.
The local garden centers only carried the common peppers such as Jalapeno, Cayenne, and Habanero but I wanted to grow the peppers I had seen online and in seed catalogs.
So I started growing them from seed, the first couple of seasons were a tragic failure. It took several seasons for me to get it right but this is the method that I have used to grow my peppers from seed.
Below are the supplies that I use.

Let’s get started
Pre-moisten your seed starting mix. I cannot stress the importance of this step enough. Seeds need a moist starting mix in order to get started, also the seed cells or cups will not properly wick water up from the bottom (more on that later).
Take a Rubbermaid tub or bowl and pour in the desired amount of starting mix for what you will be starting.
This mix will come straight out Of the bag completely dry. You will need to pre-moisten the mix using warm or even hot water. Don’t overdo it with the water.
You want it just moist enough that you can take some in your hand, squeeze it into a dump without water coming out. You want it to clump but not be overly wet.

Fill your containers
Once your starter mix is pre-moistened you are ready to put the mix into your containers. If you are using pre-made seed cells great, but if you are starting your seeds directly in cups or other containers remember to put drainage holes in the bottom.
This will allow for watering but also allow the cups to drain easily.
I use and would recommend the seed cell packs as they take less of the seed starting mix to fill them as that can get expensive if planting a lot.

As you fill up your cell packs gently thumb press the mix into the cells. You want to make sure that the mix has good contact with the bottom of the container but this also provides a firm planting base for your seeds.

You want that firm planting base to prevent seeds from getting lost or pushed down too far can and will inhibit germination.
Add more mix to the top and gently press down again making sure that you do not compact the soil too much which prevents oxygen from getting to the roots effectively. Roots need oxygen!

Plant your seeds
Now, you are ready to start planting your seeds. When planting your seeds remember to wash your hands thoroughly before and after.
How many seeds do I put in a cell? That is a great question. When I plant seeds I usually plant multiple seeds per cell. For example, for things like tomatoes, peppers, and eggplant I put two or three seeds in each cell.

The basic idea when you start seeds indoors is that you don’t want to be waiting for a seed to germinate because you are starting them to get a head start on your season. The over-planted cells can always be thinned or separated into multiple plants in order to make sure you have plenty of plants.
I usually separate them into cups but more than later.
Seed positioning
Position your seeds in the corners and gently press them into the soil to the depth that is specified on the seed package. Once you have pressed the seeds down sprinkle a little starting mix on top.
Label your plants
All you have left is labeling your containers which you can do however you want. You can print labels or use a sharpie marker.
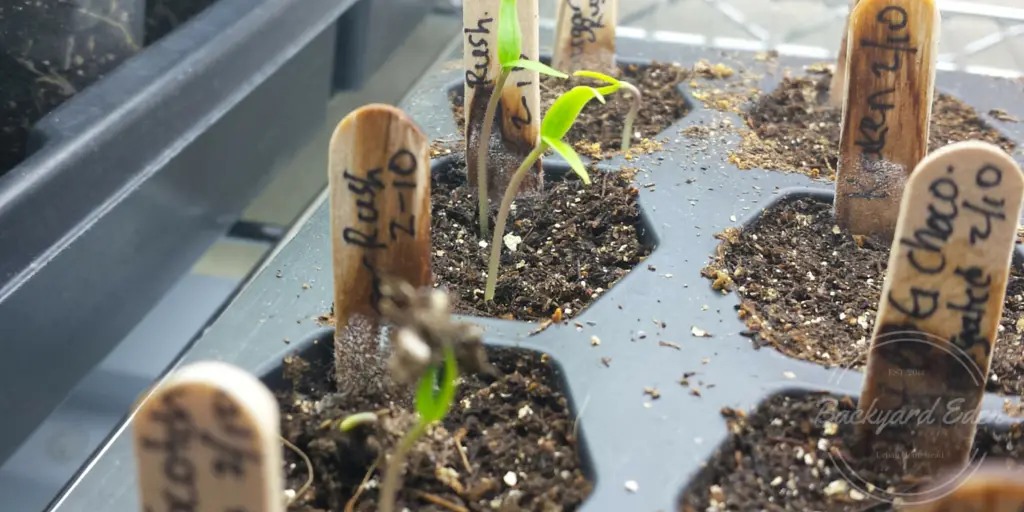
I write on a popsicle stick with a sharpie marker the variety and the date I started them. It is incredibly important to label your plants so that you do not get them mixed up.
Place them in a warm area
Then place your containers on the heat mat or whatever warm place you have picked out and wait until they sprout. Be patient when waiting for seeds to sprout.
There are some seeds that seem to sprout overnight but then others that can take forever. Hot peppers can take as long as a month to germinate.
I have been impatient before and started more seeds. You can easily get overwhelmed with seedlings this way.
Using a dome lid
It is incredibly important that if you are using a dome lid or plastic wrap that as soon as even one seed sprouts that you remove the cover and place your seeds under the lights you have chosen to use.
It is not an issue if there is only one seed sprouted, the light will not stop the other seeds from sprouting.
Light is important
They will become “leggy” if you do not give them the light they need. This light helps them process the nutrients that it gets in order for it to grow.
This light should be placed no more than 4-6 inches from the top of the seedlings. Keeping the plant too close to the light can cause the leaves to get burned and the light being too far away can and will cause leggy plants.
If you end up with leggy plants it is best to throw them out and start over in my opinion.
What type of lights?
As far as the type of lights you use is up to you because there are numerous options out there. There are varying costs associated with each so keep that in mind.
With a little research, you can find out all their pros and cons. I use a simple T8 shop light fixture that you can find at your local big-box store or Wal-Mart for roughly $15.00.
It uses two T8 bulbs and puts out a decent amount of light. I use Daylight bulbs with 2900 lumens and 6500k. I have used this cheap setup and have had great success. We will cover lights more in-depth in their own article but here is a picture of my grow rack.

When to fertilize?
Once your seeds sprout and have been growing for a little while they will start putting out their true leaves. When they have two sets of true leaves you can start giving them a half-strength liquid fertilizer of your choice.
If you choose to grow organically then you can use fish emulsion or any other organic liquid.
If you do not mind using synthetic fertilizers then any liquid fertilizer such as Vigoro or Miracle-Gro. I personally do not use Miracle-Gro products but if that is all that you have access to or can afford then go for it.
If more than one seed has germinated in each cell or cup you need to transplant them into their own cups. If you leave more than one plant in each cup, they will compete for nutrients.
Transplanting your seedlings.
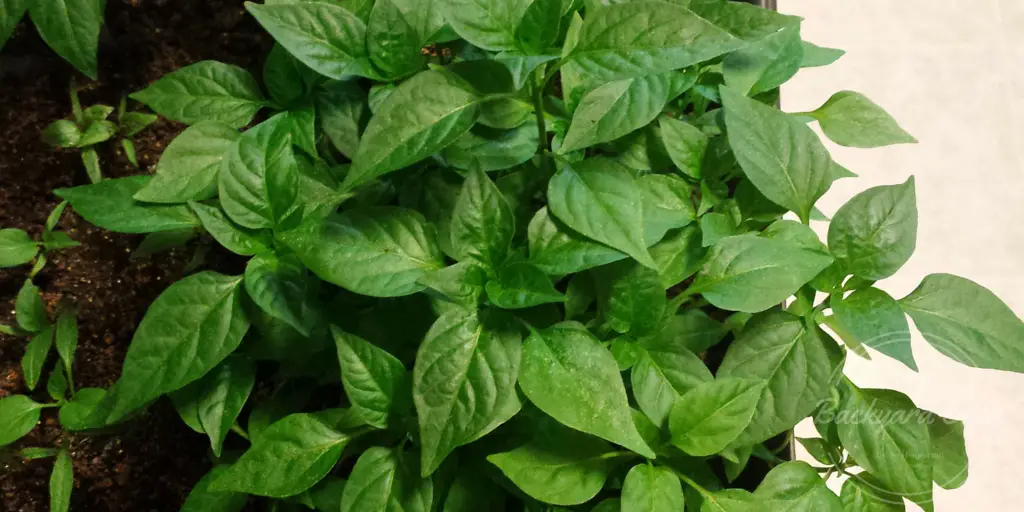
It is really simple to transplant pepper seedlings. The main thing is you want to be able to give them the proper soil mix, light, and cup size to accommodate the growing seedling.
Transplanting them early ensures that you will not disturb the roots too much. I prefer to move them up to a cup as soon as I can.
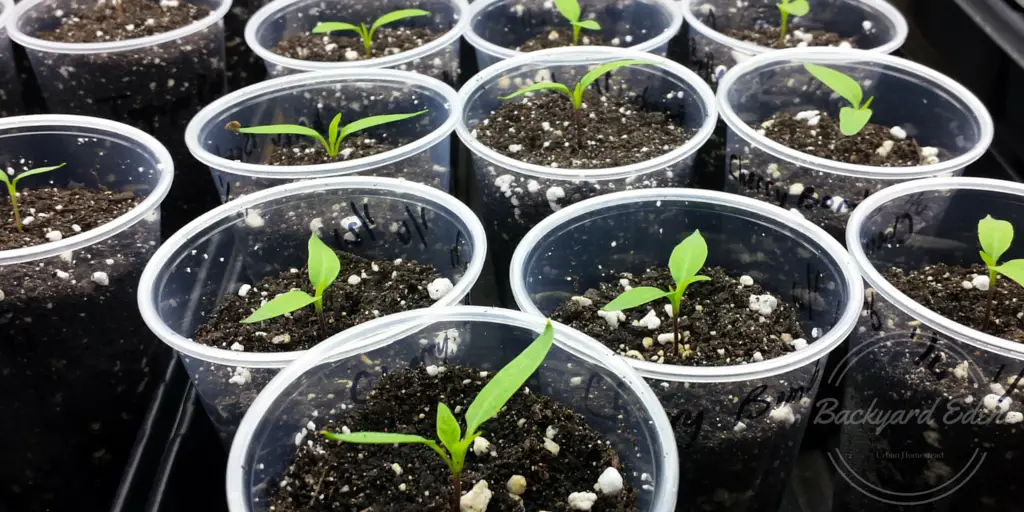
Caring for your pepper seedlings is pretty straightforward from here until you transplant them into the garden. Give them the light they need, fertilize with a half-strength liquid fertilizer once per week but being very careful not to overwater them.
I use the tray method where each cup has a hole in the bottom; you place the cups into a tray that holds water and allow each cup to wick the water they need.
The plants will wick up the water they need in about twenty minutes. If you want to allow the plants to dry out a touch before you water them again.
Peppers prefer their soil to dry out a little bit before their next watering; plus if you keep the surface of the soil dry you will be able to manage fungus gnats.
Don’t stress about being perfect.
There is no perfect set-up for starting peppers from seed, only what works for you. Get creative, experiment with all the parts to make a system for you.
It doesn’t have to cost a fortune to start peppers from seed. Have fun and enjoy your gardening. Grab some seeds and get to planting.
The goal is to eventually be able to grow your own pepper plants from seed for your garden. Here are some resources for seeds and seed starting supplies.
If you like this article, please share it on social media and with friends. For all the latest recipes, gardening tips and growing guides subscribe to our newsletter in the sidebar.
Also, check out our article on How to Propagate Rosemary or Best Herbs to Grow!
Be sure to Like us on Facebook and follow us on Instagram and Twitter!
